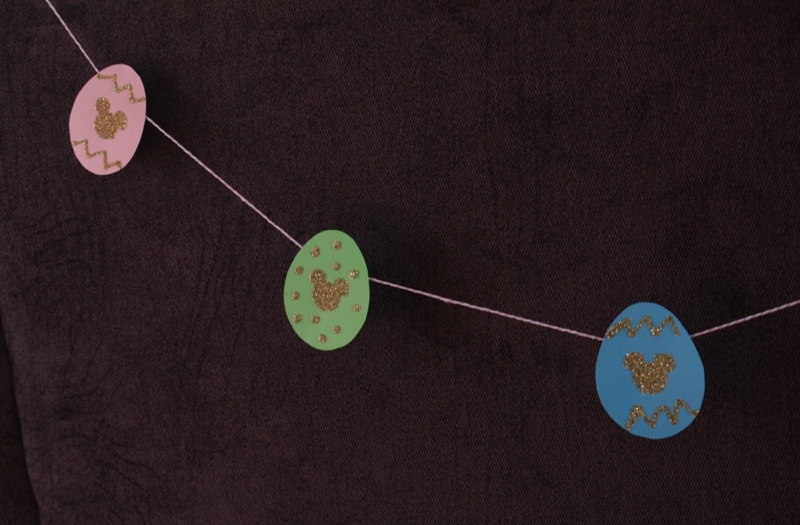
I couldn’t let a holiday go by without making a garland! I bought a huge tub of glitter for another project so I decided to also use it for my Mickey Easter garland. It’s messy, but fun! I used two different glues for this because I wanted to try a new Mod Podge glue made specifically for paper which I picked up at Alt Summit. It worked really well. But I needed glue with a pointy applicator for the finer decoration. Even still I wished I had a thinner application but these still turned out just fine. I hung them over our fire place and my niece ran right to them when she came to visit, yelling, “MI MI! MI MI!” That’s three-year-old speak for “Mickey.”
Supplies
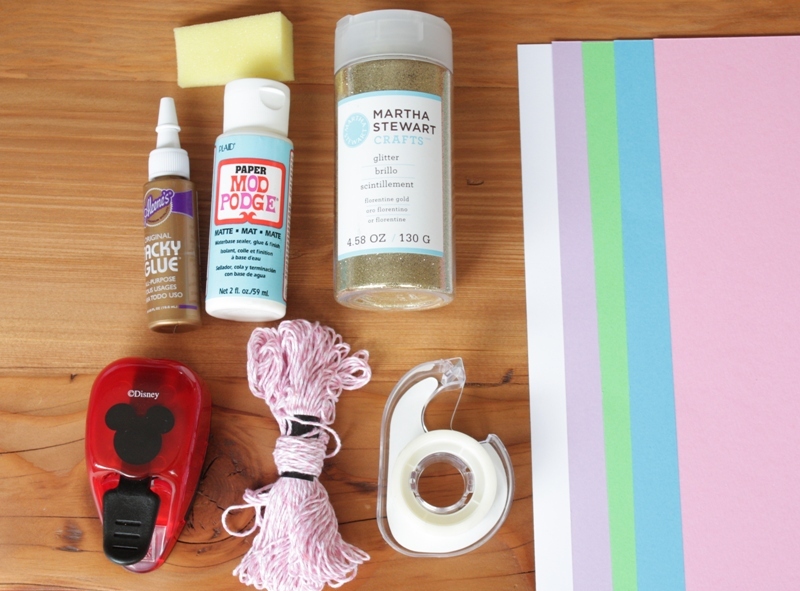
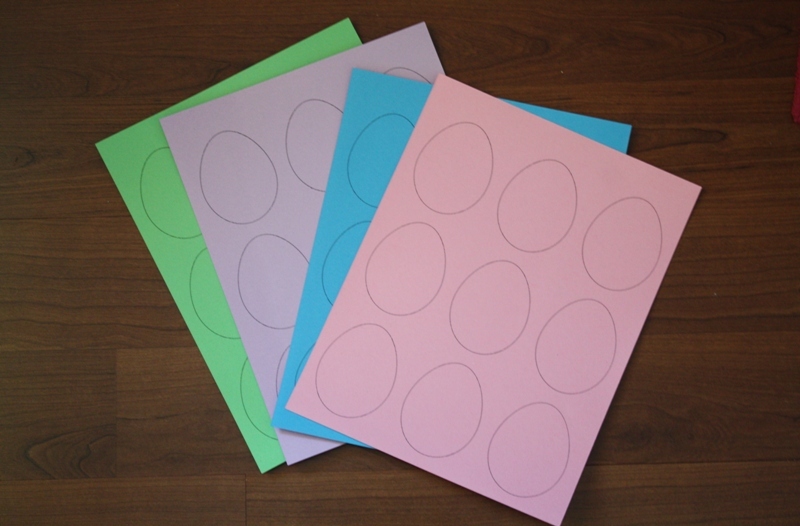
- Colored construction paper
- Gold glitter
- Mod Podge paper glue
- Tacky glue
- Embroidery string
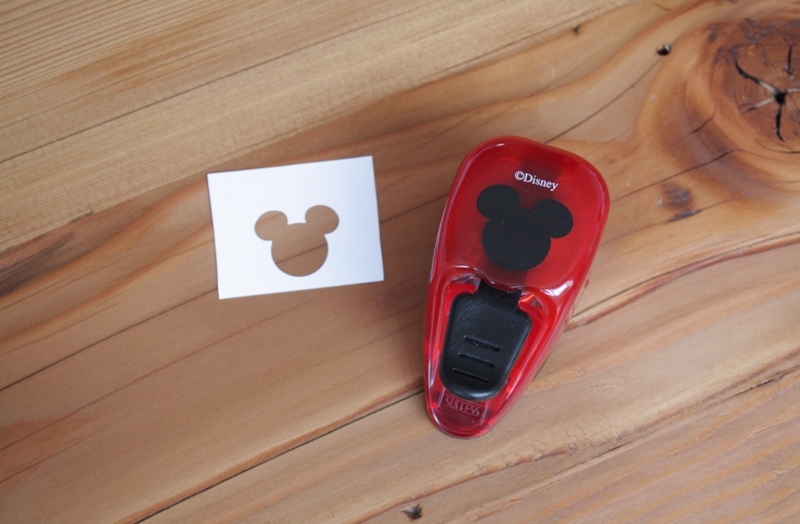
- Mickey Mouse paper punch (one inch)
- Scissors, wedge sponge, tape, scrap construction paper
Steps
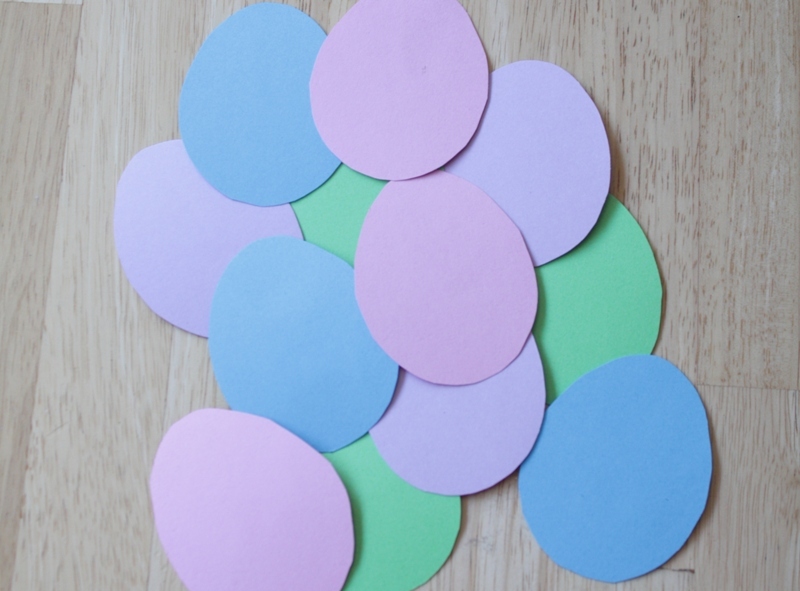
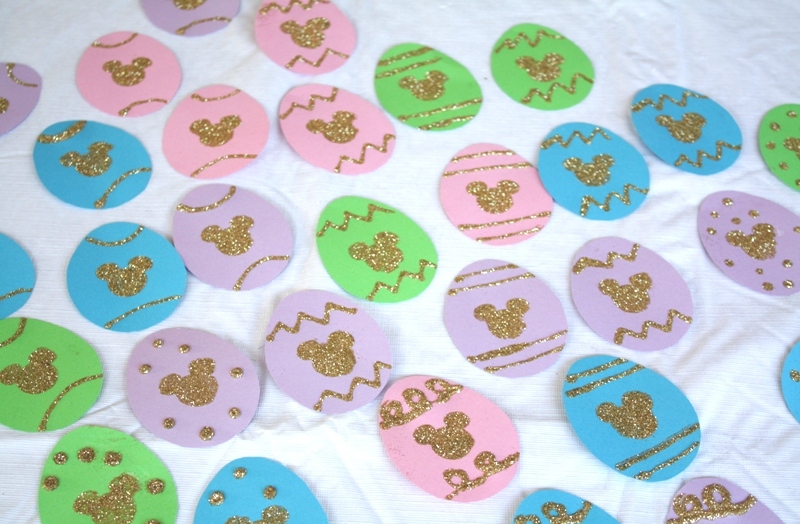
Step 1 – Print this egg template onto the colored construction paper, and cut out the egg shapes.
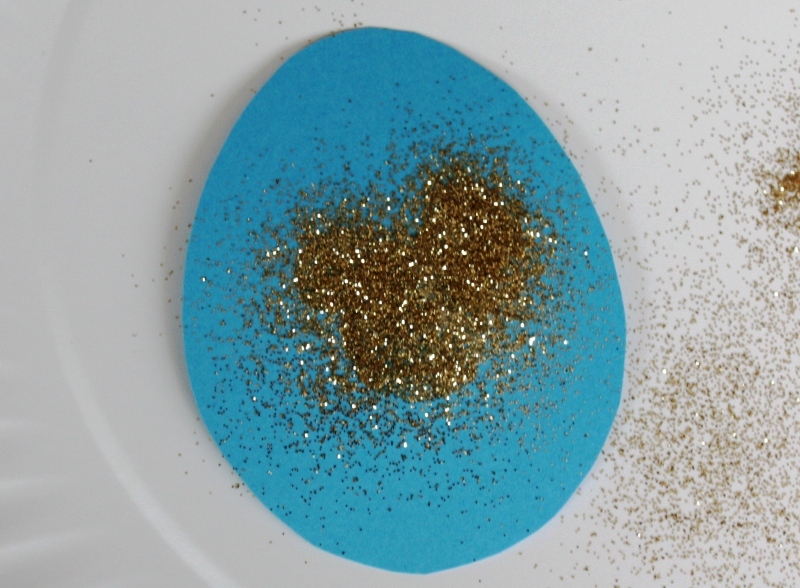
Step 2 – Using the Mickey paper punch, punch out a Mickey shape from the spare construction paper. You are going to use the cut out part as a stencil for the Mickey shape.
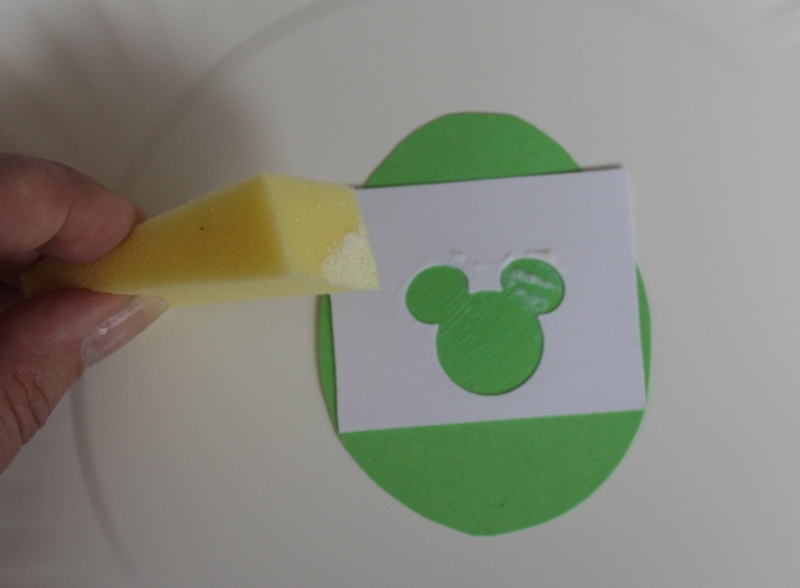
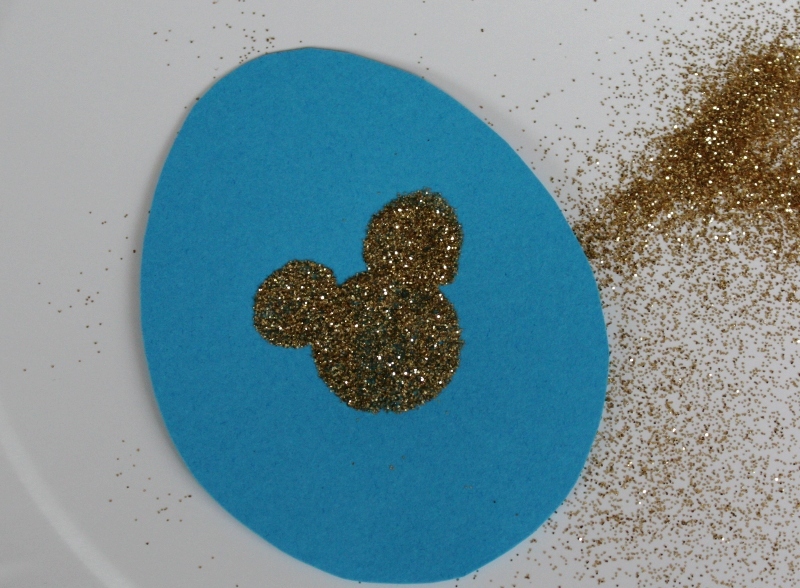
Step 3 – Place the stencil on top of the egg shape, with the Mickey centered. Place a drop of the Mod Podge paper glue in the center of the Mickey and use the wedge sponge to spread the glue across the Mickey stencil. Lift the stencil away.
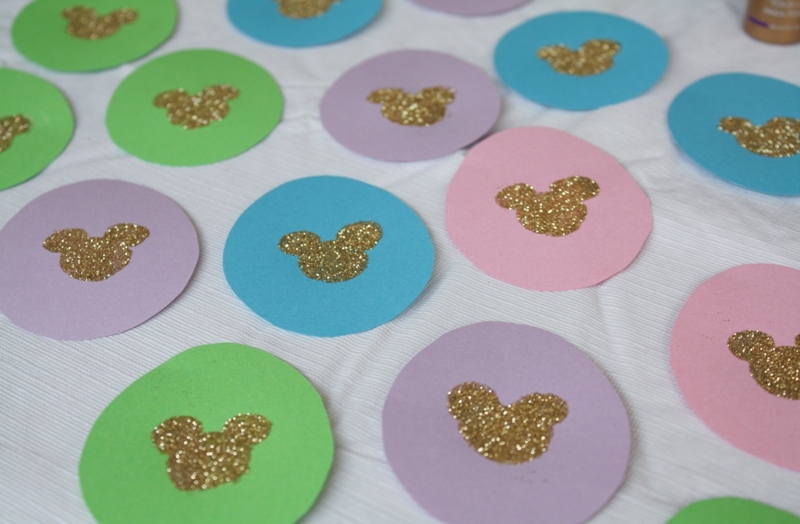
Step 4 – Liberally apply glitter to the glue and allow a minute to dry. Shake off the excess glitter. Repeat for all your egg shapes. The stencil may become too soggy to use more than 4-5 times, so you may have to create a few.
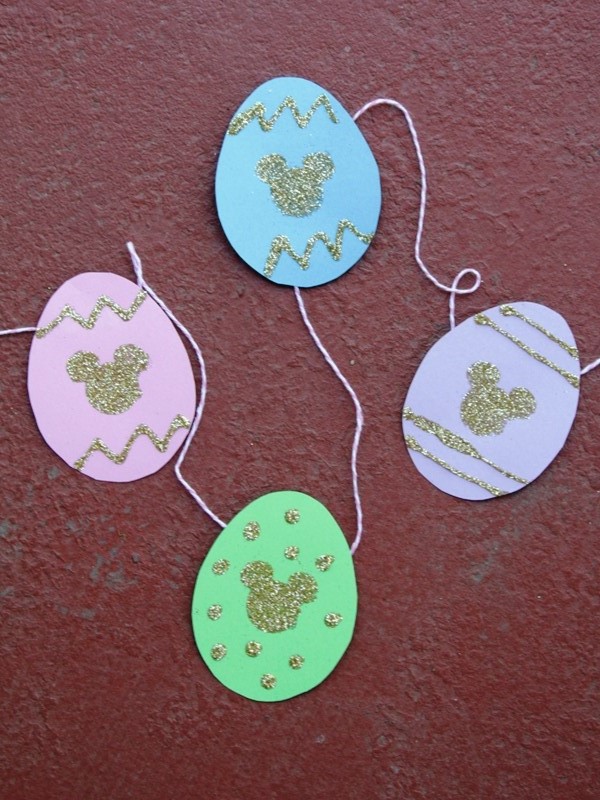
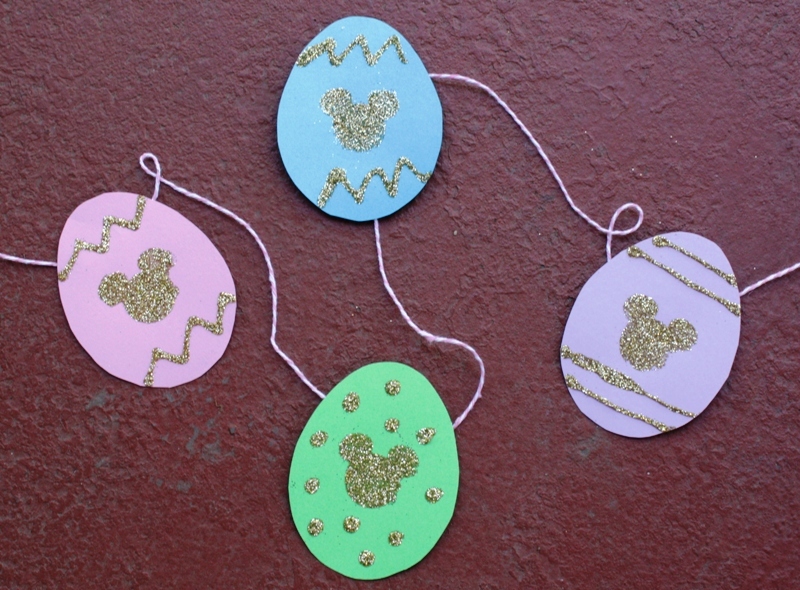
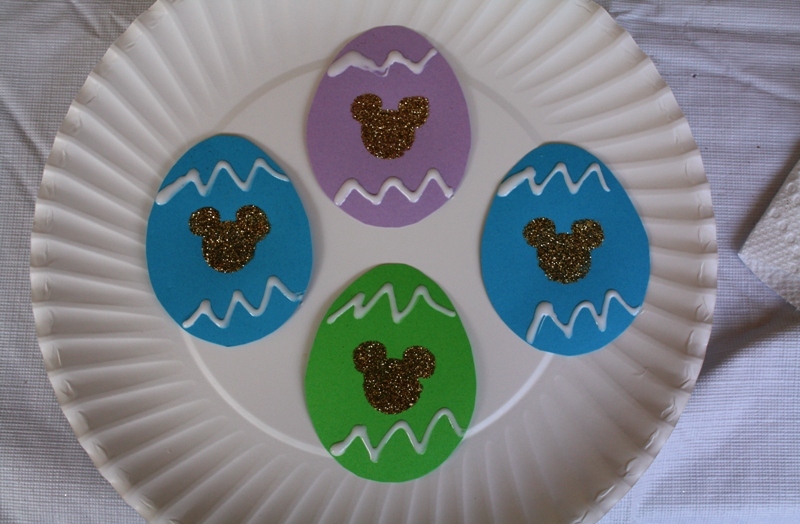
Step 5 – When the Mickey glitter shapes are dry, use the tacky glue (with a pointed applicator) to make fun shapes on the rest of the egg. I did zig-zags, polka dots, and swirls. Apply the glitter liberally and allow to dry for a minute. Shake off the excess glitter. Once in a while, pour the excess glitter back in the container to keep your workspace relatively clean.

Step 6 – Tape the back of the eggs to the embroidery string. I spaced the eggs a couple inches apart.
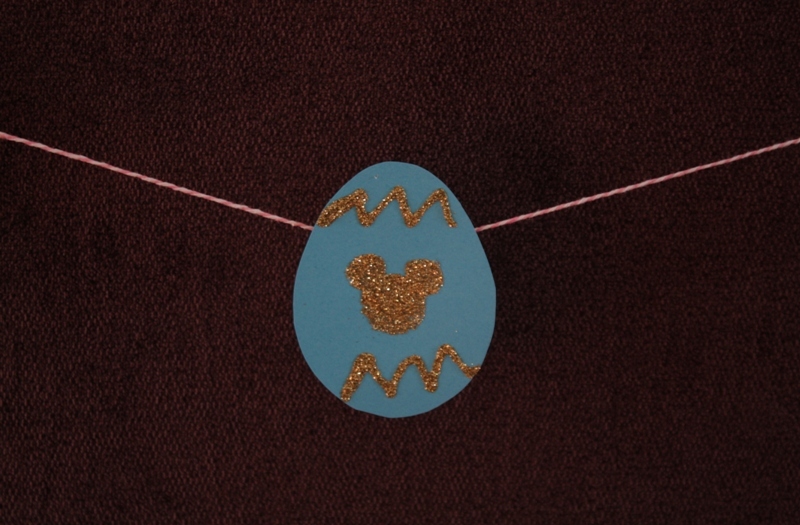
Hang your garland in a place where everyone can enjoy! Happy Easter!