This post contains affiliate links.
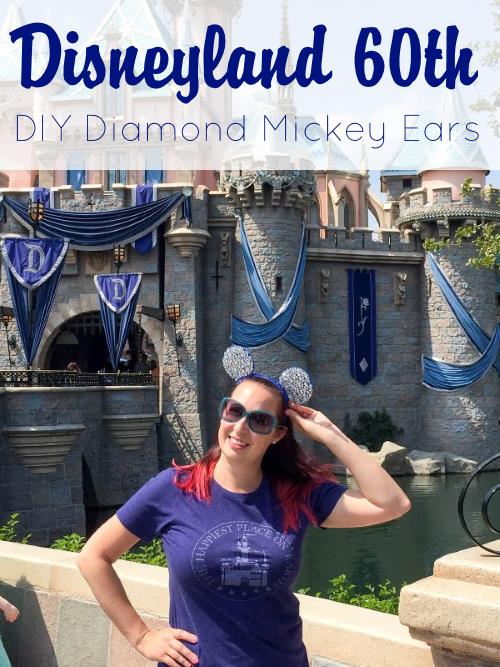
Are you ready for it? Because Disneyland’s 60th anniversary celebration is upon us! The diamond anniversary festivities kick off Friday, May 22 and by the looks of the recently released merchandise, it is going to be a very SPARKLY party! If you simply cannot wait until your next visit, you can use this tutorial to make your very own blingy diamond Mickey ears. All these supplies can be easily acquired at your local craft store, and the ears themselves will take you a couple hours to make. But the result is pure happiness. What do you think?
Diamond Mickey Ears
Supplies
- Clear acrylic gems in various sizes (I used Bead Landing brand from Michaels)
- E6000 glue
- Scissors
- Glue stick
- White plastic headband
- Blue glitter craft foam
- Hot glue
- (Optional) Blue ribbon
Steps
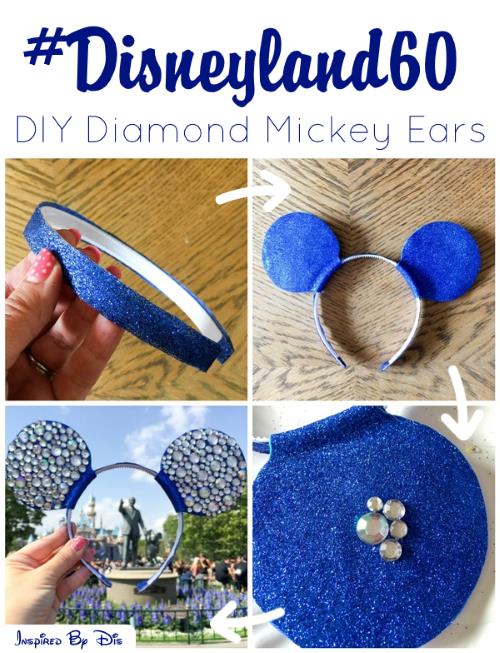
Step 1 – This part is optional but I think it makes the ears look nicer. Wrap the headband in blue ribbon (pick a shade that matches the craft foam) or glue the ribbon to the top of the headband. I chose blue glitter ribbon to give my headband some extra sparkle.
Step 2 – Cut your mickey ears from foam and glue them to the headband using the hot glue. See this post for detailed instructions and ears template.
Step 3 – Start gluing the gems to one ear. Start in the middle. My strategy was to glue down a larger gem, then surround it with smaller gems. I would put down a thin layer of glue about the size of a quarter, then quickly lay the gems. You may want to practice on a scrap piece of craft foam before you start gluing to the ears.
*A note about E6000 glue. This is powerful stuff. Be sure to use it in a well ventilated area. Take breaks and step away from the project now and then or the fumes will make you loopy. If you get some on your fingers, wipe it off immediately. It dries very quickly. Let the ears dry overnight in a well ventilated space before wearing them.
Continue with Step 3 until one side of both ears are covered with gems. I realized after completing one side that the ears were fairly heavy, so I didn’t do the other side. Don’t be afraid to take your time and get it right! Mine took about 90 minutes to complete.
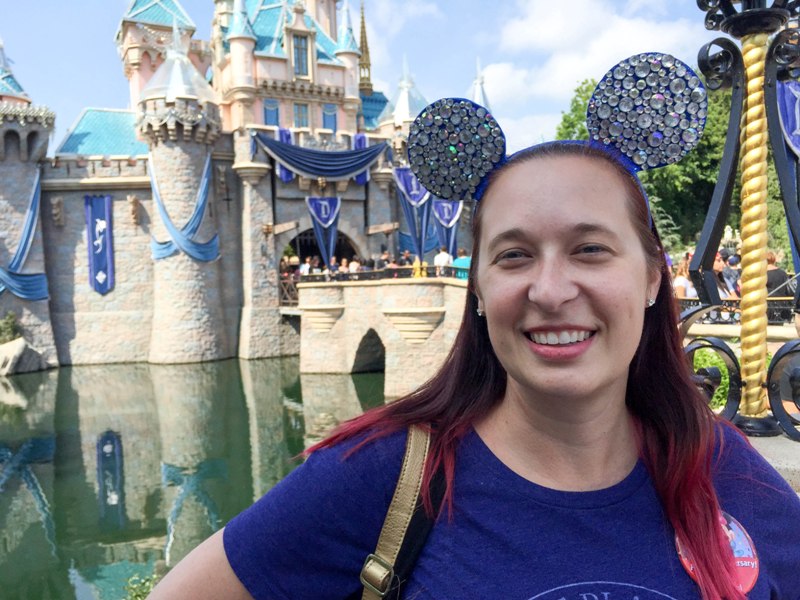
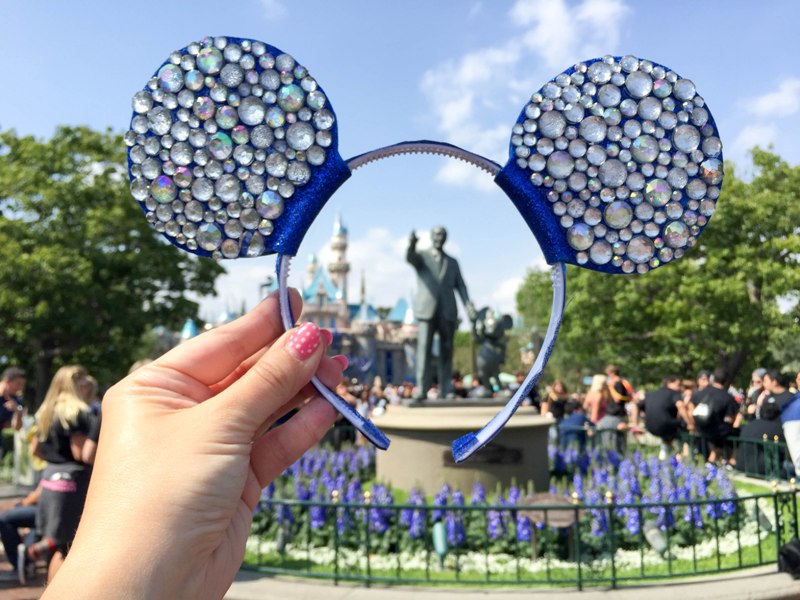
Wear your new ears to the Disneyland 60th Diamond Celebration, or whenever you need a little extra sparkle in your life!