This post contains affiliate links.
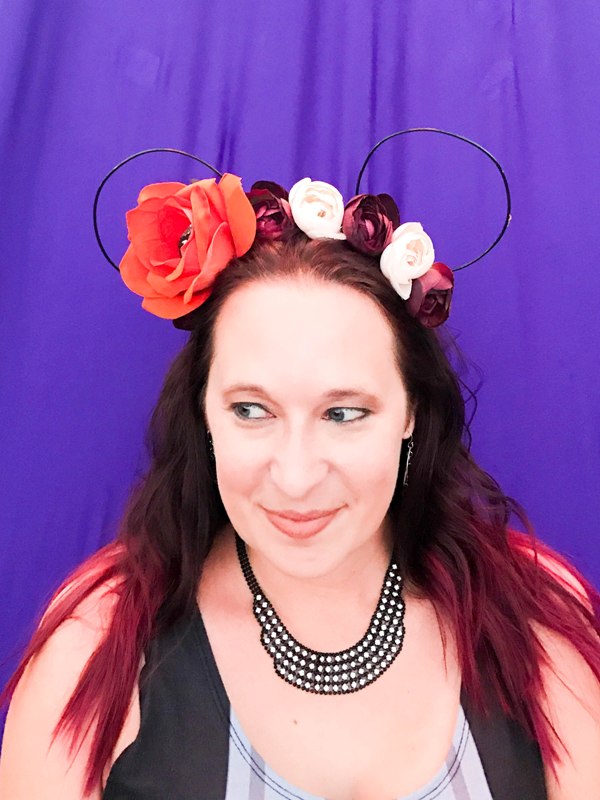
Now that I’ve made my first pair of wire Mickey ears (see my DIY black lace Mickey ears tutorial here), I’m totally hooked on the process. They take a little work but they turn out SO cute. I had a vision of a Halloween themed flower crown pair of ears and these came out exactly how I wanted! I was inspired by this oversized orange silk flower I found at Michael’s. It has a glittered-up eyeball in the center and when I saw it I knew I had to use it for something fun. This was my first attempt at an asymmetrical flower crown and I think it turned out okay! It has been featured all over my Instagram and a few of you have asked me about it, so here is the tutorial so you can make your own!
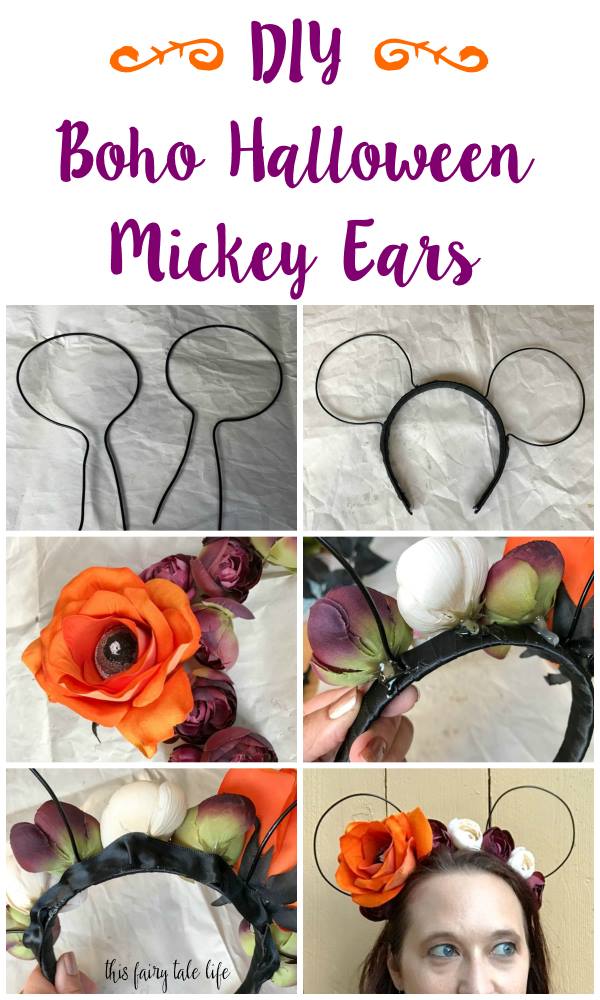
DIY Boho Halloween Mickey Ears
Supplies
Black floral wire (12 gauge)
Black headband
Black 1/2″ ribbon
Hot glue gun
Assorted silk flowers
Black masking tape (3/4 inch)
Needle nose pliers/wire cutter combo
Be sure you protect your workspace before you begin.
Steps
Step 1 – The first step is to shape your wire ears. I wanted to make my ears a little bigger than the traditional ears and I found a pickle jar was the perfect size. Look around your home and get creative as to what you can use as a size guide! Wrap the wire around the pickle jar until you have a complete circle, and trim the wire with about 2 inches sticking out on both sides. Do this twice for your two ears.
Step 2 – Place your wire ears using a pair of official Mickey ears as your guide. Once you have the right placement, trim the “edges” of the ears to about one inch, then use a piece of black tape to secure the edge to the headband. Repeat on the other side of the ear. Then repeat for the second ear.
Step 3 – We’re going to want to cover up that tape because it’s a bit ugly, so we are going to wrap black ribbon around the entire headband. Start by securing the end of the ribbon to the inside bottom edge of the headband with a small dab of hot glue. Press firmly and let dry before you start wrapping. Be careful as you wrap the ribbon near the ears. The ears are easily bendable. When you reach the other end of the headband, trim the ribbon and secure to the inside of the headband with another dab of hot glue. Press firmly to secure and fully dry before moving on to the next Step.
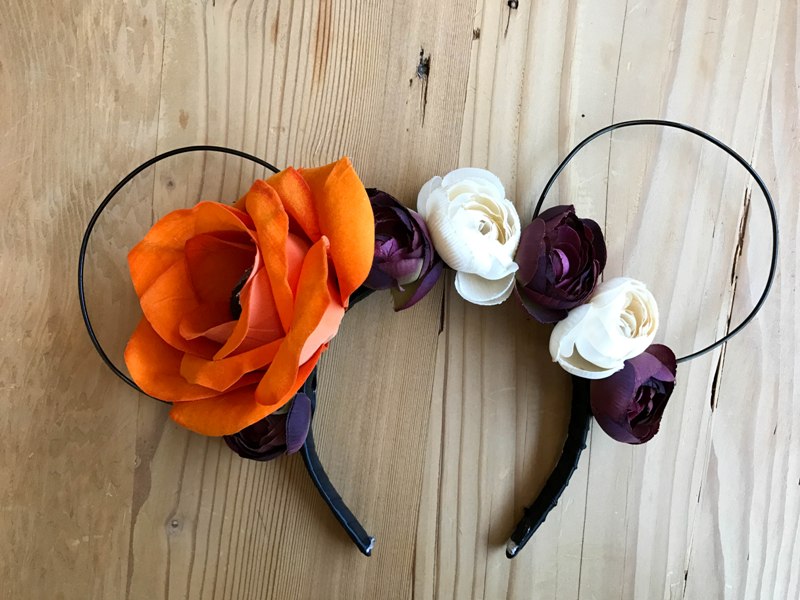
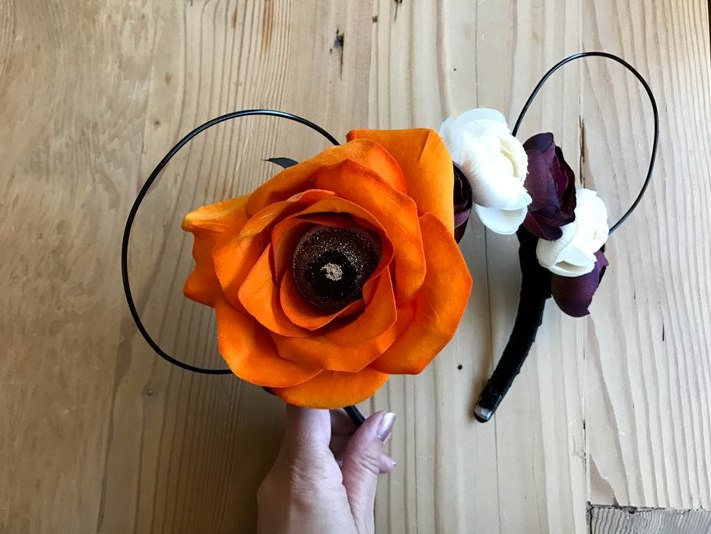
Step 4 – By now you should have a nice pair of black wire Mickey ears. Now it’s time to glue on the flower crown. Take the flowers you want to use and do some loose arranging before you glue anything down. Experiment with the placement until you get a design you like. For my ears, I knew I wanted the big orange flower off to the side, so I glued that down first. Then alternated the purple and ivory flowers along the headband.
As far as gluing the flowers down, I applied a large dollop of hot glue onto the headband and then pushed the stem of the flower into the glue and held it secure for about a minute while the glue partially dried. Then I used the hot glue gun to apply another generous dollop of glue on top of the stem to secure it in place.
Step 4 – Once all the flowers are attached and the glue is dry (about 15-20 minutes), I glued a piece of black ribbon on top of all the stems, just to make the headband look a little prettier from the back.
I’ve been wearing them to Disneyland all month and I get so many compliments! I think you’ll love wearing these ears as much as I do.