Valentine’s Day is probably my favorite holiday. I think it mostly has to do with pink, but I think it’s also nice to take a day to show your appreciation to those who love and support you! Valentine’s Day is not just for lovers, it’s for celebrating all of the wonderful relationships in your life. And also it’s an excuse to eat a ton of chocolate and candy.
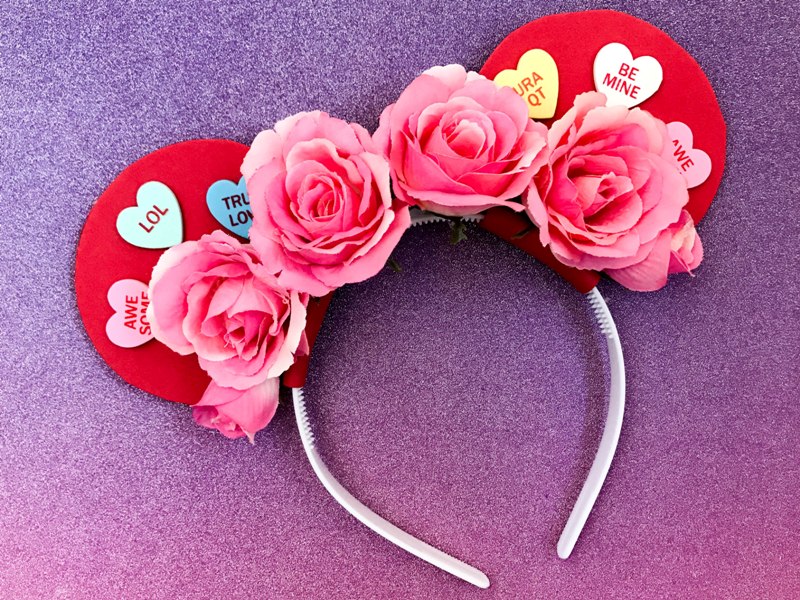
Conversation Heart candies are one of those foods that people feel really passionately about. Either you really love them or you really hate them. My husband thinks they taste a little bit like chalk, but I could eat them by the bucket full. Sadly I can’t eat them anymore since they are made with corn syrup, but it doesn’t mean I can’t share my Conversation Heart love in other ways … like these adorable Conversation Heart Valentine’s Day Mickey ears!
This is a really simple and fun DIY that will take you no time at all to make, especially if you leave off the flower crown. Speaking of the flowers, did you watch when I was making these live on Facebook? I had a lot of flower malfunctions … which was very embarrassing, but you know what? DIY is NOT easy sometimes. Sometimes your plans go awry and you have to come up with something else. And sometimes it all happens on live video and there’s nowhere to hide, haha! But when a little extra glue everything turned out okay in the end, I think.
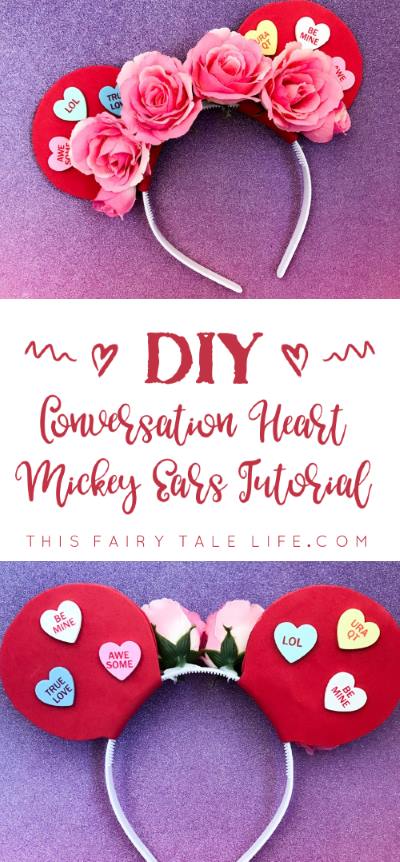
DIY Conversation Heart Mickey Ears Tutorial for Valentine’s Day
This article contains affiliate links.
Supplies
Red craft foam (or your choice of color)
White headband
Scissors
Hot glue gun
Conversation Heart Stickers (about an inch wide or smaller works best)
(Optional) Silk pink flowers (or your choice of color), 2″ or smaller in diameter
Steps
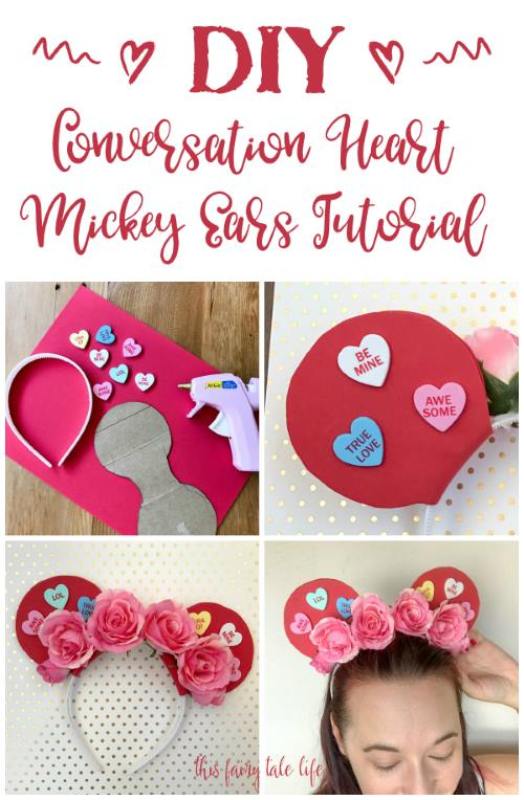
Step 1 – Cut your two Mickey ears from foam and glue them to the headband using the hot glue. See this post for detailed instructions and ears template.
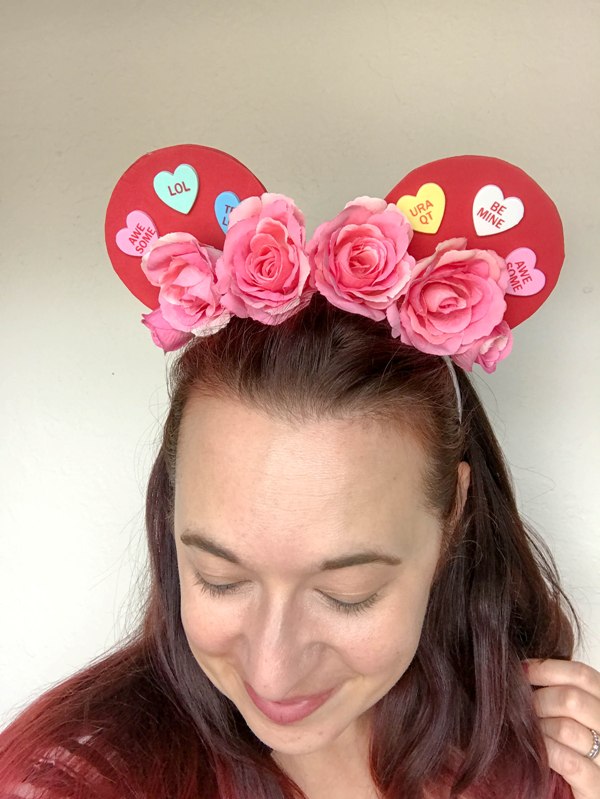
Step 2 – Without removing the backing, lay out the conversation heart stickers on the ears until you are happy with the placement. I did three stickers per ear, and placed them towards the top so they wouldn’t be blocked by the flower crown. Once happy with the placement, remove the sticker backing and press the sticker onto the ear. Repeat for the other side, and the back.
Step 3 – You can stop with Step 2, or add a flower crown. Simply remove the silk flowers from the stems (there should still be a little “knob” on the bottom of the flower) and use a generous drop of hot glue to attach the bottom of the flower to the headband. Hold in place for 30-60 seconds to let the glue partially dry. Then place another generous drop of hot glue on top of the flower “knob” and hold in place for another 30-60 seconds. You can watch how I do this on the video or check out my Fall Flower Crown Mickey Ears tutorial for pictures. If you want, use a piece of color coordinated ribbon to cover the backs of the flowers and huge hunks of glue.
This article was originally published in February 2017 and has been updated.