
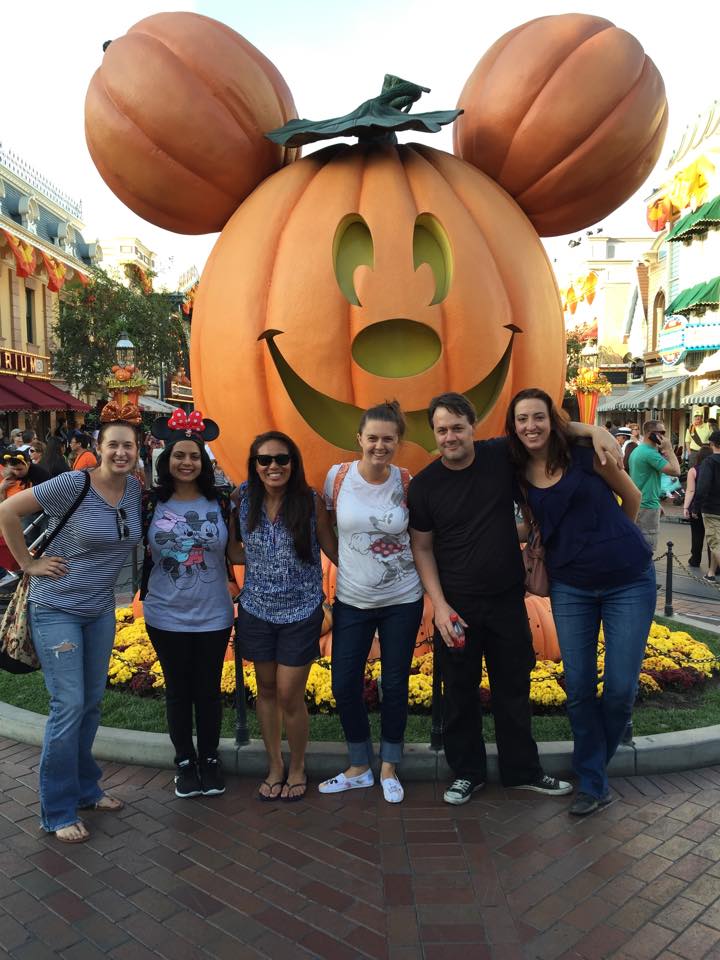
One of my favorite sights during Halloweentime at Disneyland is the giant Mickey Pumpkin on Main Street USA. Here’s a picture with some friends of mine taken earlier this month!
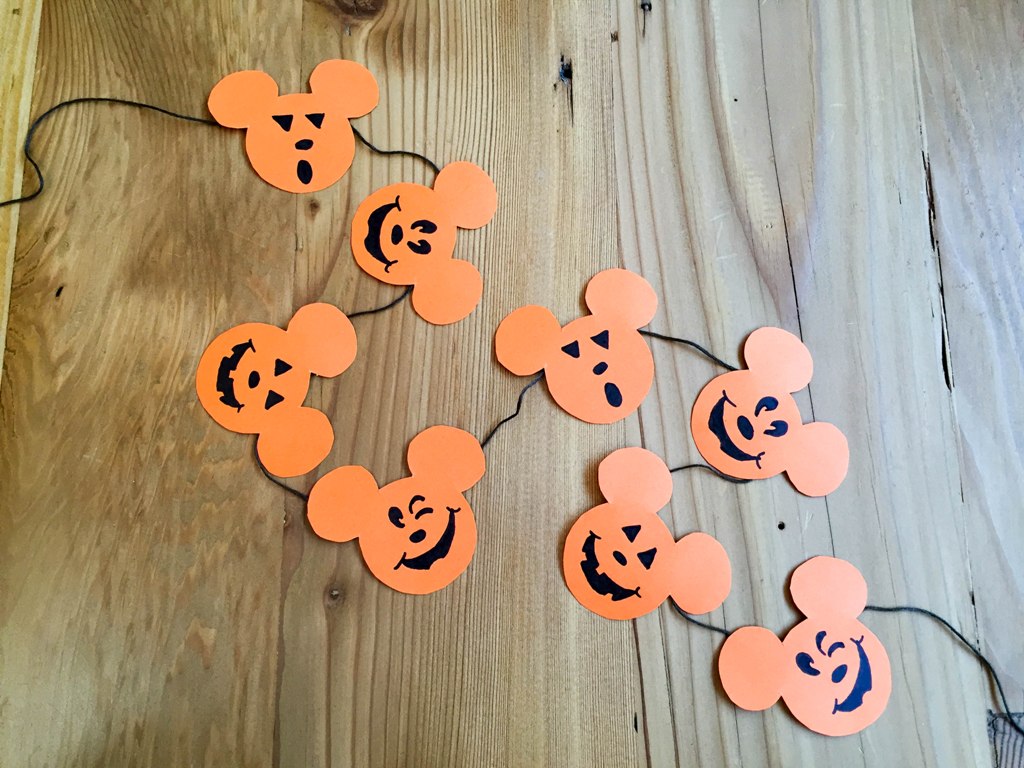
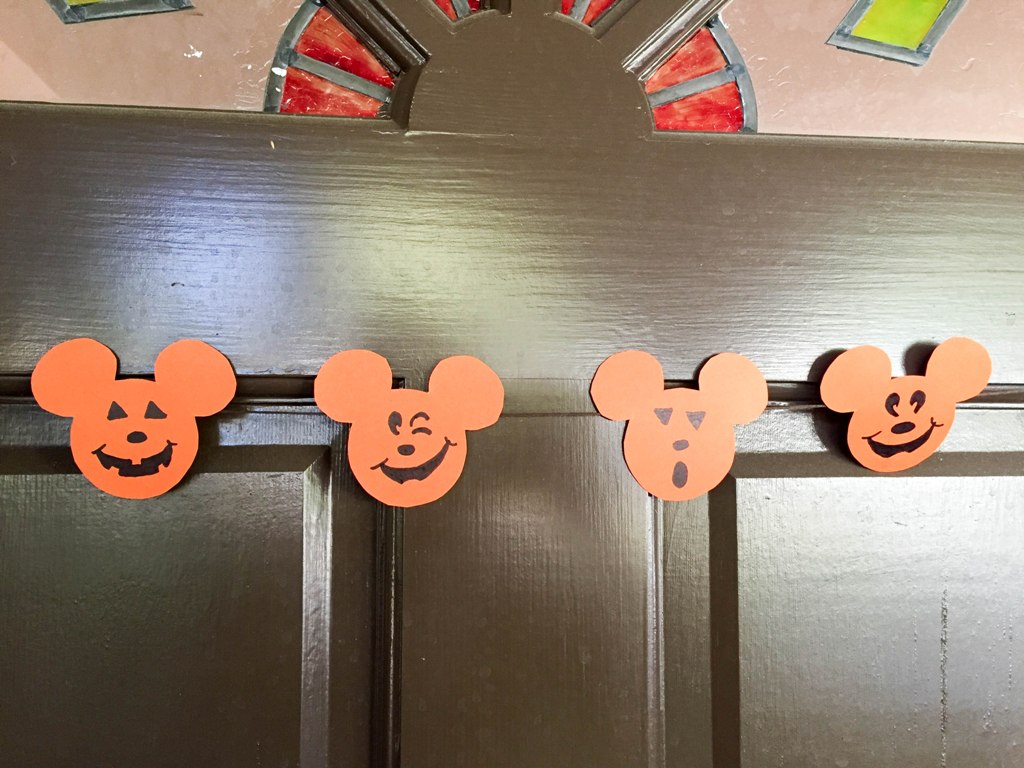
I thought it would be fun to bring a little bit of the Disneyland magic into my home, so I decided to make a Mickey pumpkin Halloween banner in the likeness of the Mickey pumpkin. Each side has a different face, so I studied pictures and practiced to get it looking close. I love how it looks hanging across our front door and I hope it brings a smile to the faces of our trick-or-treaters!
Mickey Pumpkin Halloween Banner
Supplies:
- Orange Construction Paper
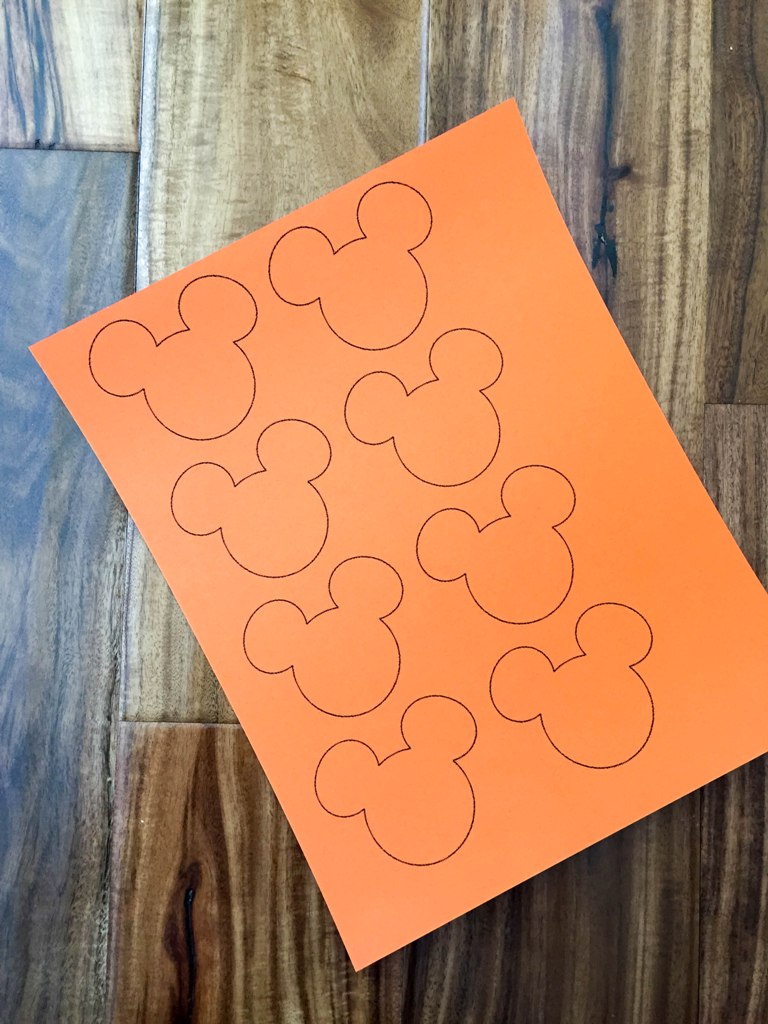
- Mickey shapes template (click to open and save)
- Black Sharpie Marker
- String or Ribbon
- Scissors
- Scotch Tape
Steps:
Step 1 – Print the Mickey shapes template onto the orange construction paper. My template will give you eight Mickey shapes.
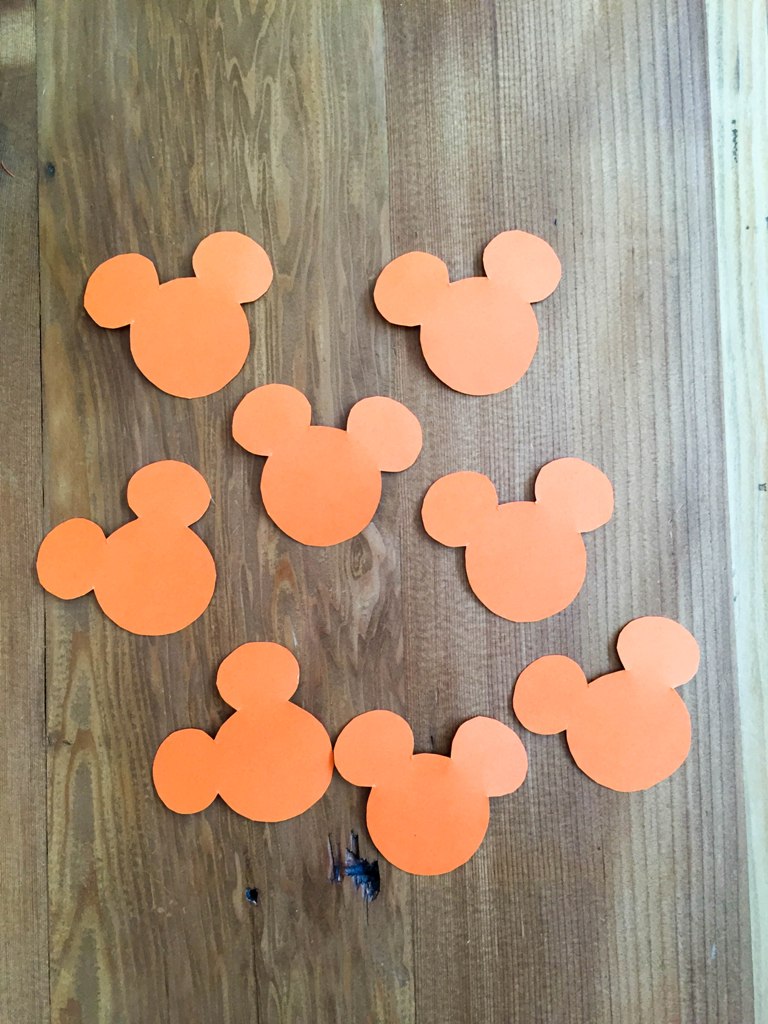
Step 2 – Cut out the Mickey shapes.
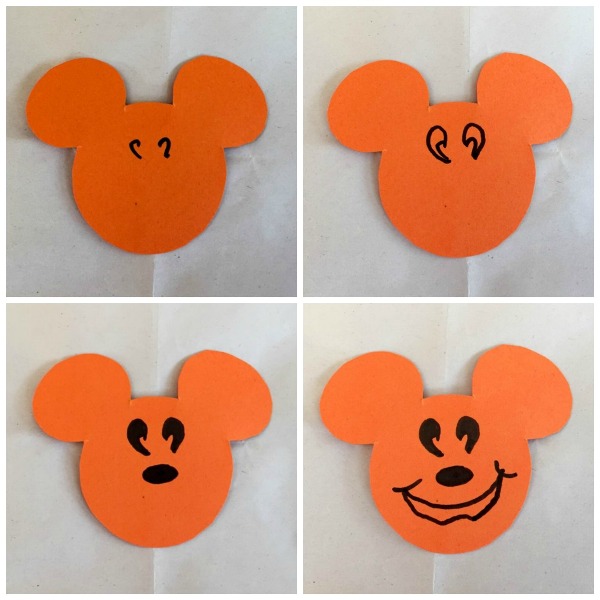
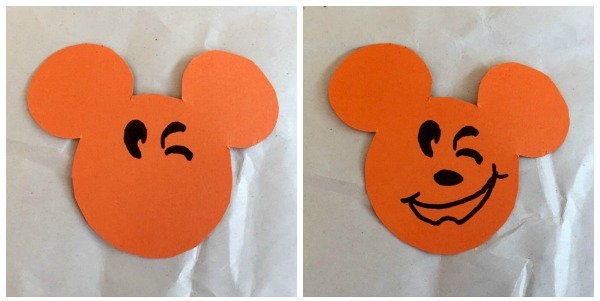
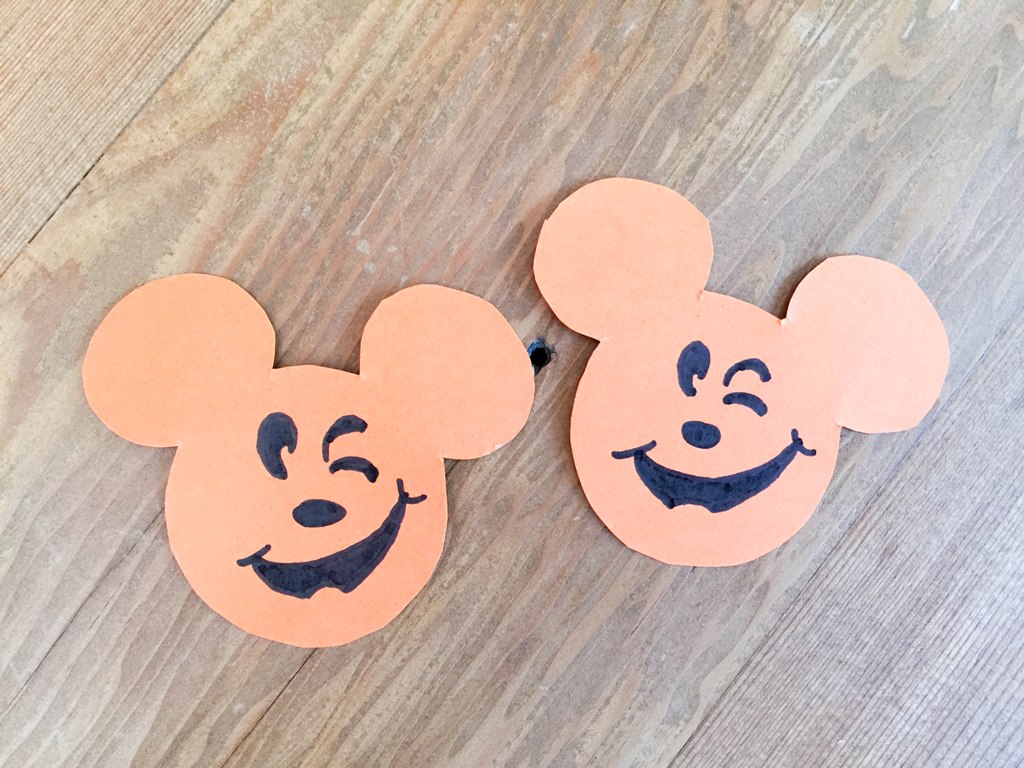
Step 3 – Draw jack-o-lantern faces on the Mickey shapes. Be sure to draw on the side that DOES NOT show the printed Mickeys and be sure to protect your work surface with newspaper or scrap paper. I wanted my Mickey pumpkins to resemble the two sides of the giant Mickey pumpkin on Main Street USA at Disneyland. I studied the pictures and practiced on separate paper before I drew on the actual Mickey shapes. I recommend practicing first before drawing on the real thing!

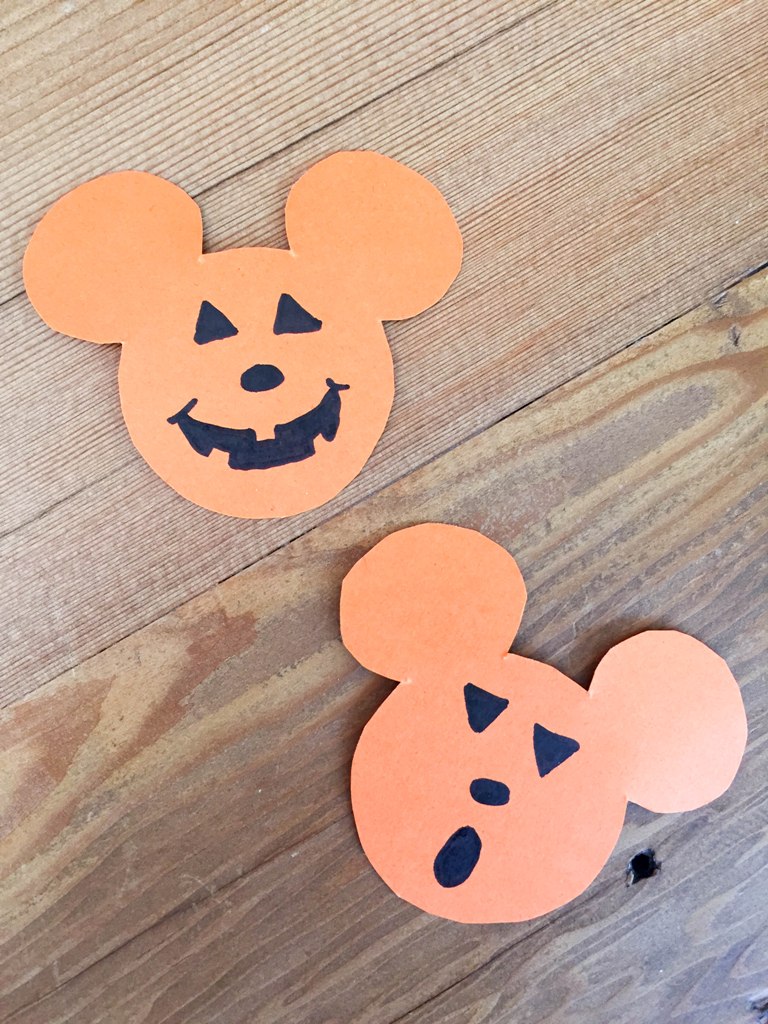
I also did a few of my own designs, just for variety.
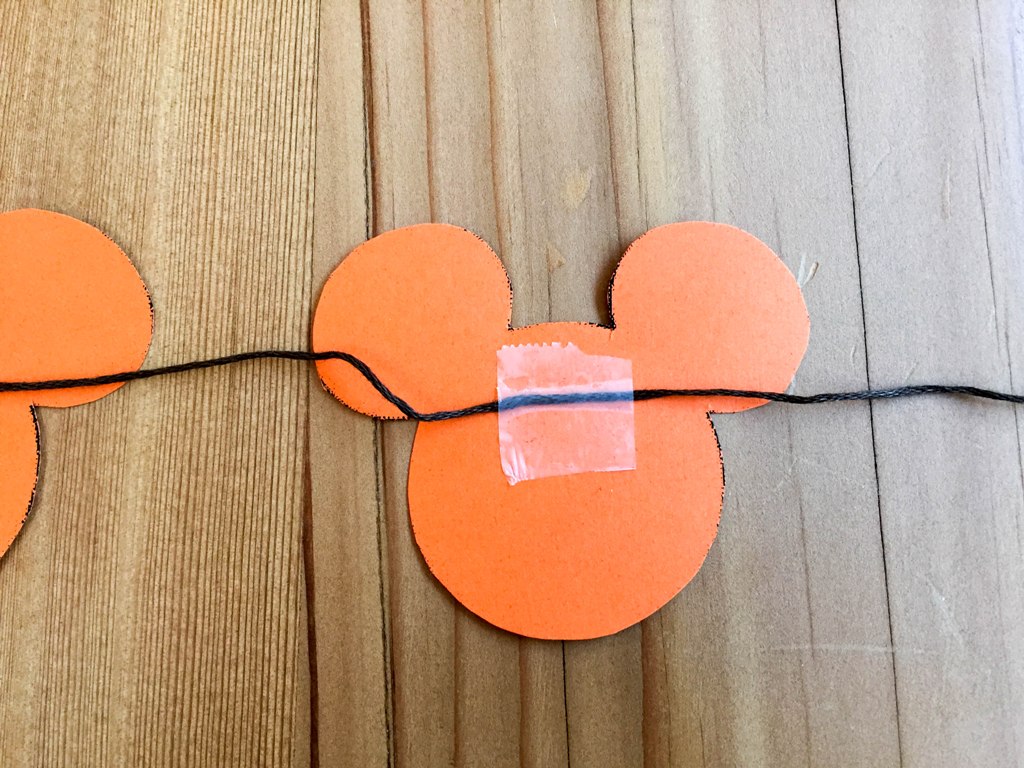
Step 4 – Tape the back sides of the Mickey heads to the string or ribbon, spacing them evenly. I used brown embroidery thread because our front door is brown and I wanted the string to blend in, so it looked like floating Mickey pumpkins! Be sure to tape the string high up on the Mickey head because they are top heavy, and if you tape it too low they will flip right over!
Step 5 – Hang in your desired location!
I hope you enjoyed this easy DIY!