This post contains affiliate links.
Hi everyone! I hope you all had a lovely Thanksgiving and now it’s time to move FULL FORCE into Christmas!! Aaahhhhhhh! How is it almost December already? If you’re asking yourself the same question, and you haven’t started an advent calendar yet, then I think you’ll enjoy today’s post!
The advent calendar has always been one of my favorite holiday traditions, and the homemade ones are 10,000x more fun than the store bought boring chocolate ones. (Although I’ve never been one to turn down chocolate.) I like this advent calendar because it’s completely customizable, from the way it looks to what’s hiding inside the little baggies!
It’s super easy to make, too. It just took me an hour or so! (Took me waaaay longer to make the templates, which you don’t have to do! Lucky you!) I filled mine up with the same candy each day, but you could get creative and use different candies, little toys, stickers … whatever your heart desires! I would love for someone to make one of these for me, so I could be surprised every day with a new treat! And just for fun, I included a Disney trivia question in each baggie – you can download the trivia questions below.
DIY “Trivia and Treats” Mickey Advent Calendar
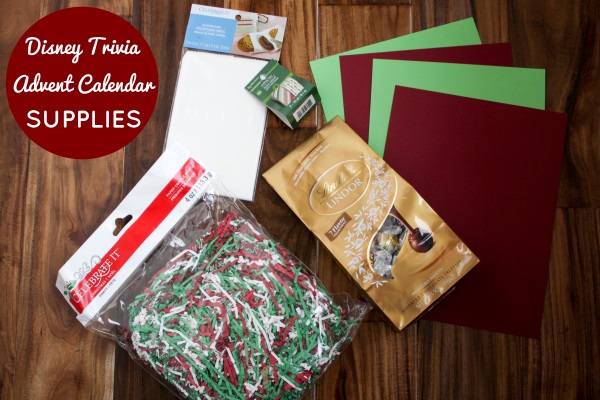
Supplies
- Construction paper
- 24 glassine bags (found in the baking section of the craft store)
- Crinkle paper
- Candy/Toys
- Washi (craft) tape
- Glue stick (not pictured)
- Scissors (not pictured)
- Printer (not pictured)
- Templates (below)
Steps
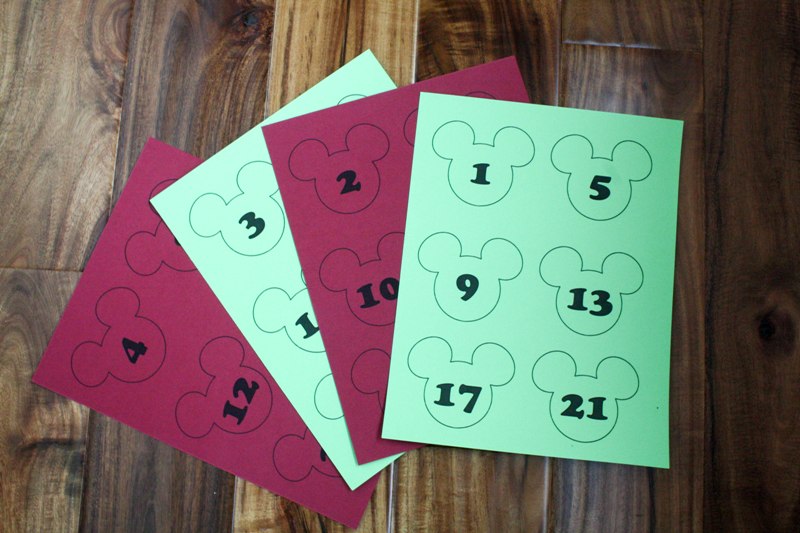
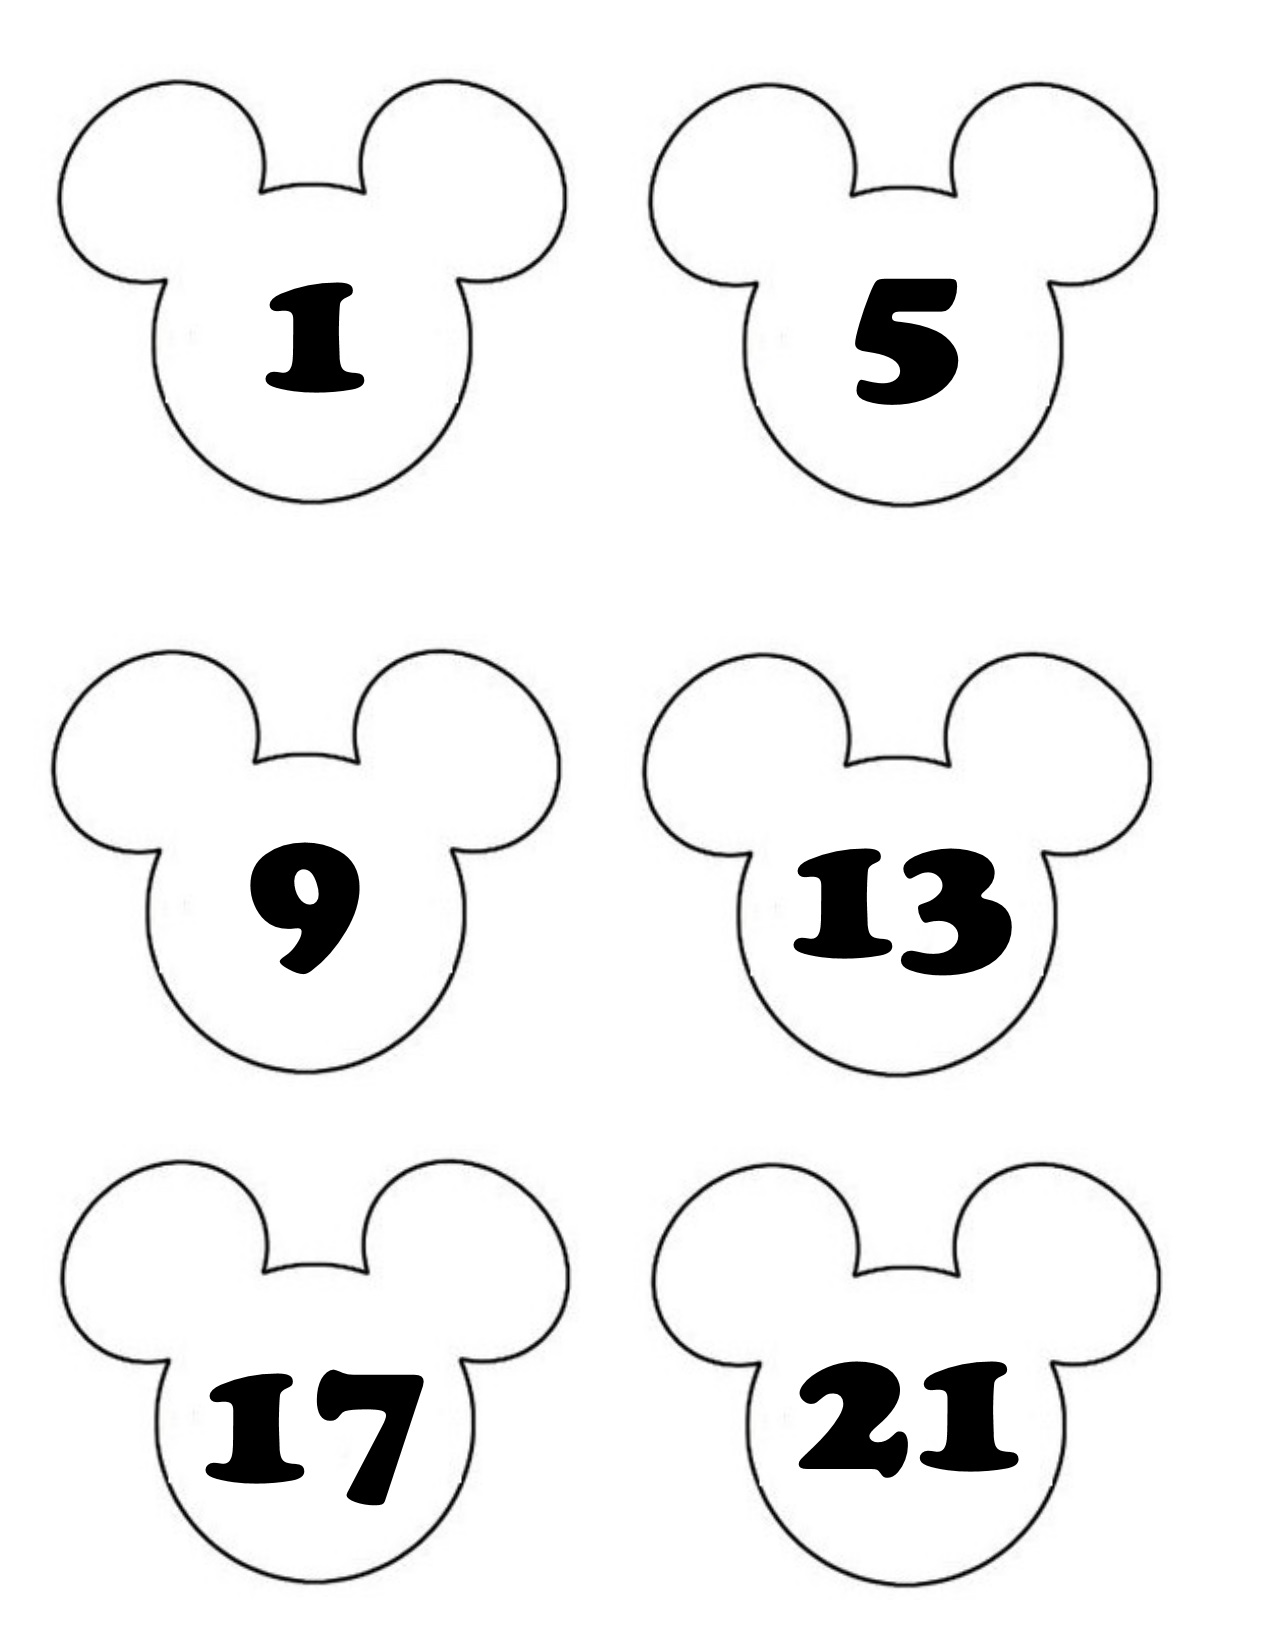
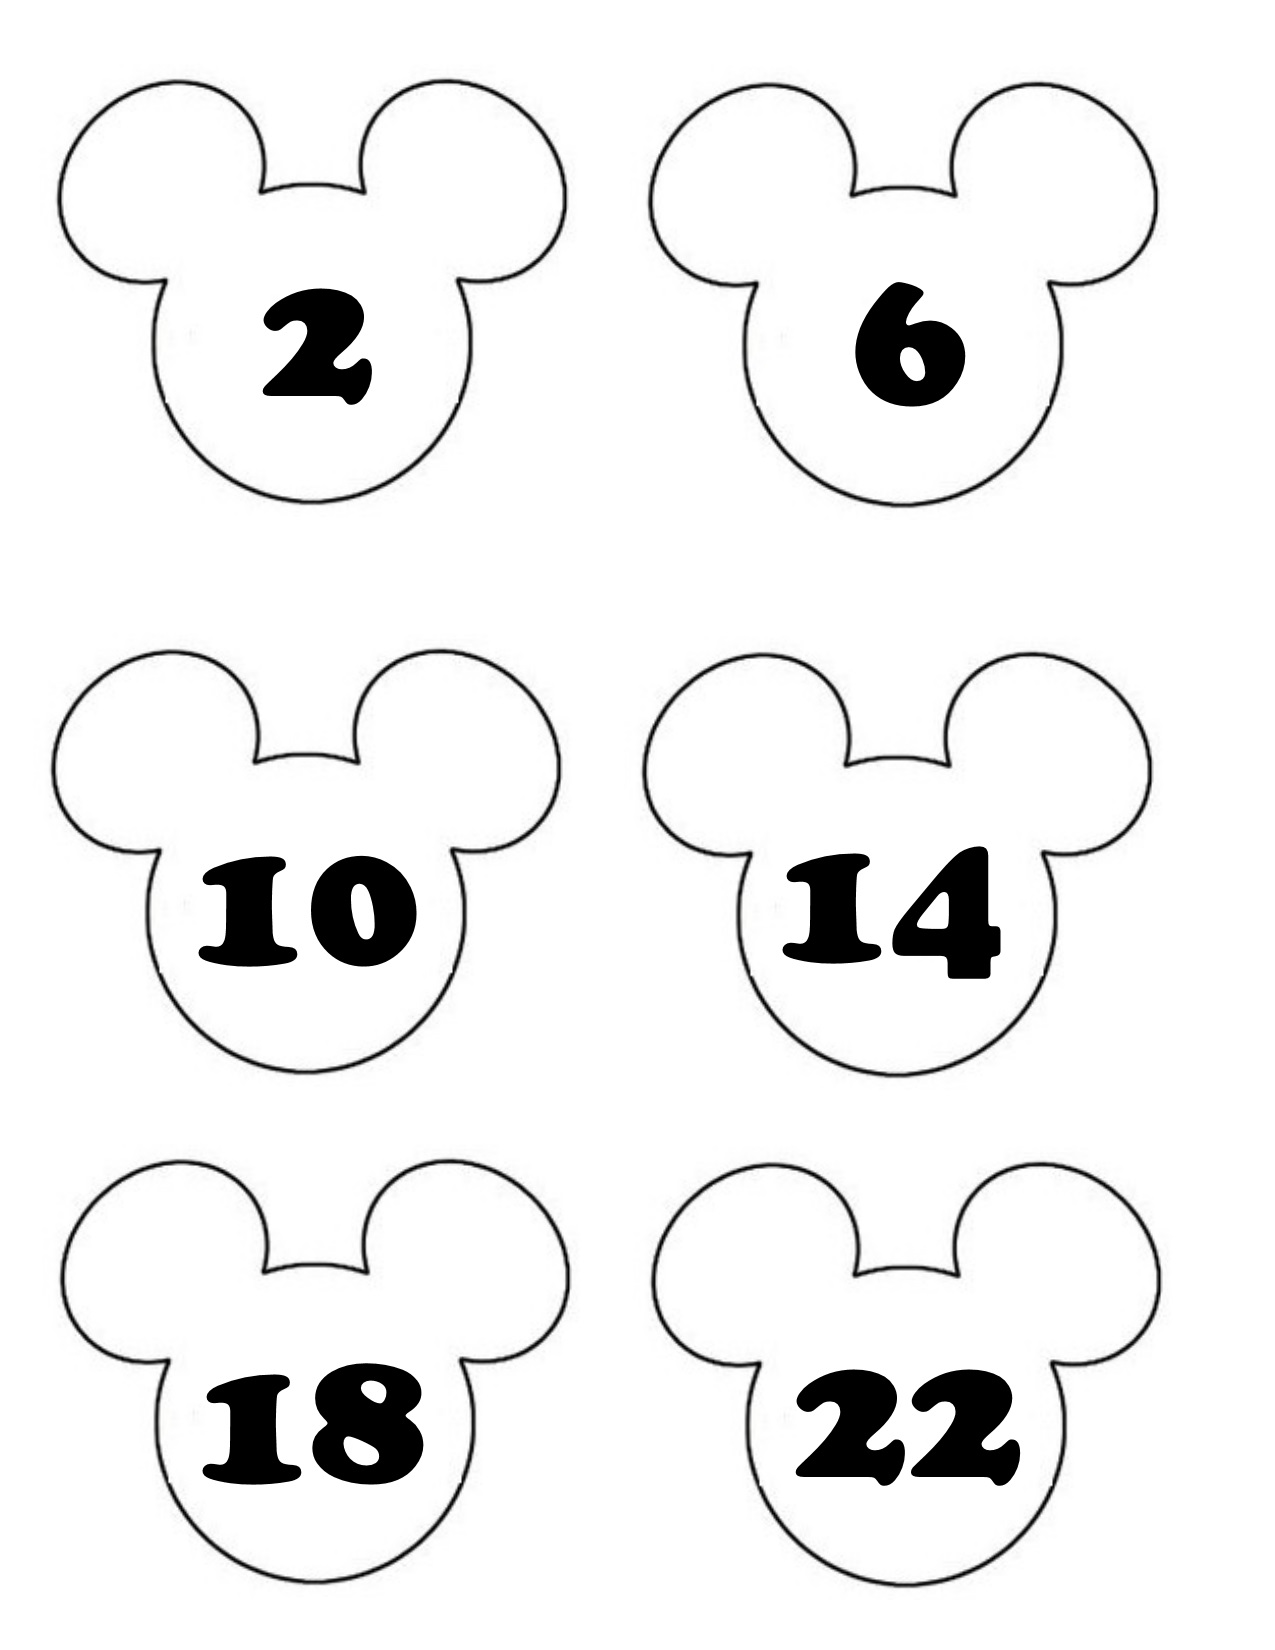
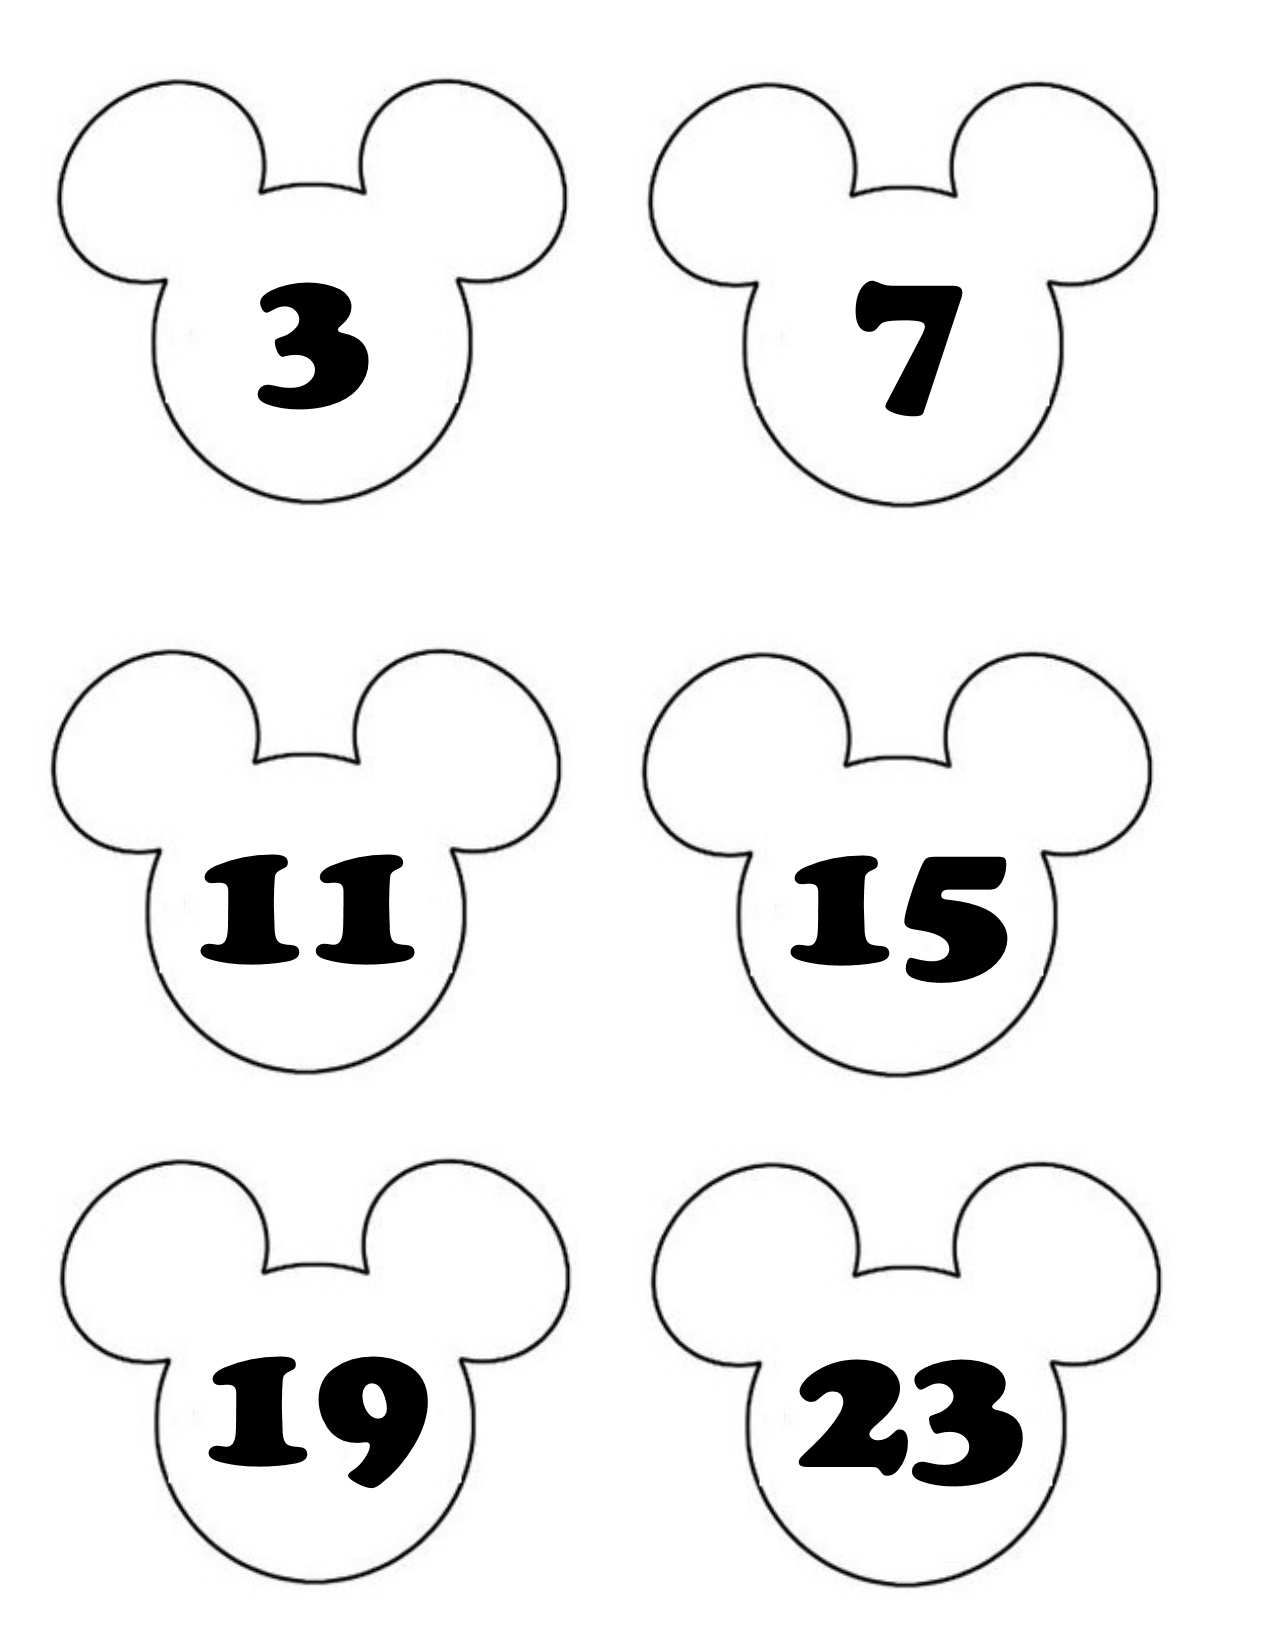
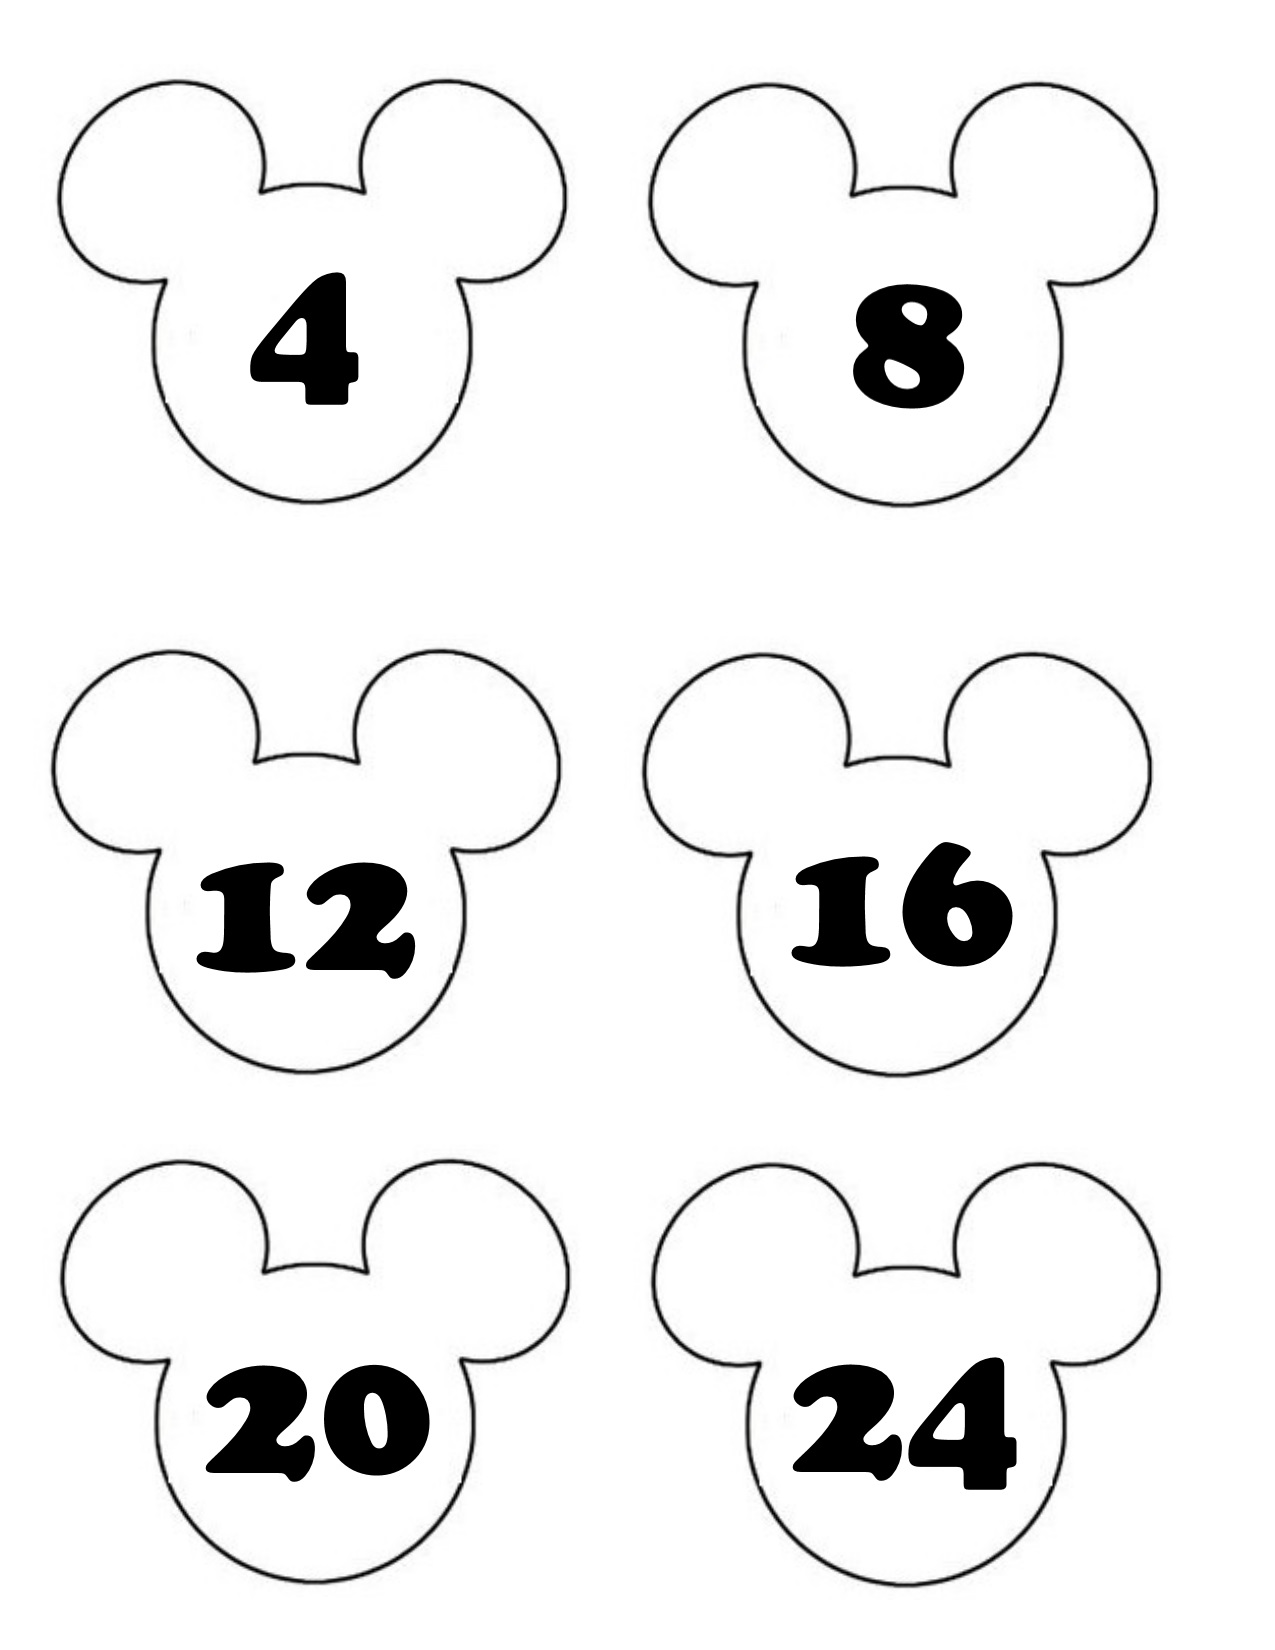
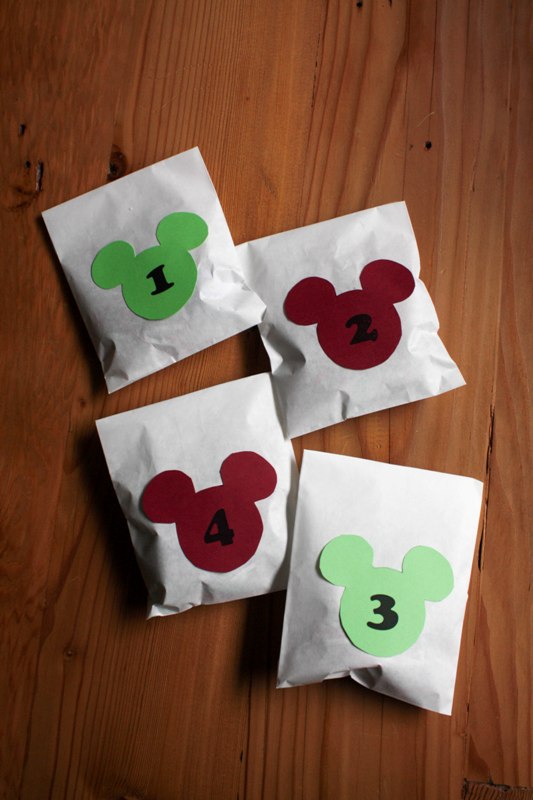
Step 1 – First we will print out the Mickey shapes. Decide on your construction paper colors. There are four pages of templates, so I printed two on red and two on green, so the colors alternated with the numbers. You could do one solid color, or pick four complimentary colors, or any combo in between! Print out the four templates using your printer.
To save the templates to your computer, click on the thumbnails below (one at a time) to open the full-size image in a new tab/page. Right click and save to your computer. Then open the file in your favorite image viewing program and print. Be sure to select “fit to page.”
Step 2 – Cut out each of the 24 Mickey shapes. Be sure to cut just inside the black outline.
Step 3 – Using the glue stick, glue one Mickey shape to the front of a glassine bag. Repeat for all 24 Mickey shapes.
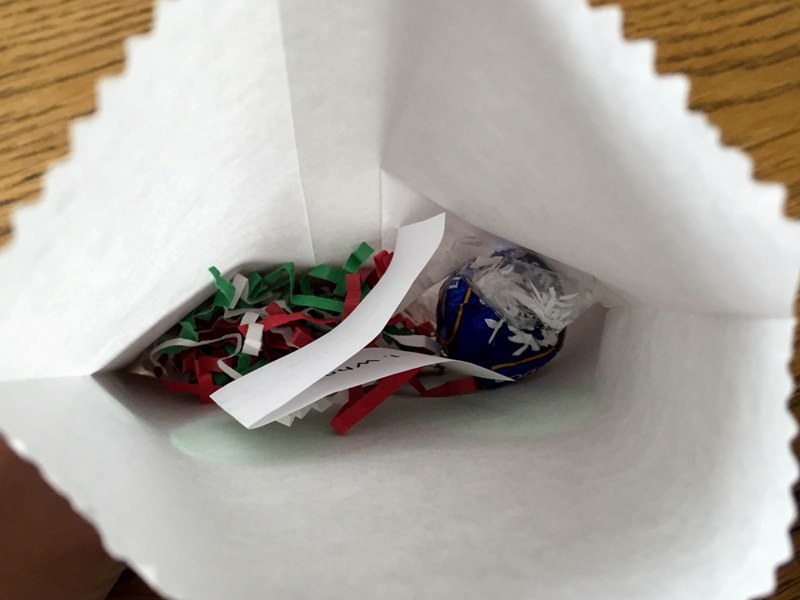
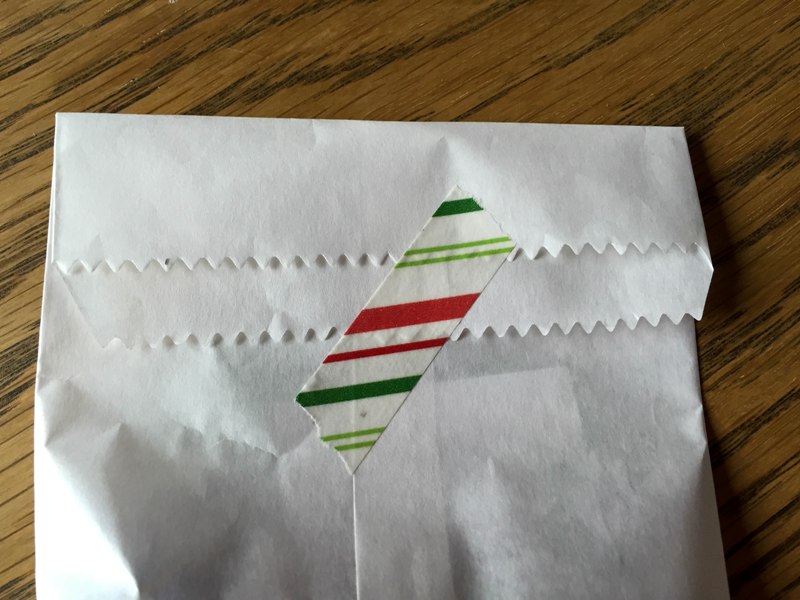
Step 4 – Fill your baggies with treats and candy! I put a little bit of the crinkle paper in each baggie, and threw in a truffle. I also included a trivia question for each day. When the envelope is stuffed, fold over and seal with a piece of washi tape.
I included a Disney trivia template below! Just cut along the lines so you have 24 strips of paper, one question for each day. There is also a template with the answers, which you can include in the Day 24 baggie, or just keep off to the side if you can’t possibly wait to find out the answers! Each year I update this post with a new set of trivia questions, so you can keep coming back and doing this fun advent calendar year after year.
Disney Trivia Year 1
Disney Trivia Year 1 – with Answers
Disney Trivia Year 2
Disney Trivia Year 2 – with Answers
Disney Trivia Year 3
Disney Trivia Year 3 – with Answers
Disney Trivia Year 4
Disney Trivia Year 4 – with Answers
Disney Trivia Year 5
Disney Trivia Year 5 – with Answers
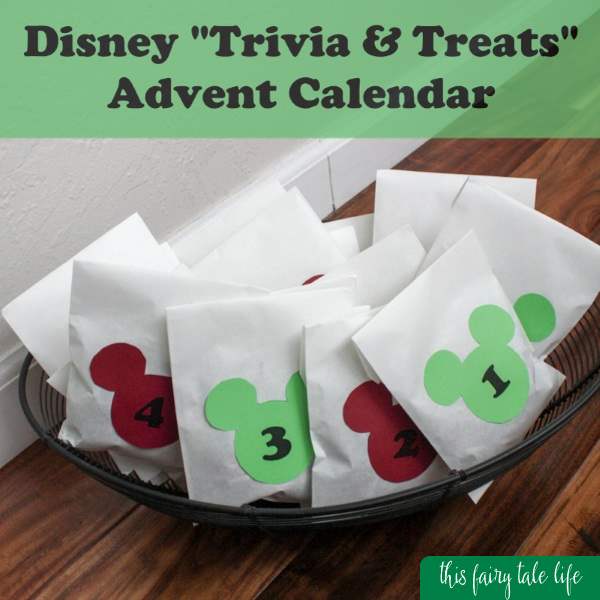
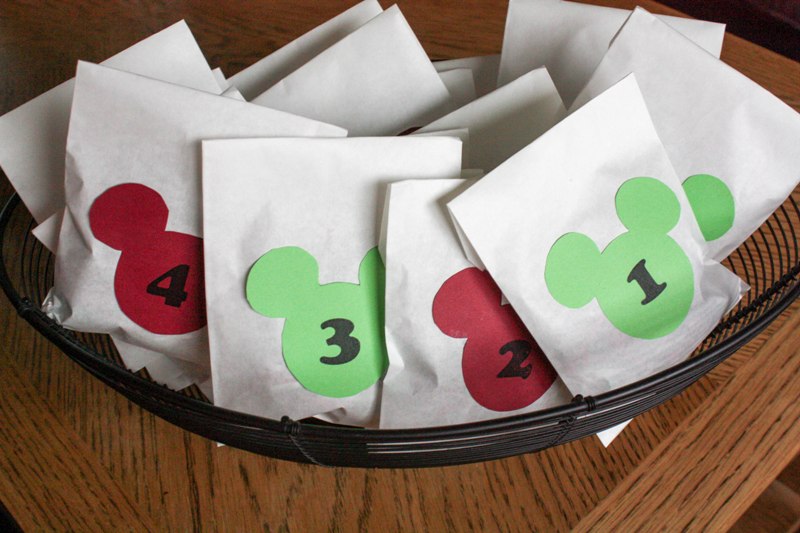
Step 5 – Arrange the bags in a pretty basket or tray. You can arrange in numerical order, or you can mix it up so the kids have to search for the daily baggie!
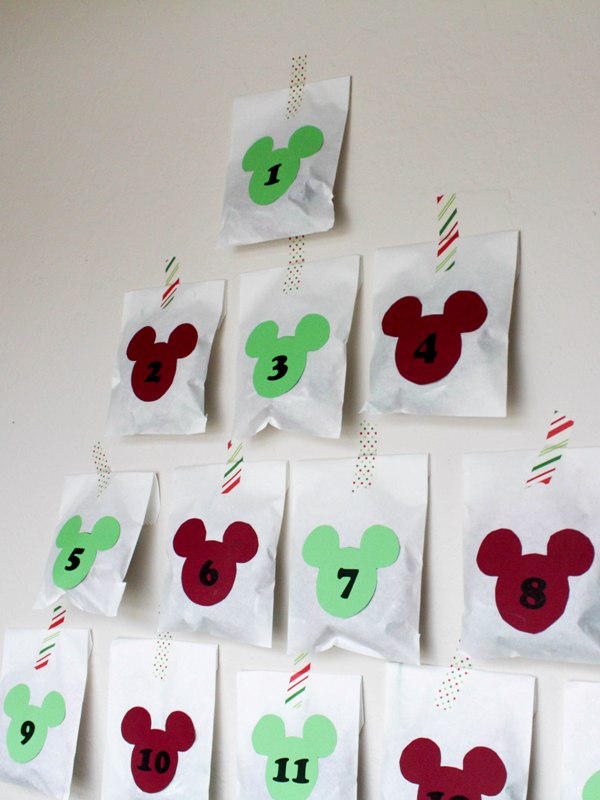
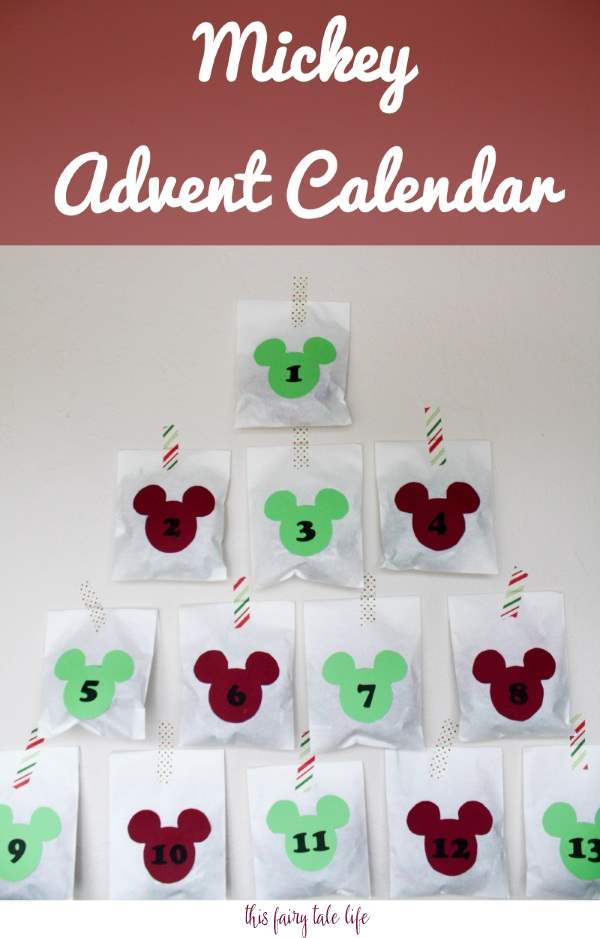
Another idea is to use the washi tape to hang the baggies on the wall, in the shape of a Christmas tree!
Or you could create whatever shape you want! Again, you can hang them in numerical order (as I did), or mix up the numbers!
I hope your family enjoys this fun (and educational!) advent calendar!

