This post contains affiliate links.
It was a sad, sad day when Disney decided to discontinue their very popular Mickey groom tuxedo hat ears …

… and replace them with these tuxedo shirt ears.

The general consensus in the Disney weddings community is that the new ears just aren’t as classy looking.
SO, even though our own Disney wedding has come and gone, I decided to attempt to make my own Mickey tux hat ears to show you all how easy it is. And it was very easy!

Here’s what you need:
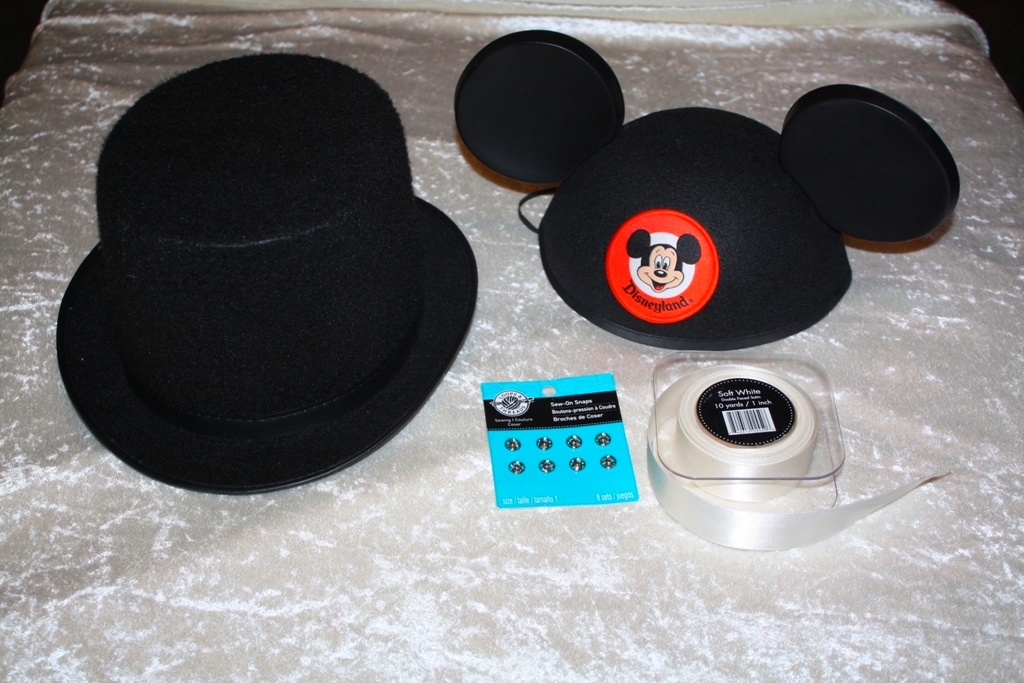
Supplies:
- Tuxedo hat. There are lots of options on Amazon! But I found one at a year-round Halloween costume store for under $10.
- A pair of Mickey ears. Disney used to sell just the ears but seems to have discontinued them. So I had to buy an entire hat.
- Needle and black thread
- Pliers
- (optional) Ribbon in the color of your choosing.

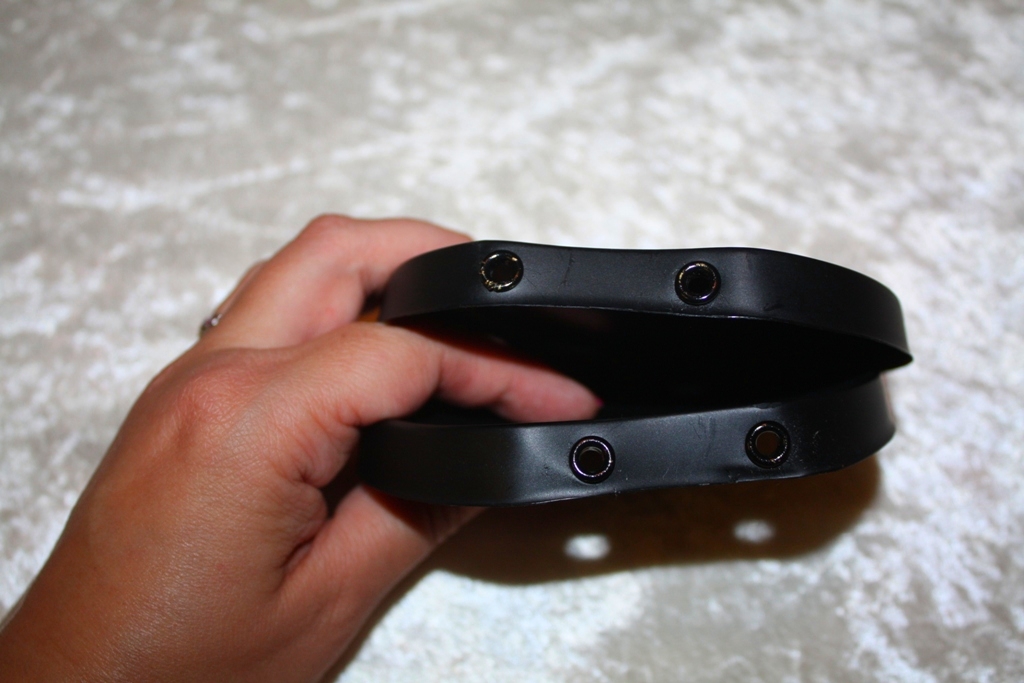
Step 1 – Cut the ears off your Mickey hat. This may be emotionally painful for some people. But I promise it will be okay.
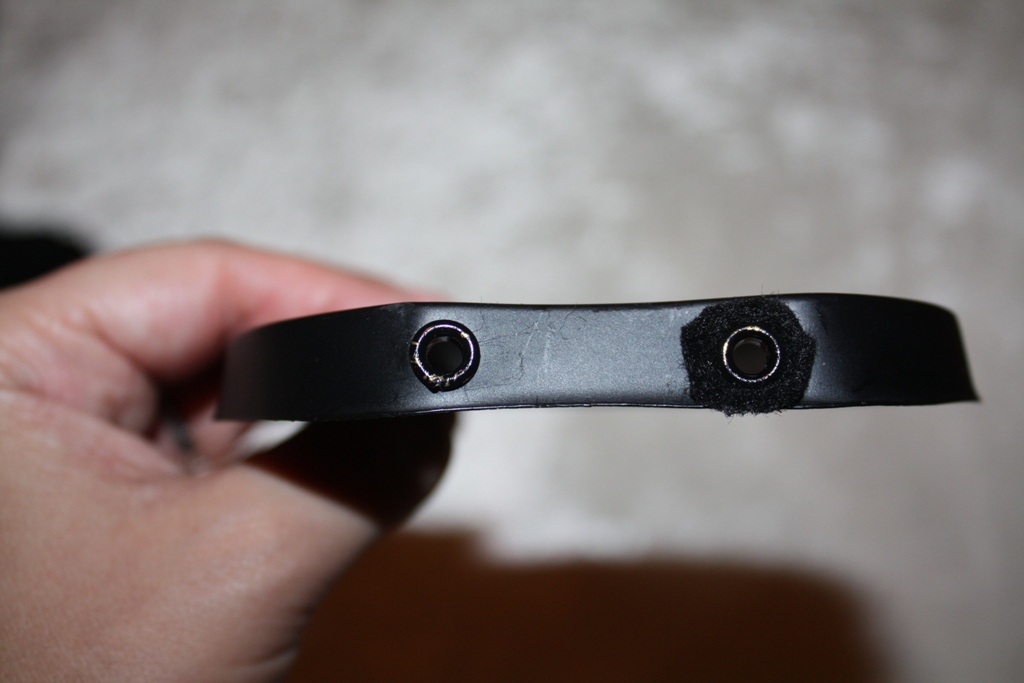
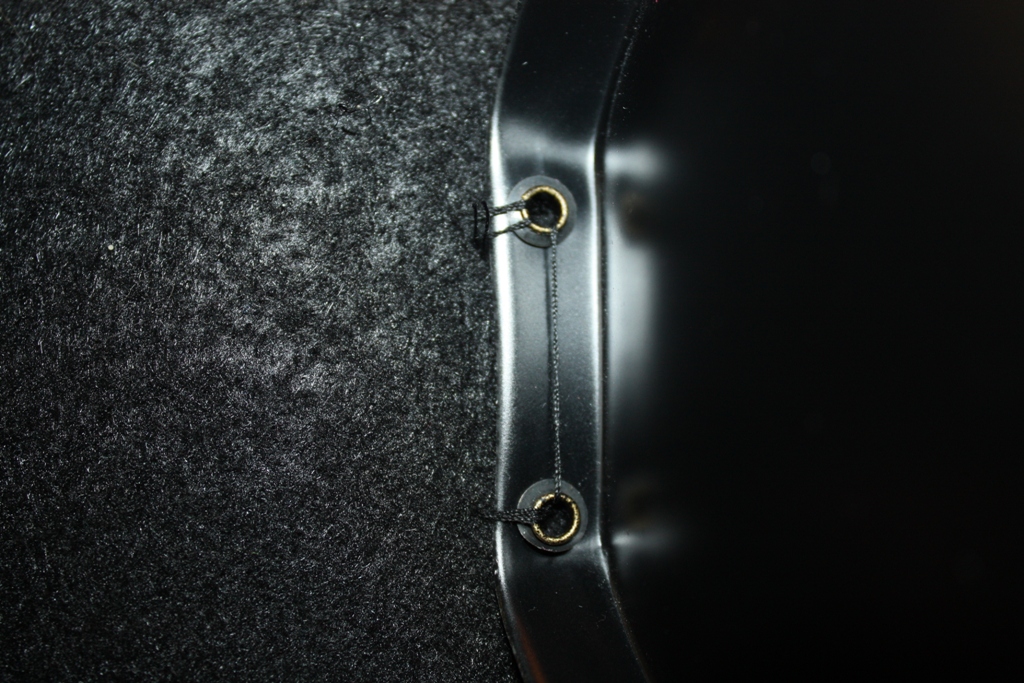
Step 2: Use a pair of pliers to pull the excess fabric out from under the grommets. You will have to tug at it with some force.
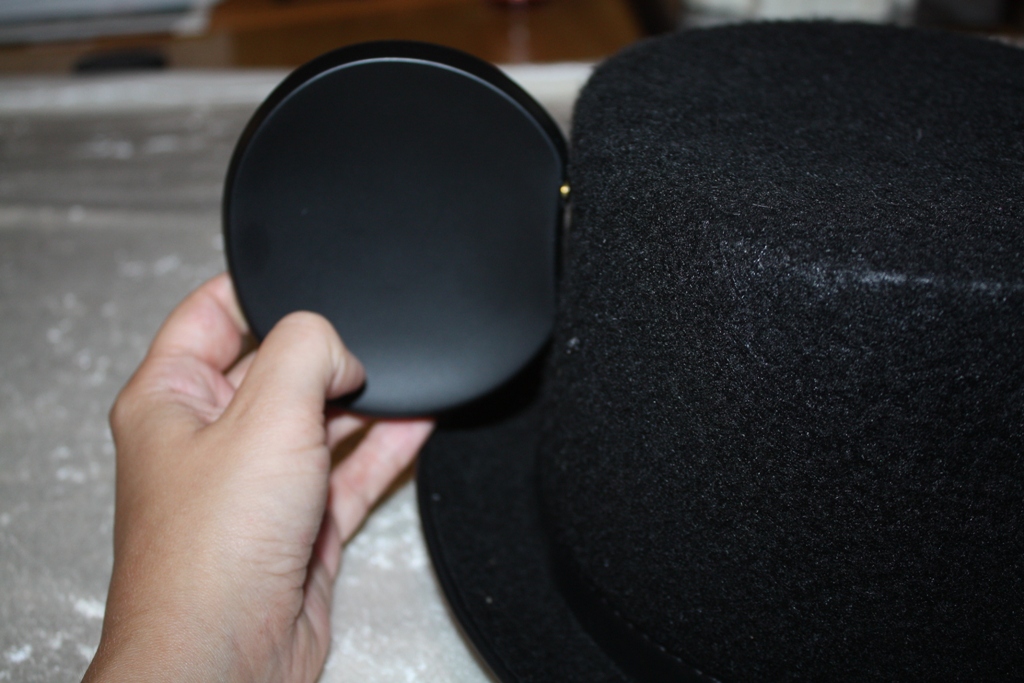
Step 3 – Line the ears up on the sides of the longer side of the hat. You can move the ear up or down, depending on how you want it. Once you have it where you want it, carefully attach the ear to the hat with the needle and thread. Use as much thread as you feel you need, since this will be hardly visible.
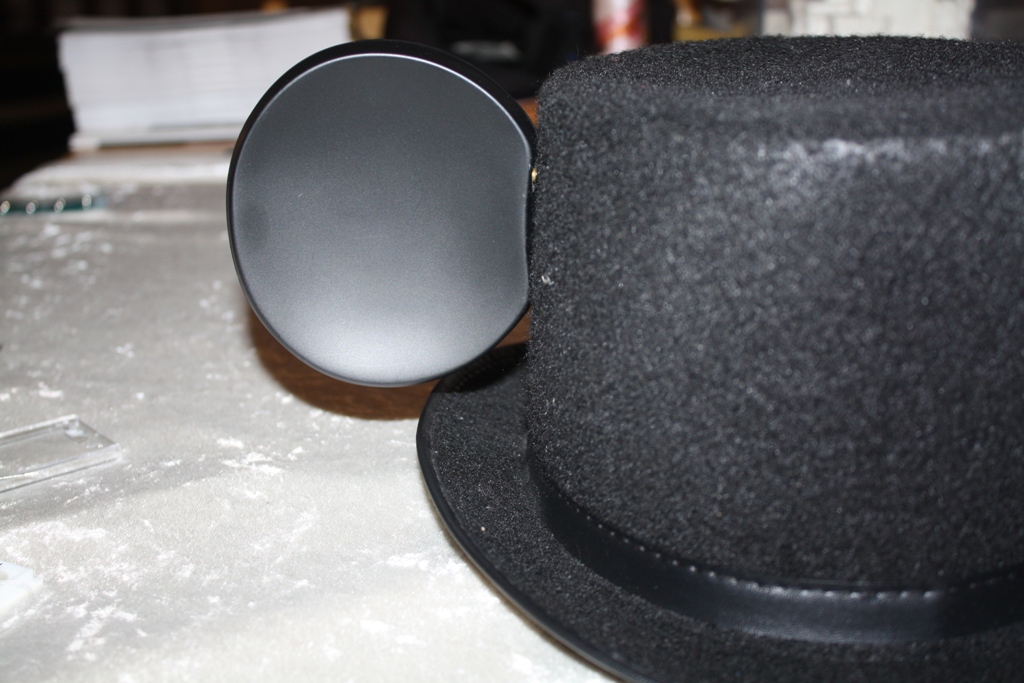
Step 4 – Repeat with the second ear after you’ve made sure it is lined up evenly with the first ear.
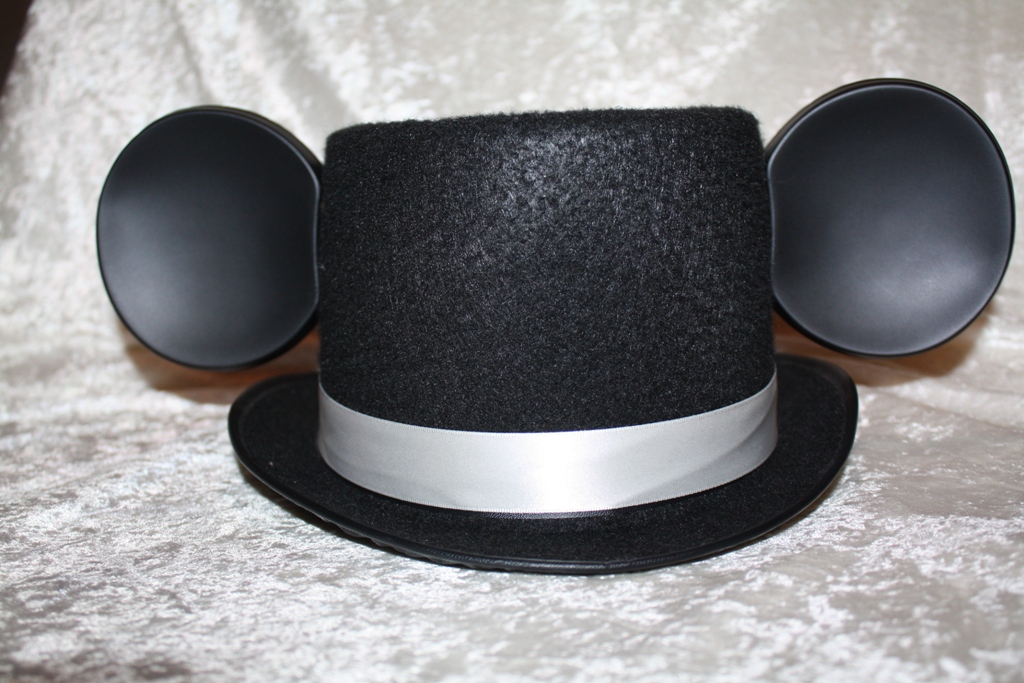
Step 5 – (Optional) Add a ribbon trim in white, black, or one of your wedding colors.