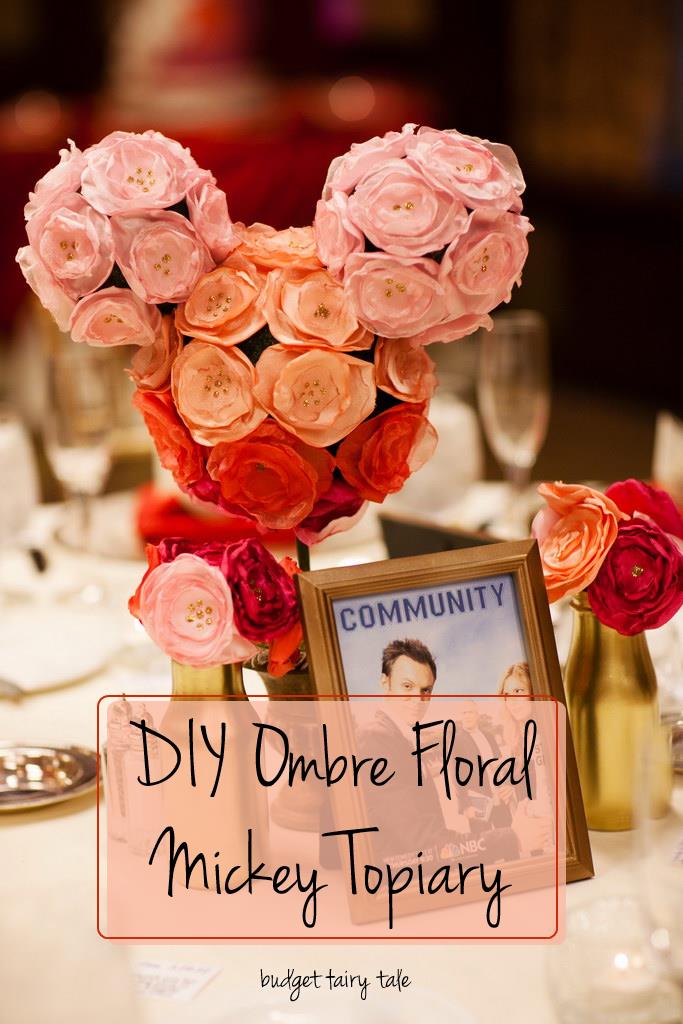
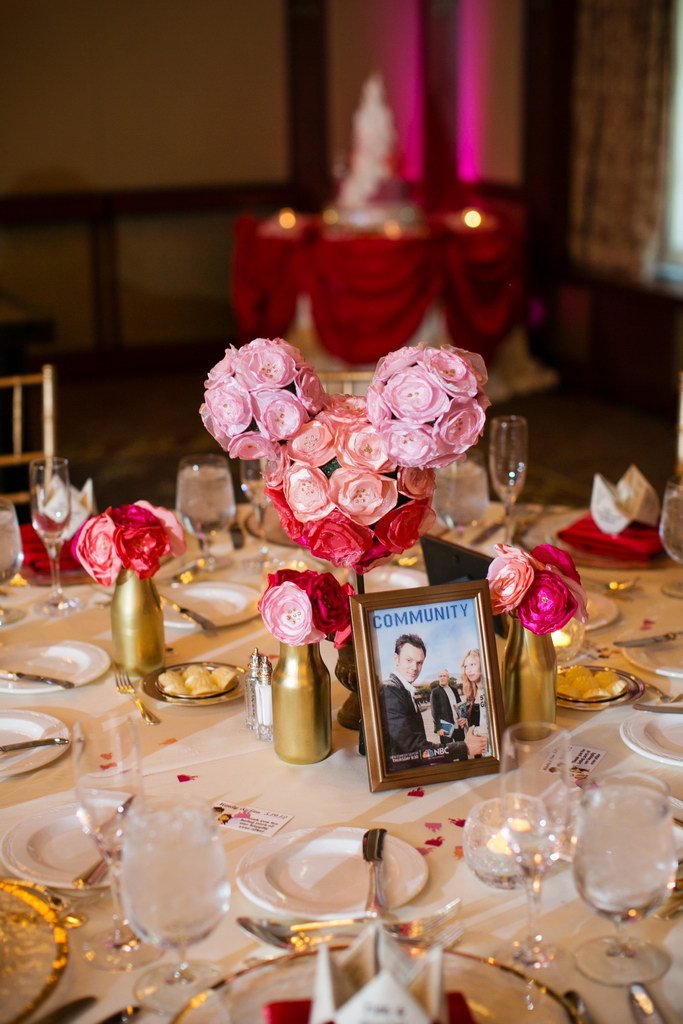
I received a really fun email from our wedding planner Laura of Rebel Belle Weddings last week. Someone found her pictures of our Mickey topiary wedding centerpiece on her website and asked Laura how she could purchase some, so Laura passed the email along to me. I laughed and went to pull up the tutorial for my topiary centerpieces on my blog and discovered I never wrote about them! Oh dear. Two years later and there are so many details about our wedding I never wrote about! So, I know it’s super late but here is my DIY ombre floral Mickey topiary centerpieces tutorial, for anyone who is interested!
Keep in mind I made this before I started my blog, so I don’t have many pictures along the way. I’m shocked I have ANY pictures of the process, actually. So I’ll try to explain the steps in as much detail as possible.
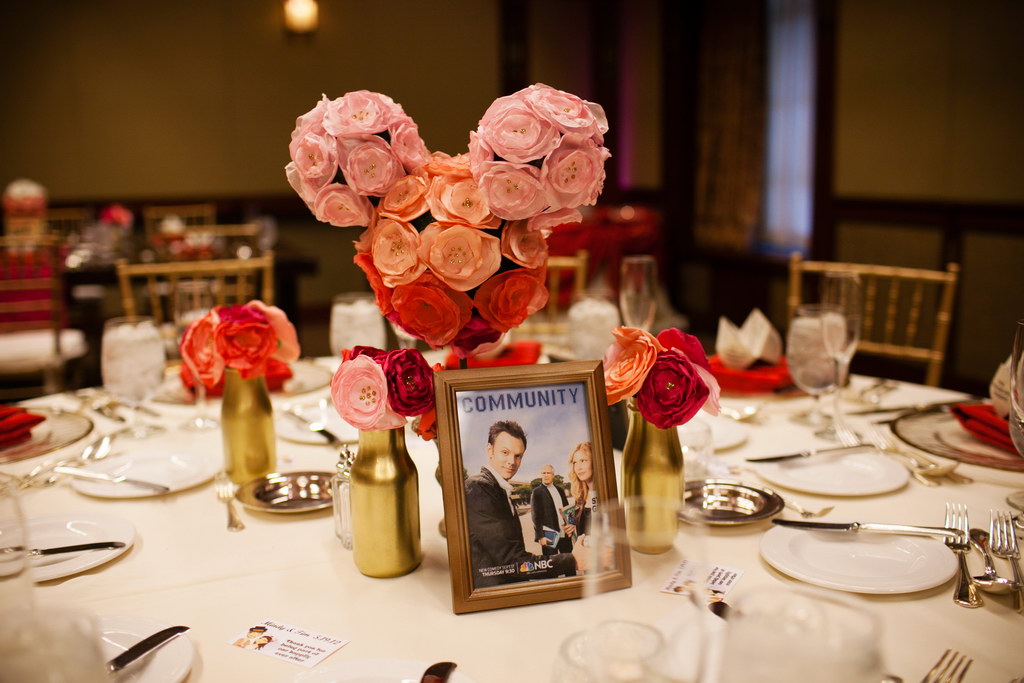
{Pro wedding photos by Root Photography. The rest are my personal photos.}
Supplies
- Base pot
- Floral foam
- Wooden dowel, cut into three pieces
- Green acrylic paint
- Sponge paint brush
- Three Stryofoam spheres, one large and two small
- Hot glue gun
- Glue Dots (optional but highly recommended)
For Fabric Flowers:
- Fabric in three or four shades of your color choice
- Heat gun or candle flame
- Needle and thread to match the fabric
- Felt to match the fabric
- Gold glitter glue
Steps
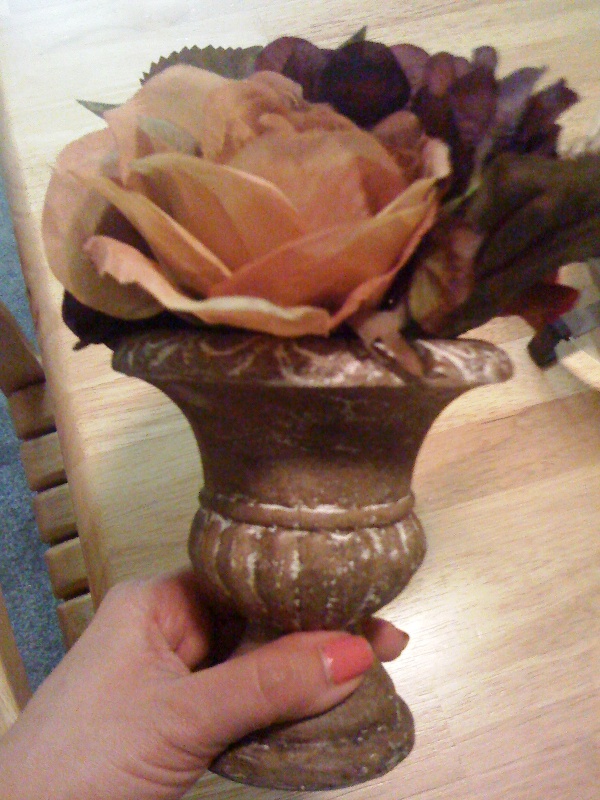
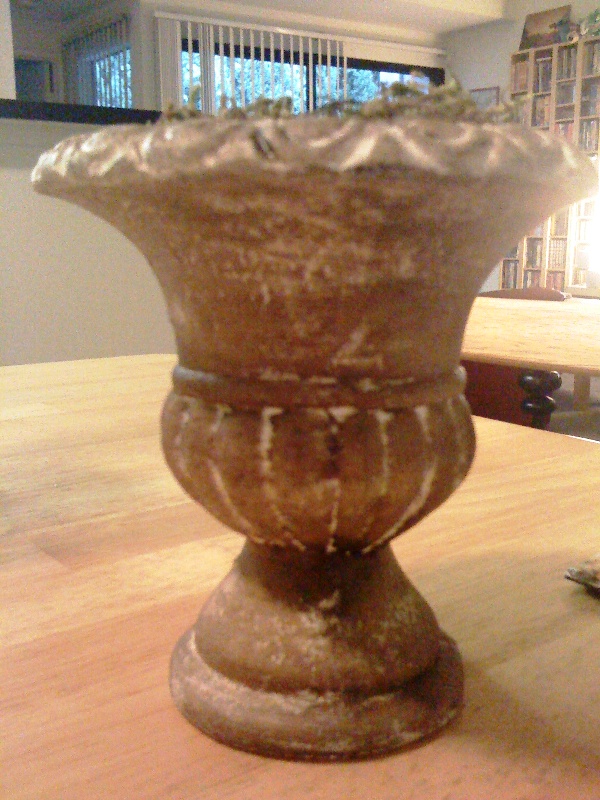
Step 1: Choose a base. I found these foam floral urns in the clearance section of JoAnn Fabrics. I pulled out the floral and left the craft foam that was already in there.
Step 2: Paint a thin wooden dowel with green acrylic paint and let dry. Cut to size (remember to factor in the portion that will go into the Styrofoam ball and base) and stick into the foam in the base.
Step 3: Use the same green paint to cover the large and small Styrofoam balls. This will take a while and use more paint than you think because the foam soaks it up. I ended up having to sponge the paint on, verses brushing it on. Let dry.
Even though the Styrofoam was already green, I wanted it to have a richer, deeper green poking through the flowers. You may not be as picky as I am, and in that case you can skip this step.
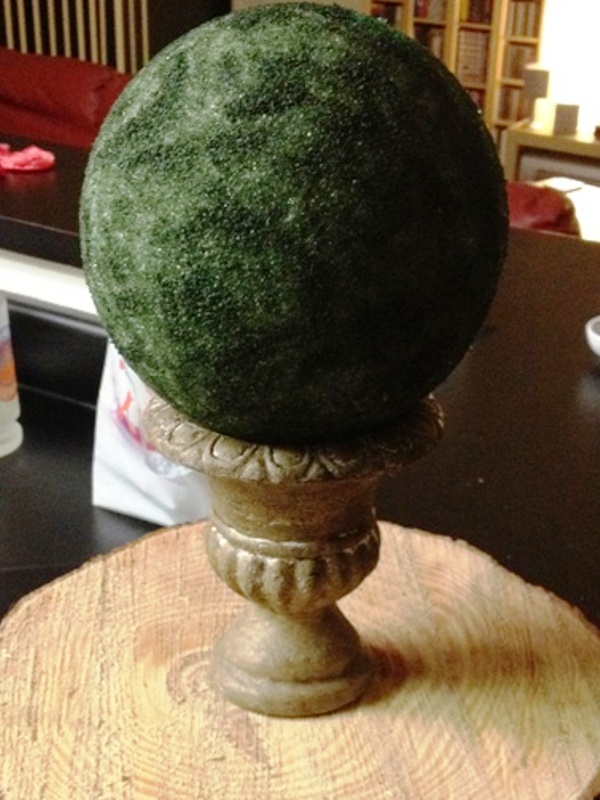
{This image is from a topiary I glued directly onto the urn, but I wanted to show what the painted foam ball looks like.}
Step 4: Once the foam balls are dry, attach the larger foam ball onto the dowel that is sticking up from the base. Once you have the foam ball where you want it, use a dab of hot glue to secure it to the dowel.
Step 5: Use small wood dowels to attach the smaller foam balls to the larger foam ball. I didn’t measure the distance precisely, but I did this very carefully so they looked as centered as possible.

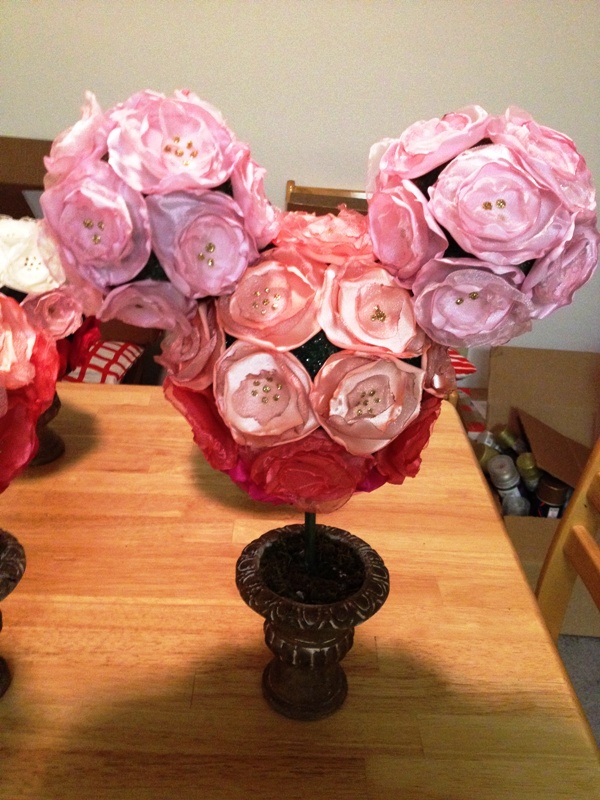
Step 6: At this point you are ready to attach your fabric flowers. I made my flowers using this DIY fabric flower tutorial. I probably used around 40 flowers for the Mickey topiary, and I chose fabrics in an ombre pattern. Before I used glue, I attached the flowers using Glue Dots. Using the Glue Dots, I could easily rearrange the flowers and space them out until I had them exactly where I want them. Then I went flower by flower, removing the Glue Dot and using the hot glue gun. You must put the glue on the flower, because if you put the glue on the foam it will just melt into the foam.
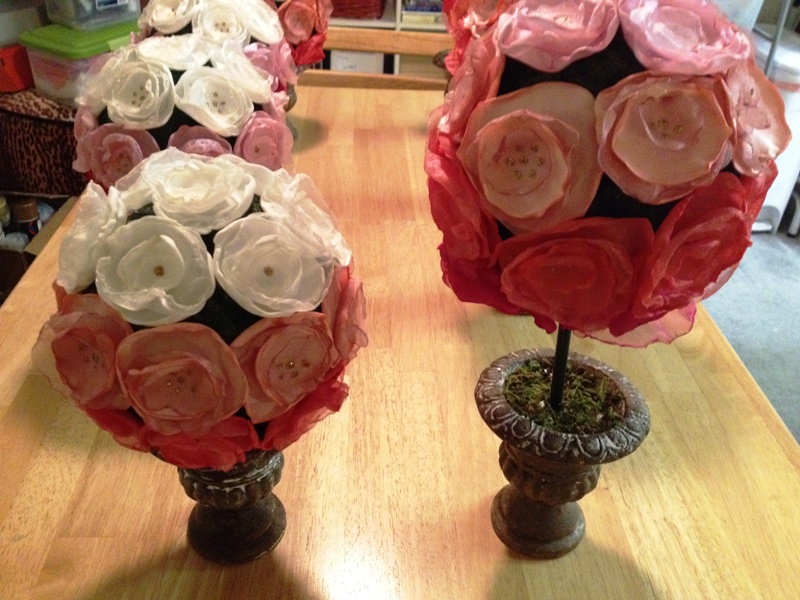
Step 7: I added some extra moss to the base of the topiary using the hot glue gun.
Enjoy your Mickey topiary centerpiece!
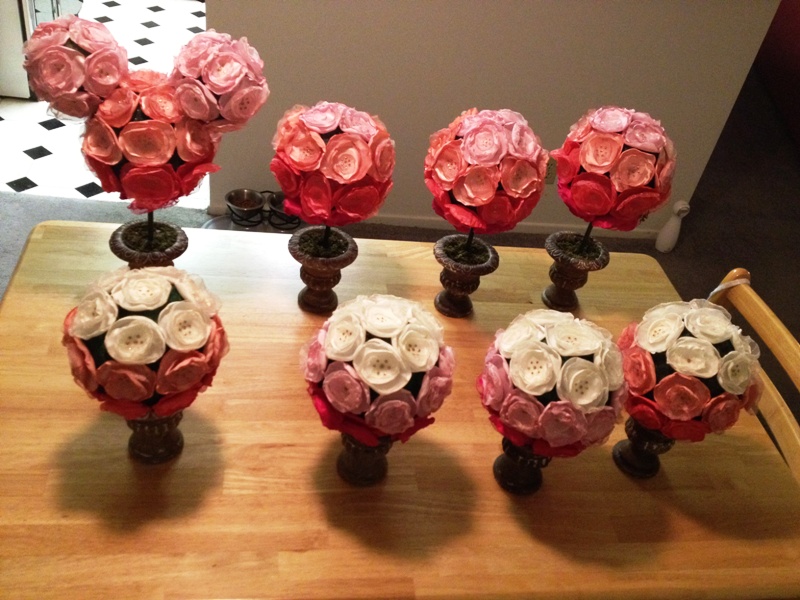
For our wedding, we made several “regular” topiary and one “Hidden Mickey” topiary. The regular topiary is just the larger green foam ball covered with fabric flowers, without the two smaller foam balls. And to create visual interest, half the topiary were attached to dowels and half were glued directly to the urn base.
I hope you enjoyed this tutorial, and if you decide to make your own Mickey topiary, of course I would love to see it!