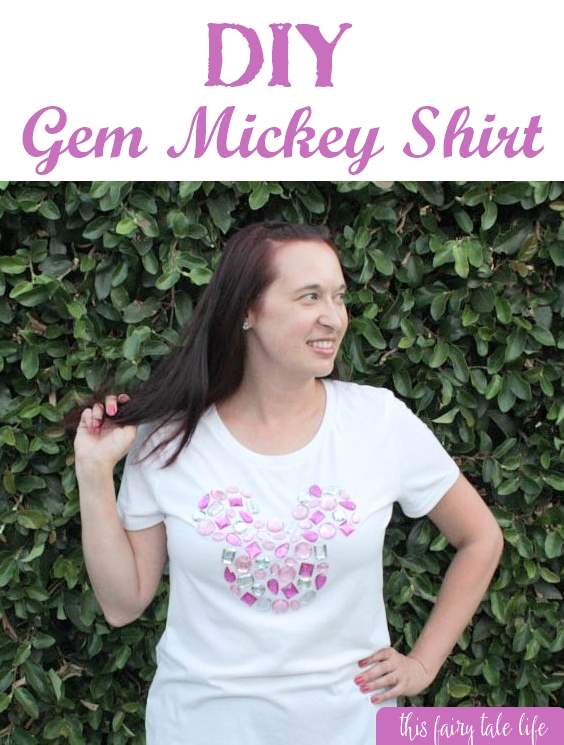
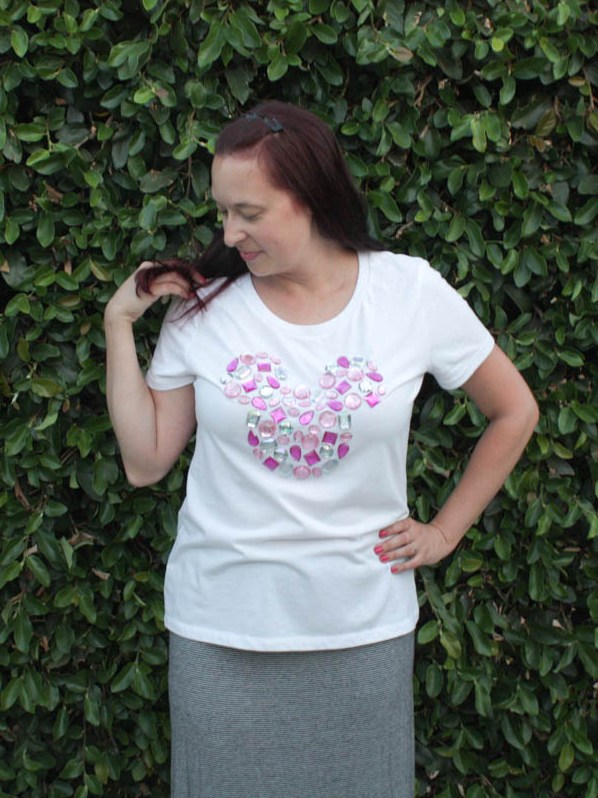
When I first got the invite to attend the Disney Social Media Moms On the Road conference, my first thought was – YAY! My second thought was, what am I going to wear??? At first I assumed I would Disney Bound as one of my favorite characters. But then I decided I wanted to create something totally unique. During my numerous visits to the craft shops, I have often walked by these big boxes of colorful plastic gems and wished I had an excuse to buy them. And that’s how the idea for a gem Mickey shirt was born!
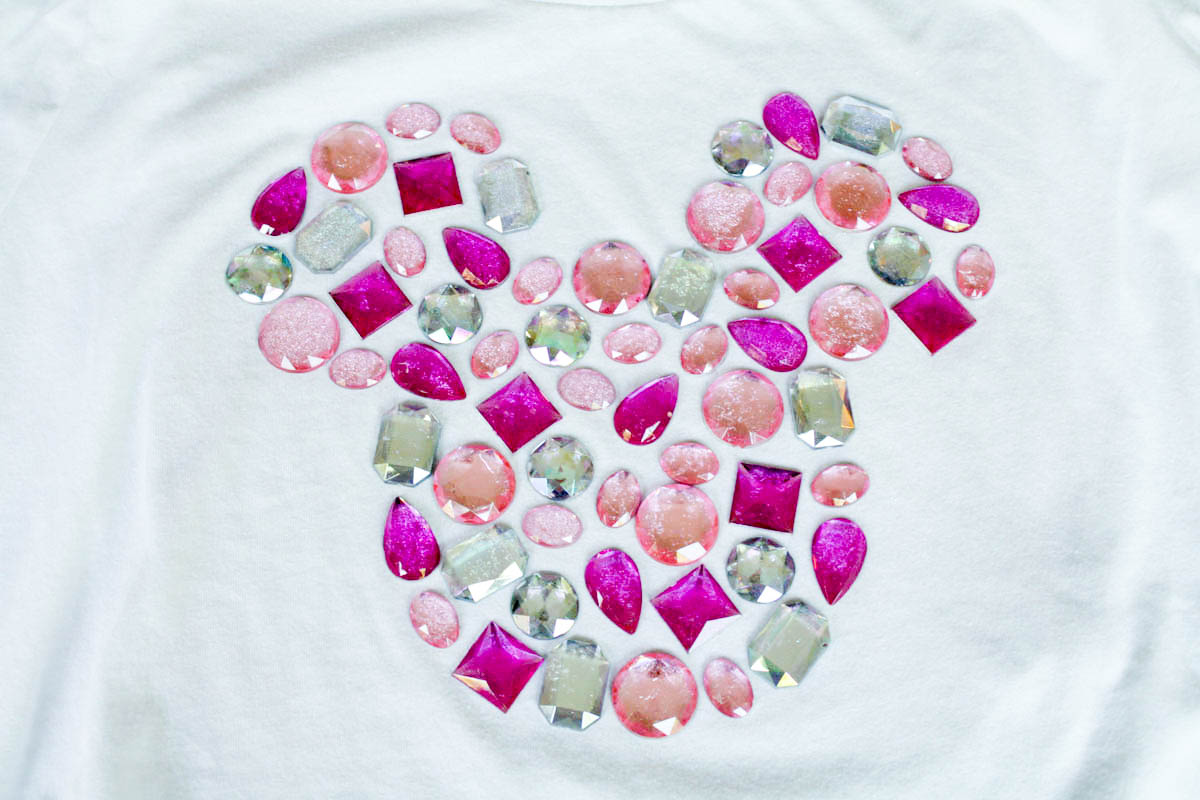
I feel like this shirt is so “me” and I think it might be my new favorite piece of clothing. The great part about this type of project is there are so many possible variations. I chose gems in shades of pink and clear in a scattered pattern, but I was also toying with an ombre pattern. And of course you can choose any colors you want. I was really torn between using pink gems or using a rainbow of gems in bright colors, but ultimately pink won out because it’s my favorite color!
This was my first time working with E6000 glue and man, that stuff is no joke! I used it after reading the labels on practically every glue in the craft store. E-6000 works on just about anything … including fabric …. but it sure is stinky! Make sure you’re working in a well ventilated area or the fumes will make you dopey. Also, I started off using gloves to protect my hands but I found I couldn’t grip the gems well enough and had to take them off. Just be really careful when using this glue!
(Can you spot the hidden Mickey within the Mickey? *mind explodes*)
DIY Gem Mickey Shirt
Supplies
- Box of acrylic gems (Similar in rainbow colors)
- E6000 glue
- Plain shirt
- Mickey silhouette template
- Removable tape (such as painter’s or washi)
- Cardboard, Pencil, and Scissors
Steps
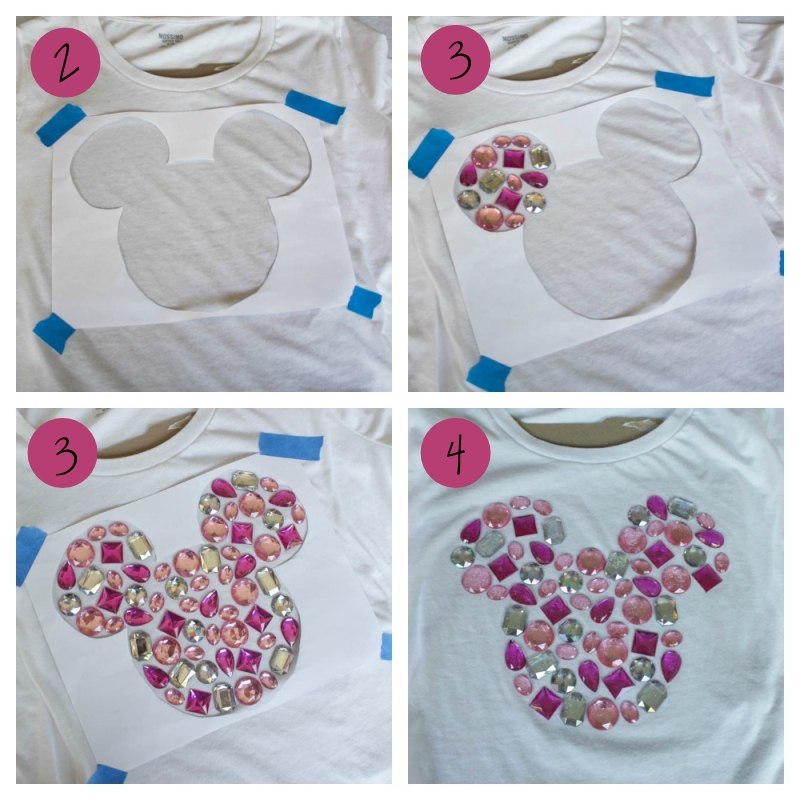
Step 1 – Pull up the Mickey template on your computer and re-size it until it’s the desired size. To find the desired size, you may need to re-size, print, and hold up to your shirt a few times to get it right. Once it’s the right size, use scissors to cut out the inside of the Mickey shape, so you will end up with a paper stencil.
Step 2 – Tape the Mickey stencil onto your shirt using removable tape. Make sure it’s straight! Also put some cardboard inside the shirt, under the Mickey shape, so the glue won’t bleed through to the other side of the shirt.
Step 3 – One by one, start gluing down the gems, filling up the Mickey shape. I practiced my gem placement ahead of time, on paper. When I had a pattern I was happy with, I took a picture. When it came time to make the real thing, it went fast because I used my picture as a guide!
Step 4 – Allow to dry. Remove the cardboard. If you have sensitive skin you may want to hand wash the shirt in Woolite and let air dry before wearing. I don’t recommend washing this shirt in the machine and definitely don’t put it in the dryer!
Let me know if you try this project! I would love to see any variations.
Related article: DIY Mickey Rhinestone Shirt
This article was originally published on June 2014 and has been updated.

