This post contains affiliate links.
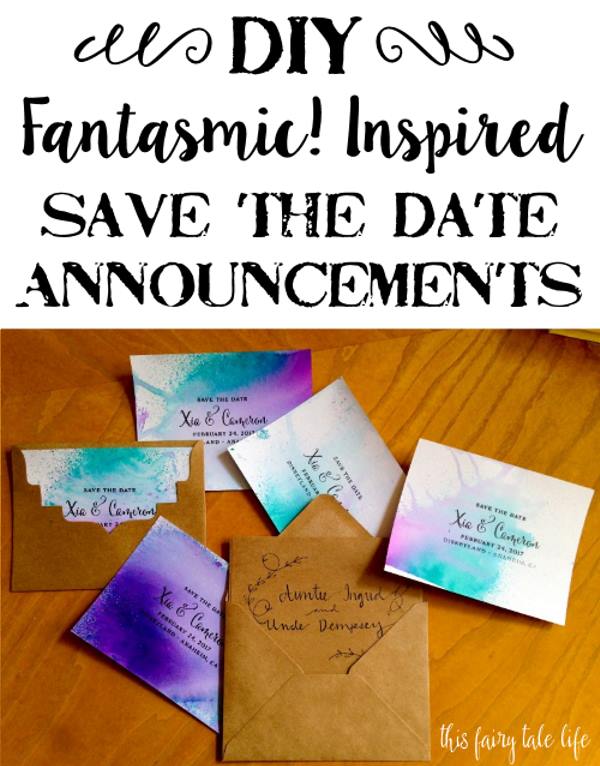
This is a really clever and fun DIY project from Disney Bride Xia! These save the date cards evoke the famous Disneyland nighttime water shows Fantasmic! and World of Color. Aside from that, they look like they were really fun to make! Thanks to Xia for sharing the tutorial with us. Congrats on your upcoming Disneyland wedding, Xia!
As a Disney bride, I have a very strict budget to work around. I initially looked into the bigger and well known wedding websites for Save The Dates cards and realized that for a pack of 60, I would have to fork over a chunk of change along with my future first born child wrapped in expensive Chanel pearls. I figured I could make my own and since I’m an artsy nerd anyways, I came up with this “Fantasmic!” inspired idea. Thanks to Michael’s coupons, the entire project came out to less than what the other websites would have charged me. Read on to find out how I made them!
DIY “Fantasmic!” Inspired Watercolor Save the Date Cards
Supplies:
Cards & Envelopes – $5 for 40
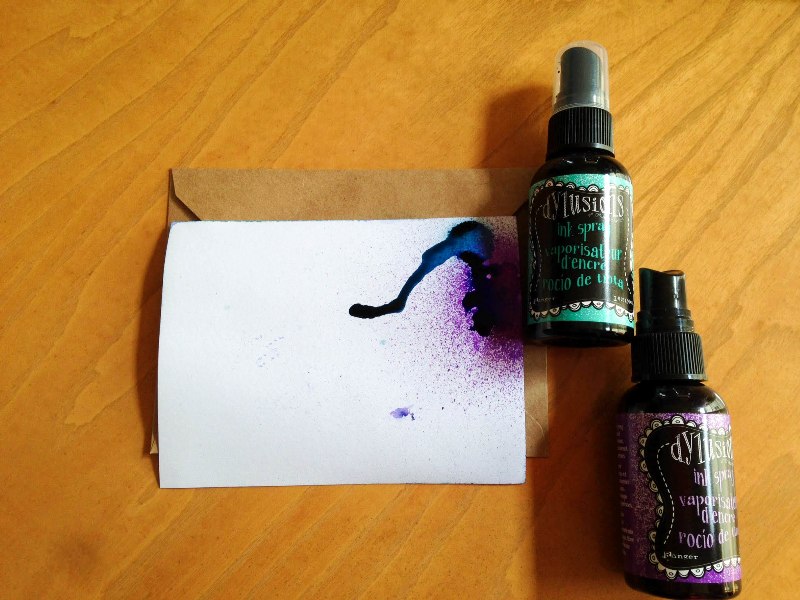
Dylusions Pigment spray – $7 for two colors
Water spray bottle – Already owned
Ink markers – $3
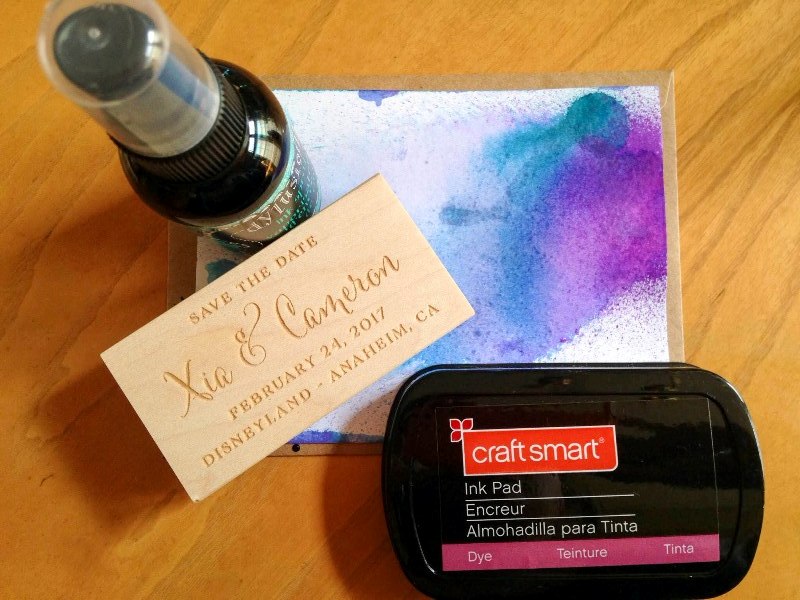
Custom stamp – $30 (Etsy seller is “FairmontAndGrove“)
Black ink pad – $5
Total budget for this project – $50 not including postage.
*DISCLAIMER- This is a very messy project, so I recommend lining your work surface with either Saran Wrap or a plastic bag and then layering paper/towels on top. And wear gloves if you have them – your fingers will get stained!
Steps:
Step 1 – Spray the corners of the blank card stock with whichever colors you like. I chose blue and purple (aka blurple) because they are our wedding colors.
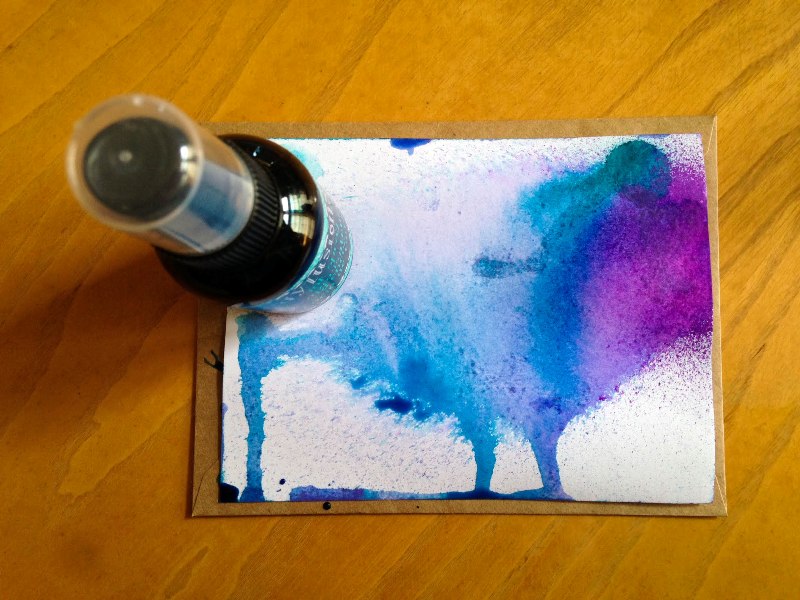
Step 2 – While the colors are still wet, spray the area with water. This will dilute the product, blend the colors and give you a chance to create more or less intensity.
Tilting the paper will give it a “melted” sunset type of look and blowing on it will create the illusion of an ink splatter.
Step 3 – Stamp the center of your dried card stock!
Finished product!

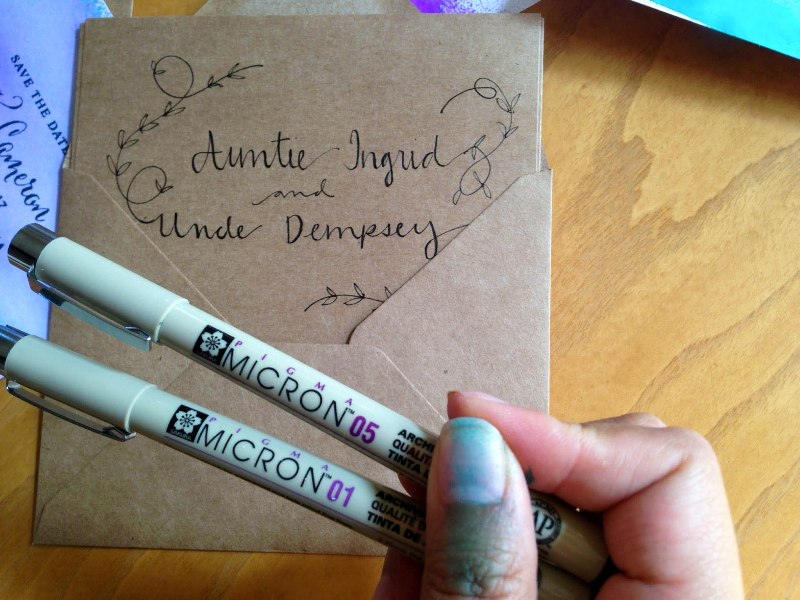
*Optional step – I wrote everyone’s names on the back of the card holder in .01 mm marker and then emphasized with a .05 mm marker.
These look amazing, Xia! Your guests will be thrilled to find these in their mailboxes, for sure!
