(This post uses affiliate links.)
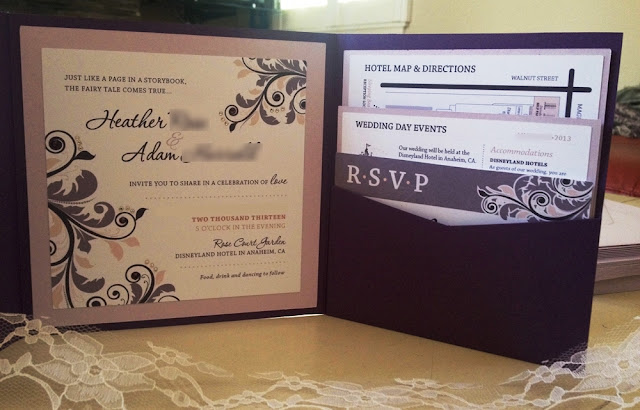
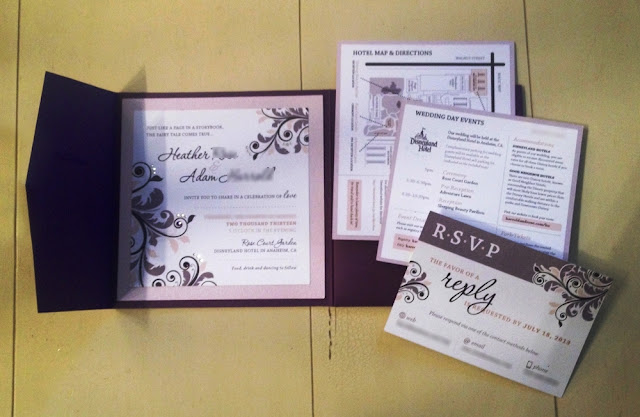
Are you ready for some fairy tale inspiration? Check out these gorgeous wedding invitation suites Heather and Adam DIY’d for their Disneyland wedding. They look totally pro! I’m so glad she submitted her tutorial so other couples can learn how to make their own invites. Honestly, I would put these under the “advanced” DIY category because you need to have a certain level of design skill and own the right tools. But if you are crafty, there’s no reason you shouldn’t make your own wedding invitations! Read on to learn how Heather made theirs. (PS – Names and addresses and dates have been blurred to protect the innocent!)
MATERIALS:
• Pocket folds and mat paper from Cards & Pockets
• White card stock
• Sticker paper
• Crystals from Fire Mountain Gems (see similar stick-on crystals from Amazon)
• Ribbon (from Michaels)
• Home printer
• Cricut Mini
STEP 1: I chose the 6×6 pocket fold from Cards and Pockets, and 3 pocket inserts based on what information I wanted to include. I could have ordered the mat paper already cut to size, but since I had a custom size middle insert I decided to order the mat paper in 8.5″ x 11″ bulk and cut it myself. This way I would also have some extra to use for other wedding things. The same went for the printed pieces – I bought some white card stock in 8.5″ x 11″ since it’s easier and quicker to print more items on one piece of paper.
Tips: After I figured out the dimensions for each piece, I arranged them on 8.5″ x 11″ pages to maximize my printing area and determine how many pieces of paper I would need to order.
STEP 2: Once I finalized the design, I arranged all the artwork on 8.5″ x 11″ pages in the same layout as above and started printing.
Tips: I lined each item up to a numerical measurement to make it easier to align the Cricut shapes for cutting (.5″ from left, 3″ from top, etc.) I included crop marks to make sure the Cricut was cutting in the proper place (this made it easy to see if there were any more adjustments needed while cutting)
STEP 3: I cut out all the printed pieces using my Cricut Mini. I printed out an extra page for testing and used the measurements from Step 2 to place the shapes. After some adjusting, everything lined up properly and I was able to start cutting.
Tips:
- I used the Cricut gel pens and holder to test the placement. I had to do this a couple times to get everything lined up properly, but using the pens allowed me to use the same test paper multiple times.
- When loading the cutting mat, I lined it up as close to the left side as possible and pushed it as close to the bar as I could get it. This helped make sure every page was always lined up properly.
(Ed. Note – My husband and I made similar invites for our wedding, but we took the paper to Staples for printing and cutting, then assembled everything at home. It’s a little more expensive but a good alternative if you don’t have a good printer and/or Cricut.)
STEP 4: Cutting the mat paper was a lot easier. Nothing to line up, just create the shapes at the correct sizes and cut away! I saved the scrap paper to use for other wedding projects.
STEP 5: Now that everything was cut out, I added the crystals to the main invitation and monogram. There is probably an easier way to do this, but I put some glue on a piece of paper and used tweezers to dip the crystal in the glue and place on the paper. I let them dry overnight. (Ed. note – I used a Hot Fix Tool for all my wedding crystal application; a great investment! Just keep in mind you’ll need to buy special “hot fix” rhinestones for it. – Mindy)
STEP 6: Next I glued each printed piece to its mat, then glued the main piece to the pocket fold and let dry.
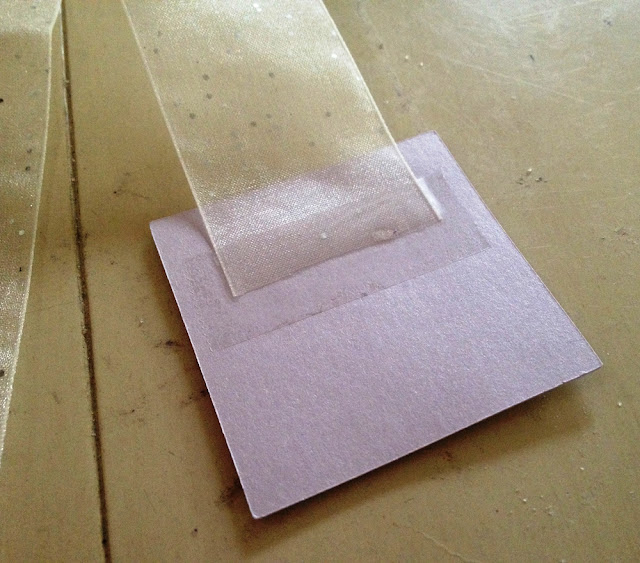
STEP 7: I cut the ribbon to size and attached the monogram to one side with tape.
STEP 8: Once everything was dry, I put the inserts in the pocket, wrapped the ribbon around the pocket fold, adhered the other side of the ribbon to the monogram with more tape and stuffed the whole thing into an envelope.
STEP 9: I printed the address labels on sticker paper from Staples and cut them out using the same method as the other printed pieces. Then just peel and stick!
Viola! Gorgeous wedding invitations that look like they cost way more than they actually did!


