This is a product review sponsored by The Bouqs. The links in this post are affiliate links and I will receive a small commission if you make a purchase after clicking on my link. I only recommend products or services I use personally and/or believe will be good fit for my readers. All opinions are my own.
One of the things that shocked me the most about planning our wedding was the cost of flowers and floral decor. I kept hearing bridal bouquets cost $350 – $400 … WHAT!? I totally understand the time, talent, and experience that goes into creating a gorgeous wedding bouquet but I just couldn’t fathom it. Which is why I opted to create my own bouquet (which, by the way, took me countless hours … if I were to create the same bouquet and sell it, ironically I would have to charge around $400 to make it worth my time). But I digress.
I’ve always wanted to try my hand at creating a fresh floral wedding bouquet just to see how tough it is. When I was contacted by The Bouqs to review one of their delivery (non-wedding) bouquets, I saw it as my opportunity. And you know what? I think I did a pretty darn good job. I mean, not too bad for my first attempt.
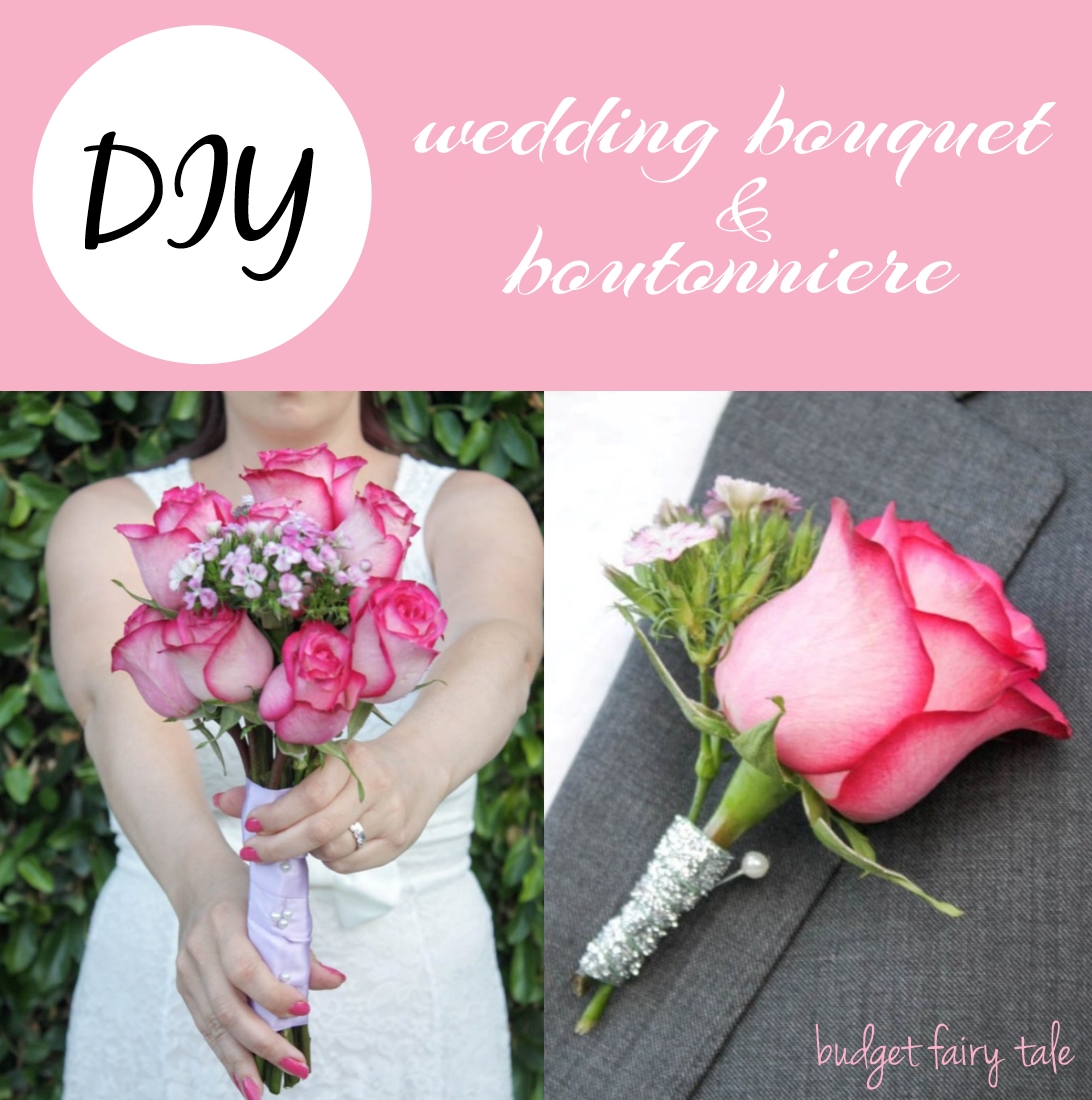
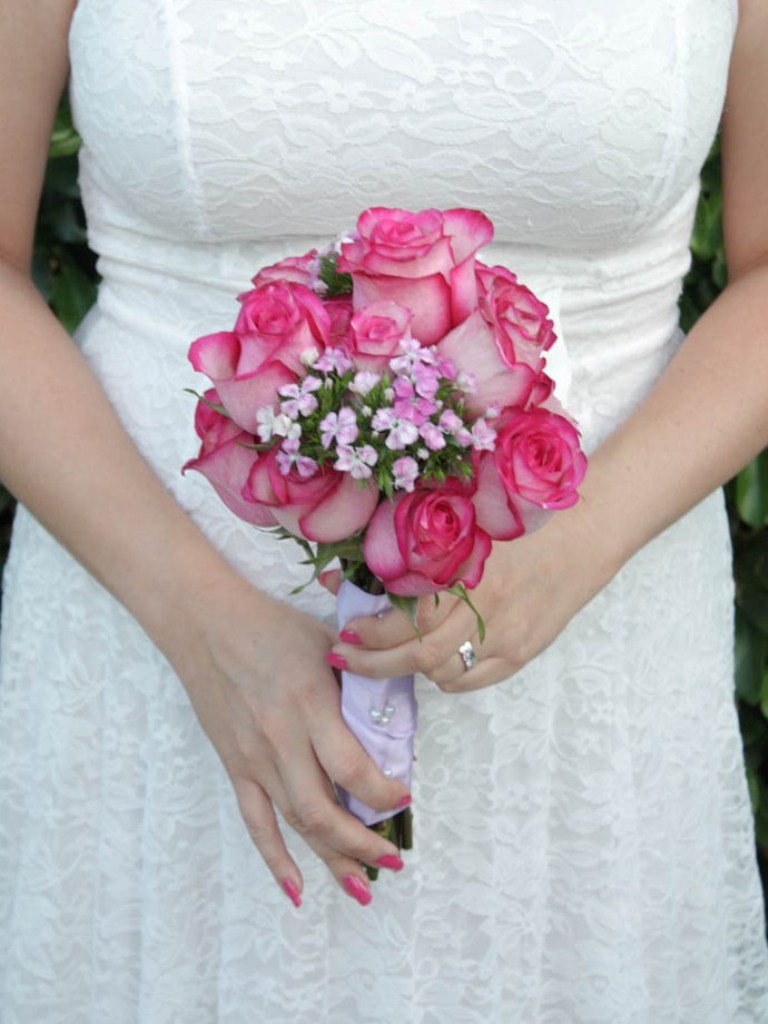
I think this bouquet would make a fine wedding bouquet for a bride or bridesmaid to carry down the aisle. And all it took was the right supplies, a couple hours, and a simple standard flower arrangement.
And four days later, the flowers STILL look great! I would imagine you could create these bouquets two days before the wedding and everything would still look fresh on the big day (as long as you keep them in water).
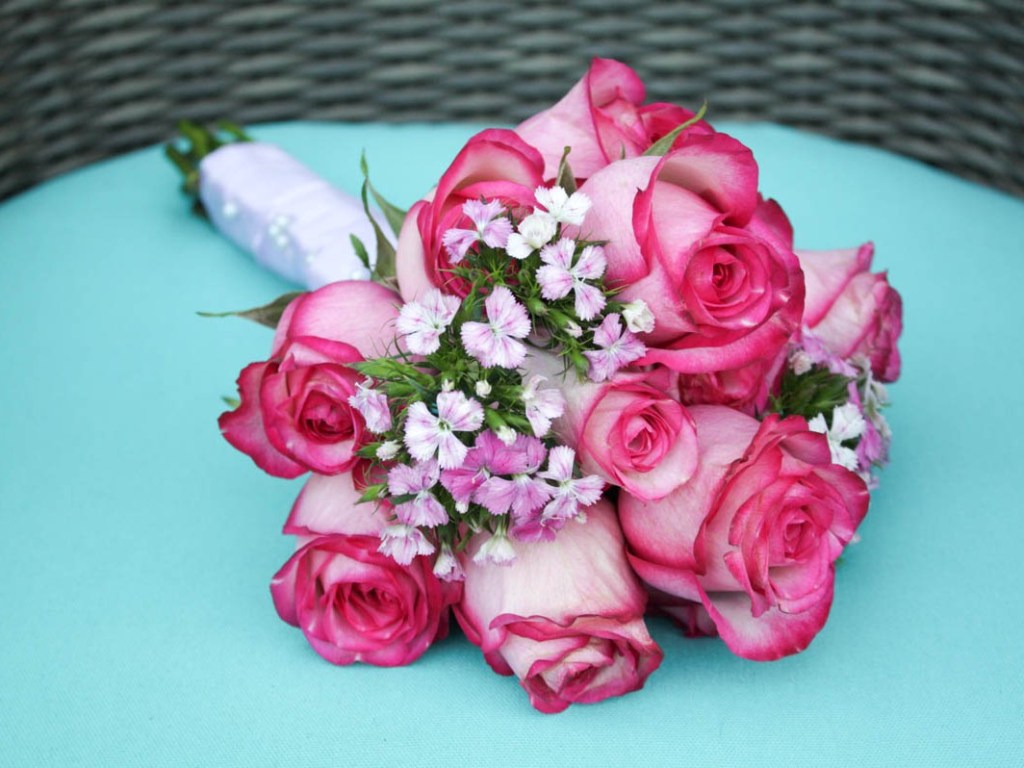
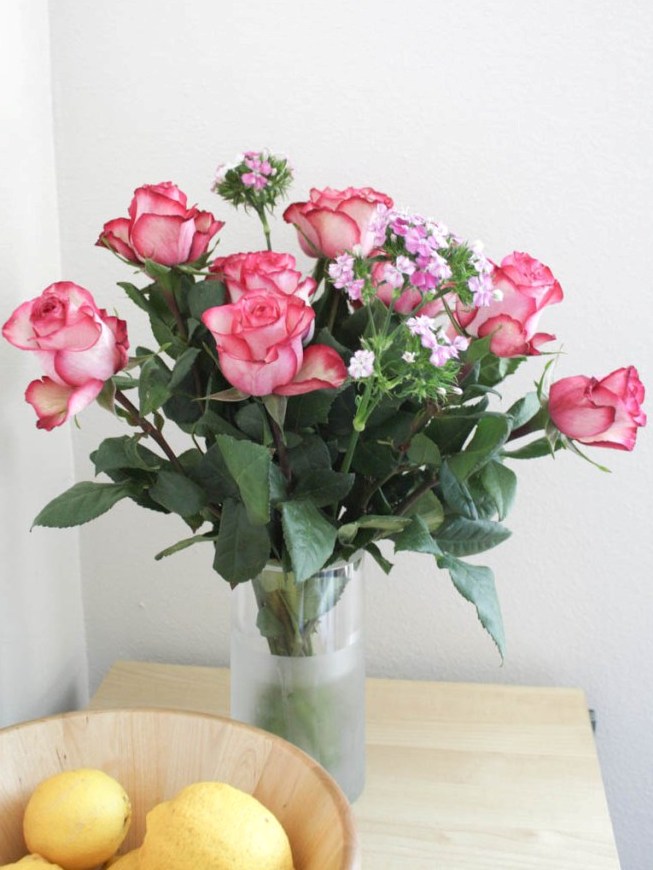
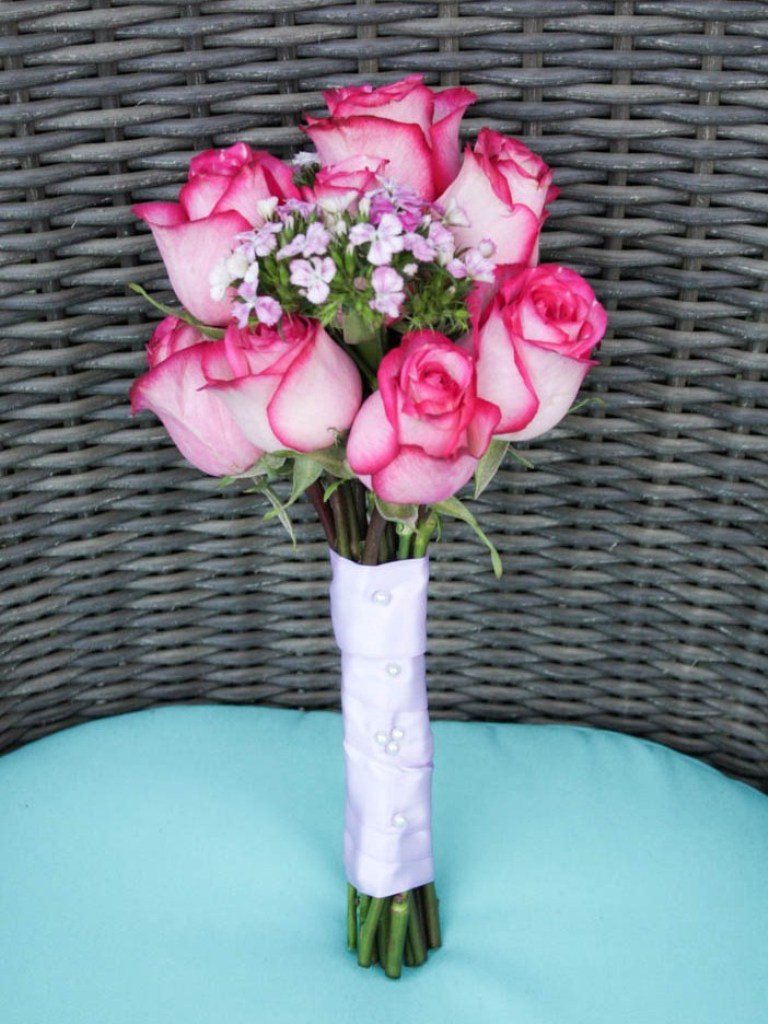
I want to thank The Bouqs for providing the flowers for this project. This bouquet of 12 roses and two stems of purple accent flowers, called “Desperato,” costs $40 plus about $10 for shipping. See the image below, in its original state before I transformed it into wedding props.
So that’s around $50 for a bouquet and boutonniere, not too shabby at all when compared to what a florist would charge! And if you’re planning on DIYing a ton of floral arrangements, The Bouqs also offers bulk flower orders at a better rate. 125 stems of similar roses only costs $139 before shipping. That’s just about a dollar per stem.
DIY Wedding Boutique and Boutonniere
Supplies
- Roses and accent flowers (I used the “original Desperado” bouquet from The Bouqs)
- Scissors and/or gardening sheers
- Floral tape
- Large and small ribbon
- Floral pins
Bouquet
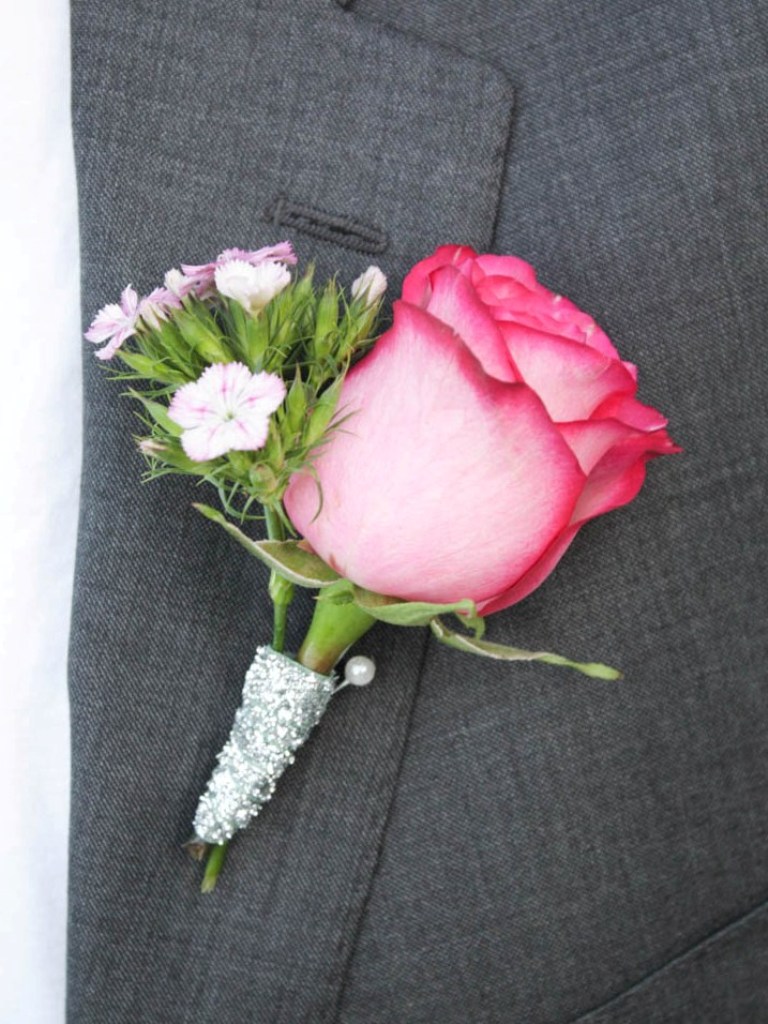
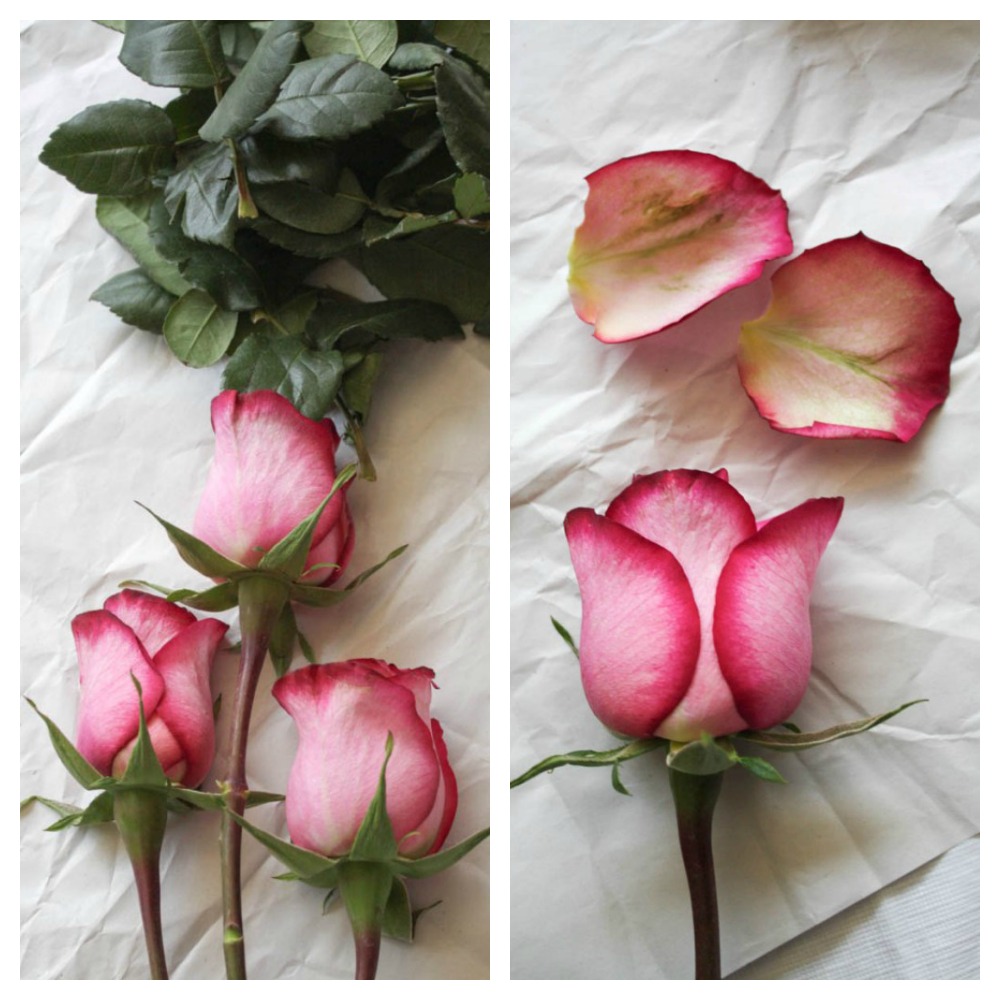
Step 1 – Remove the greenery from each stem. You may also want to remove the outer petals of the roses if they are starting to turn wither (which is totally normal). Set aside one rose and one snip of the accent flowers for the boutonniere.
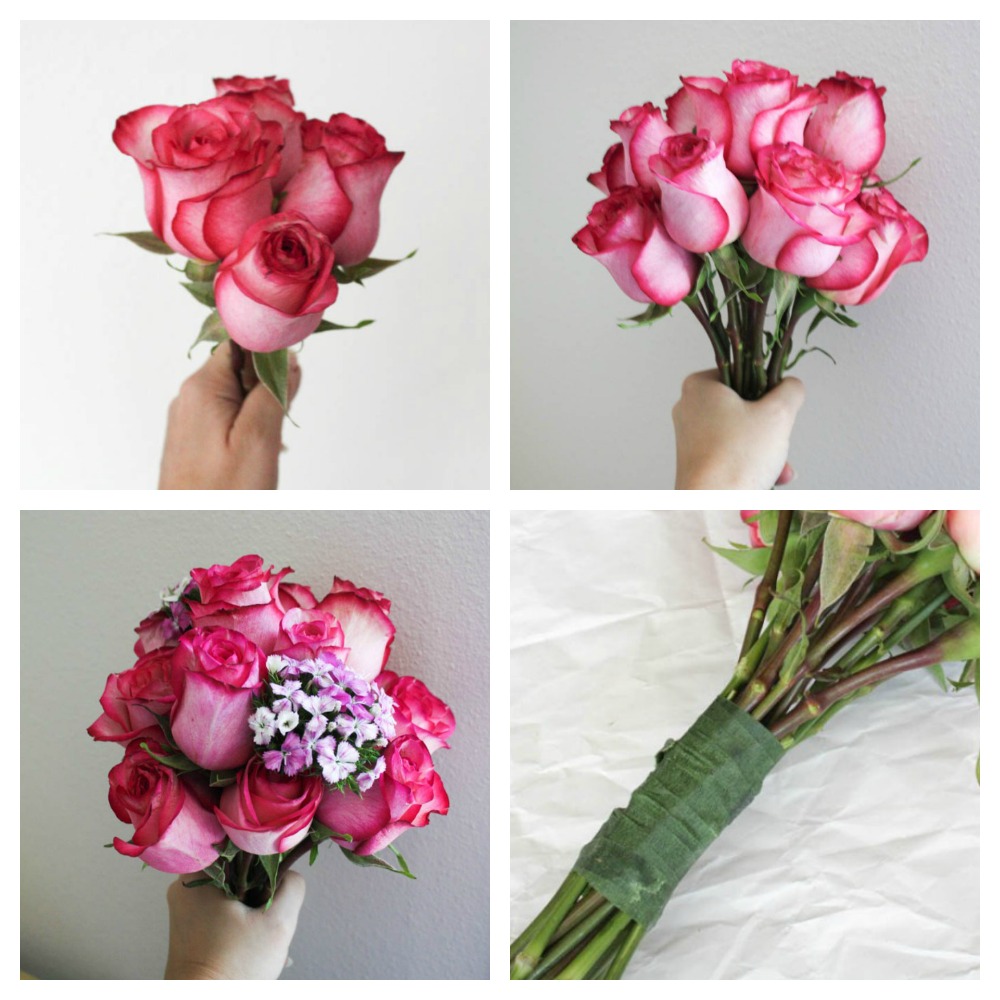
Step 2 – Start grouping together your roses. I went in a circular motion and tried to keep the center roses a bit higher than the lower ones so it created a spherical shape. I added in the two stems of accent flowers as I went along, making sure they looked balanced in the design.
Step 3 – Once you are happy with the look, wrap the stems with floral tape.
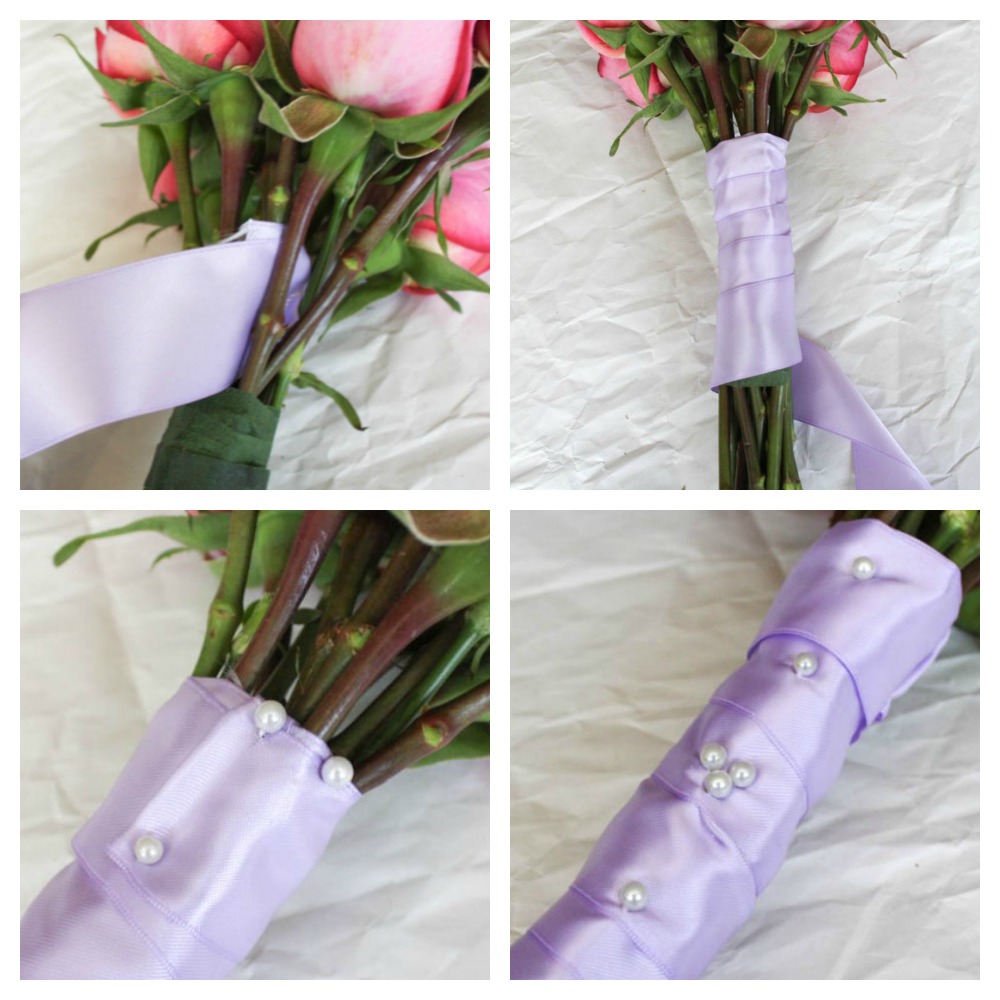
Step 4 – Use the larger ribbon to cover up the floral tape. Tuck one end of the ribbon into the bouquet right under the flowers (this is easier the larger your bouquet is). If the ribbon won’t “stick,” you can use a floral pin to stick it into the stems. Make sure you are angling the pin downwards so it doesn’t stick out the other side! Then simply wrap the ribbon around the bouquet in a spiral motion. When you get to the bottom of the stems, start wrapping the ribbon back up. Fold the end of the ribbon and pin to the stems using a floral pin.
Step 5 – (Optional) I stuck some pearl floral pins into the ribbon for a fancier look. I also made a Hidden Mickey!
Keep the bouquet in shallow water until the big event.
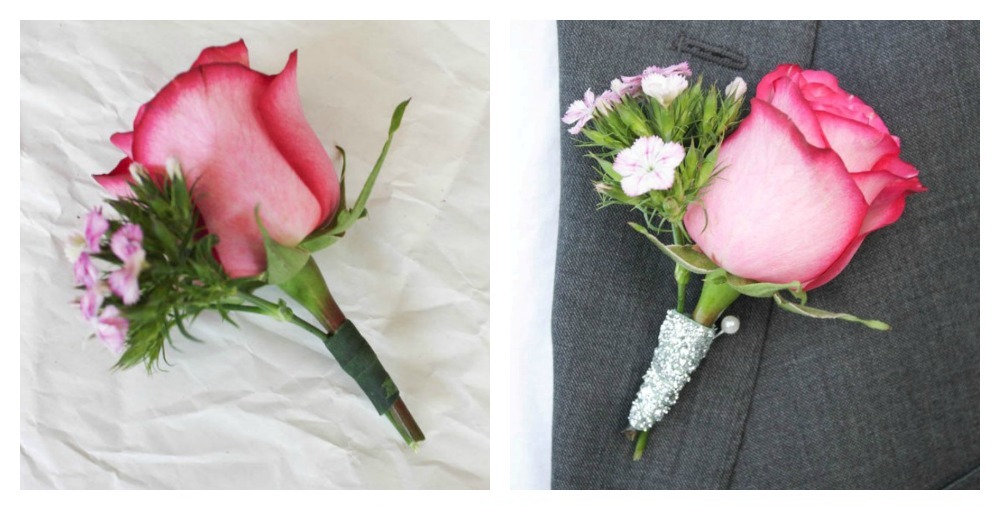
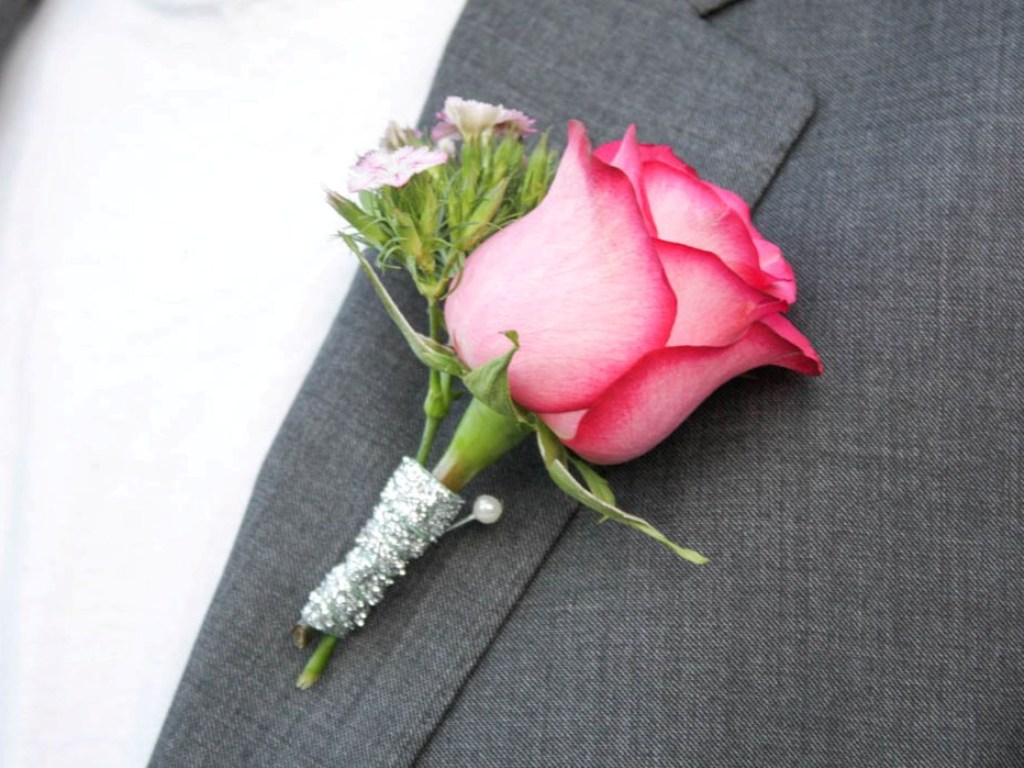
Boutonniere
Step 1 – Snip the stems to about three inches (remember, you can always cut again but you can’t add stem if it’s too short!). Use floral tape to attach the accent flower to the rose stem.
Step 2 – Use the smaller ribbon to cover the floral tape. Start at the top and just wrap the ribbon tightly around using the same method as the bouquet. When you get to the bottom, wrap back up. I cheated a little here and used a dab of glue to hold the end of the ribbon in place. If you do this, just make sure you’re gluing down the ribbon on the “back” of the boutonniere so it won’t be visible when worn.
Step 3 – Attach to suit jacket with one or two floral pins.
I totally get the appeal of having a professional create your wedding bouquet and boutonniere for you, but if you’re on a tight budget and want to get adventurous, this is totally doable! I was shocked at how easy it was, and I can imagine it’s much easier if you have a bridesmaid team assisting you. Get a bottle of wine and make an afternoon of it!
Would you consider making your own wedding bouquet?
This article was originally published in June 2014 and was last updated in May 2021.