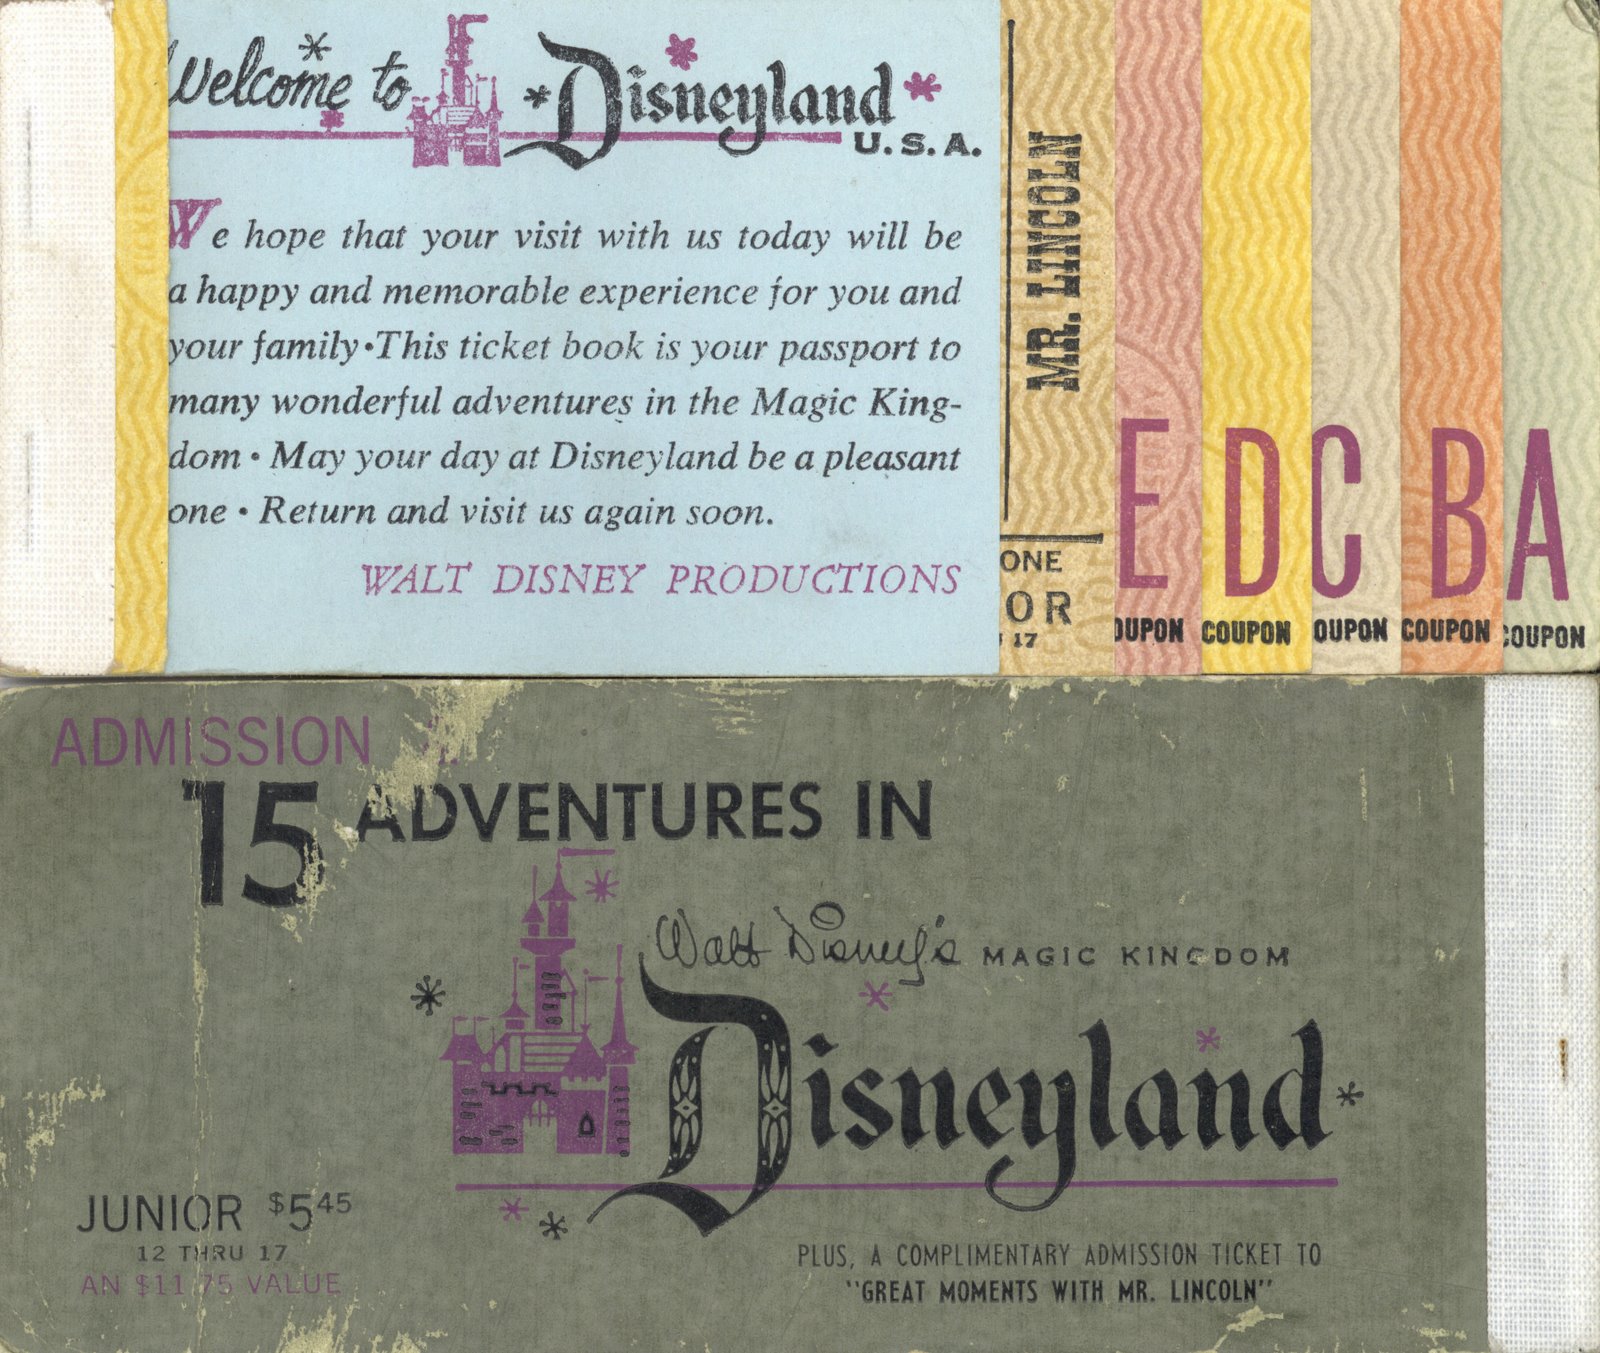
Did you know that the Disney Parks used to work on a ticket-per-attraction system? Unless you are a hardcore Disney fan and/or you were born before 1975 you may not be aware of this. As I understand it, you paid an entrance fee and then you could buy books of tickets. The tickets, labeled A-E, could be traded in to experience an attraction. The bigger rides, such as Matterhorn or Pirates of the Caribbean, took E-tickets, which is where the expression “E-ticket ride” came from! This system was discontinued in 1982 when the Disney powers-that-be decided to switch to the all-inclusive pass we know and love today. You can read more about the old ticket system on Wikipedia here.
I bring this up because Disney Bride Chelsea created an uber-cool invitation suite based these vintage tickets! Just an FYI for all you crafty brides out there – you have to be a preeeeeetty experienced graphic designer for this one. If you think you’ve got the chops to tackle this DIY yourself, then by all means, ROCK OUT AND DO IT! (And then show me your pictures!)
All images are the personal images of the author.

These puppies are my pride and joy of what I personally contributed to our wedding. But before that, I must give credit where credit is due. If I hadn’t seen the pinterest pin of another designer’s template, I wouldn’t have been inspired to create my own version closer based on the original.
Now why the e-ticket book design? Why didn’t I go the traditional wedding invitation route? Well, I guess I could say, “Because my wedding is going to be in Disneyland, duh!” But that’s not why. If you talk to anyone in their 40s or older that spent even one day of their youth in Disneyland, I can guarantee that the “E-ticket” is something that will come up in conversation. I know about E-tickets because of the stories my mom would share with me about her visits to Disneyland when she was a kid. Everyone who has previewed my invitations understands the history and re-lives the magic of their past days in Disneyland. It’s like bringing the inner child back to some people.
Before I get into the nitty-gritty details, I should warn you, this is NOT an easy DIY. It is very time consuming and requires lots of patience. Aside from the printing, you make these invitations completely by your own hands. I went through five test runs before I got it aligned and set up in a way that made me happy and I knew would be easy to have a team of bridesmaids and groomsmen help assemble 200 copies.
- Core’dinations scrapbooking cardstock (I found something that was lightly textured and it has a nice feel to it, giving more of a “professional” feel versus a “made-from-home” feel. Also, it was cheaper than buying off of a wedding stationery site.)
- Black duck tape sheets (Tacky-sounding, I know. But when I was showing samples to friends, they thought I got it professionally binded.)
- Sewing Machine & thread (The thread color doesn’t matter. It gets covered by the binding.)
- 12×12 Paper Trimmer with Perforating Rotary Blade
- Image Editing/Document processor software (such as Photoshop)
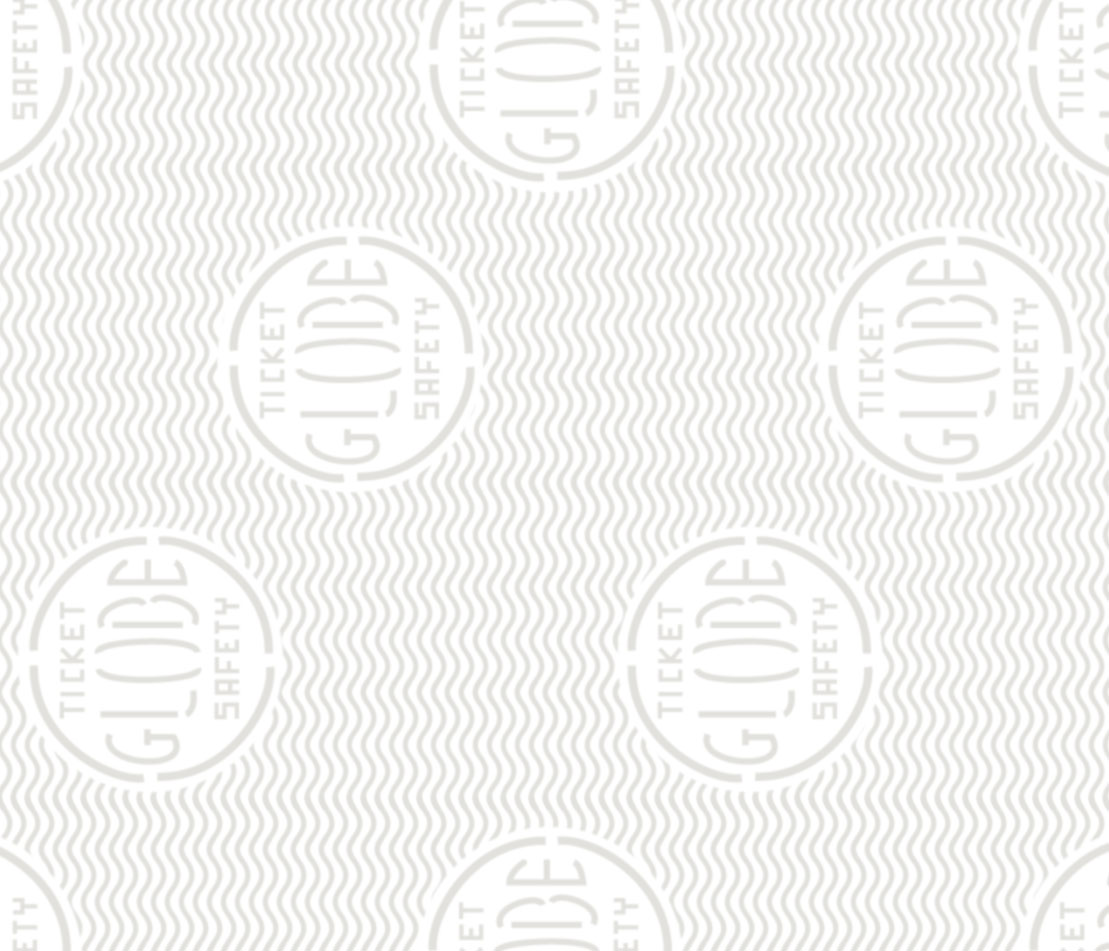
I started analyzing the heck out of my reference. You can find a lot of copies of the original e-tickets on eBay or in Google image searches. I noticed the paper had a very distinct watermark on it. After research I found it is called GLOBE paper (due to the “globe” wording repeated over and over). I traced the watermark in illustrator and then copy/pasted it as a smart object into Photoshop where I would eventually do the actual layout of the “coupon” pages.
Then, as you see from my reference, Sleeping Beauty’s castle is on each page of the booklet. I once again found a hi-res image of the castle, and redrew it in Illustrator, then copy/pasted it over to Photoshop as a smart object like I did with the GLOBE watermark.

Figuring out your layout is a very important step. The image below is what I eventually decided would work…for me. You might find a layout that worked better for you. I used 12×12 cardstock and trimmed it down to 8.5×12 to fit in my printer. Using the 12×12, I was able to make a spread of three per page versus only two on an 8.5×11 sheet of cardstock. I don’t know why the one inch made such a difference, but it did. And I feel like I wasted less paper going this route.
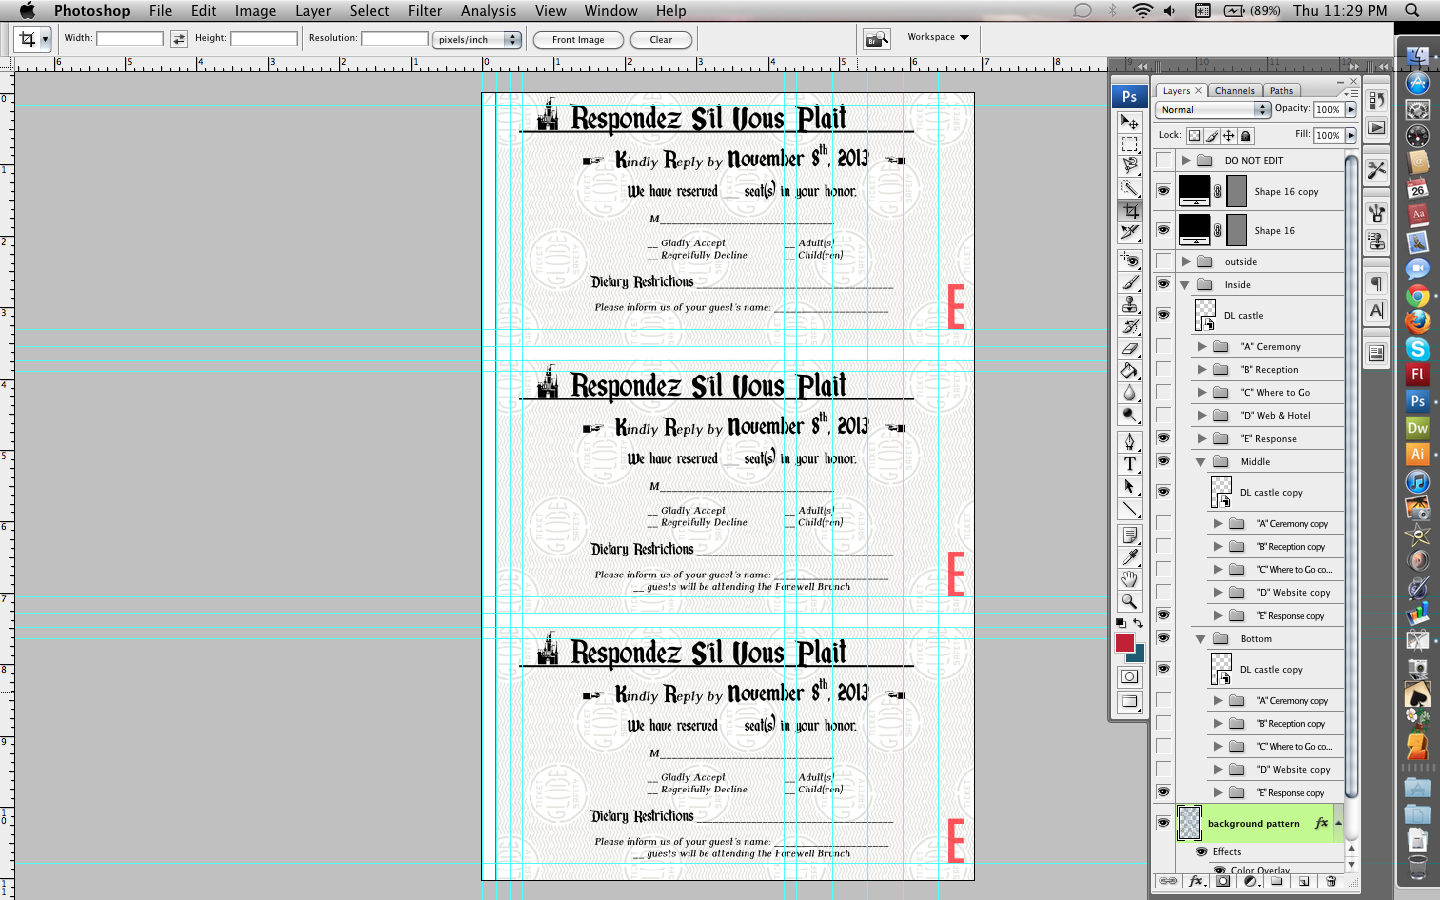
Then was the fun part of wording for each “coupon”. You’ll need it to repeat in each of the three areas. Especially if you’re using different colors for each page of the booklet. For example, if you put coupon A at the top, then B in the middle, and C at the bottom, you’ll run into problems since each one is a different color.
Once you feel satisfied with how it looks and sounds, you can go ahead and print it. Before you print en masse, I highly recommend you have your fiance, parents, your wedding party or even crafty friends give your design a once-over. You’ll get very constructive feedback and they might catch a mistake you may have missed. If you’ve got a green light, print and cut following the guidelines!

After you’ve cut out your pages you’ll need to switch out your blades on your cutter for the perforated one. The “E” page should be your RSVP page (if you swapped the directions, it would be your “A” page). You’ll need to perforate this page so your guests can easily tear it from the book and mail it back as a postcard! (I thought this would be fun. Our address is on the back of this page as well as it already being stamped when fully assembled)
You should wind up with six separate pages. I should mention your front cover will NOT have the GLOBE watermark on it. I labeled my pages as shown below, but you can lay it out however you feel appropriate. This was my order: A=Ceremony; B=Reception; C=Directions; D=Accommodations & Website; E=RSVP card.

Now it’s time to sew! You align all your pages together and sew a line to bind the pages together. As you can see on the pages, I had a black line printed to act as my guideline when I sewed. It helped me create a margin to keep from cutting off words in the seam.

Once that’s done, it’s time to hide that sewing seam. I pre-cut the duck tape sheets into slips the height of the invitation and an inch and a half wide.
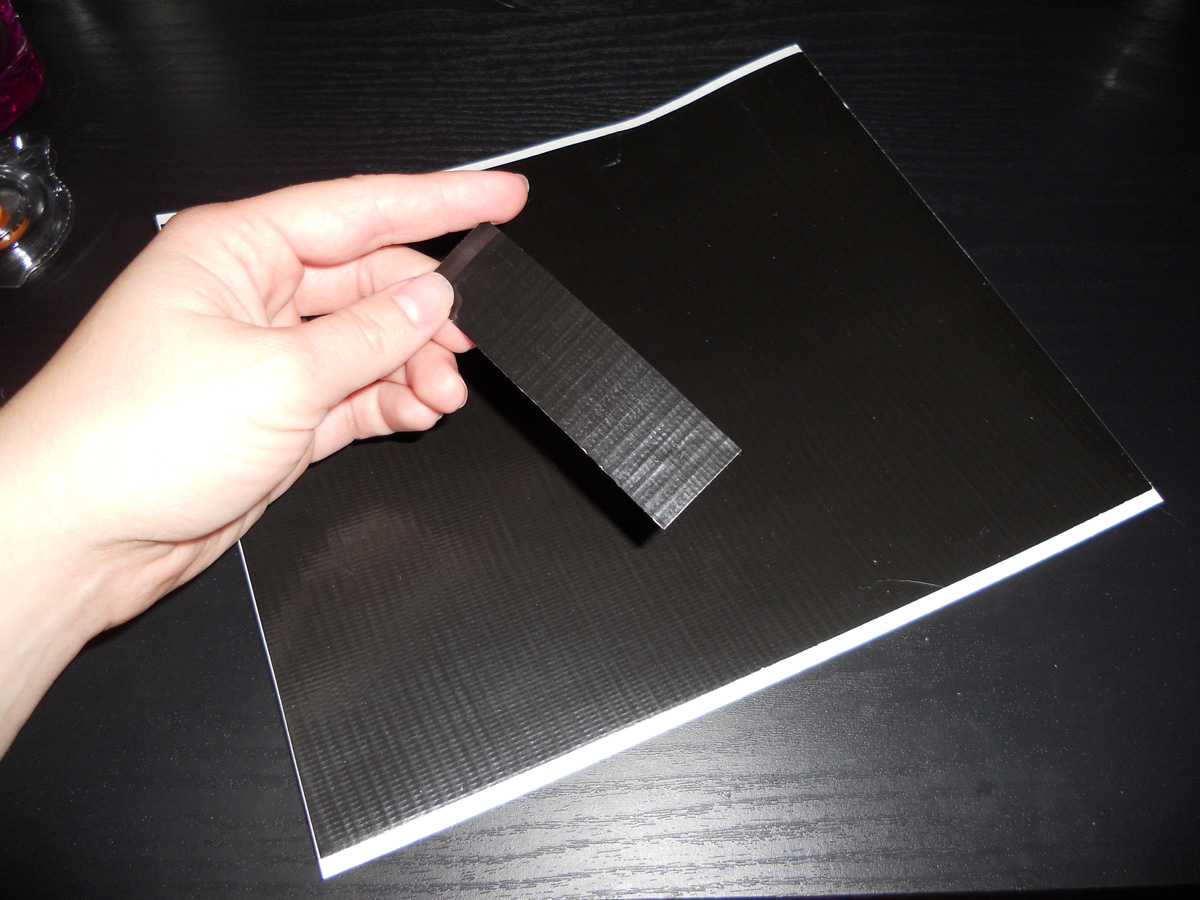
You remove the backing of the duck tape, align it as humanly possible to hide the sewing line and smooth out the tape to remove any air bubbles. Once that’s done, I carefully bent and smoothed out each page in the invitation for easy flipping. You don’t need to do that, but its a nice gesture to your guests and makes it easier to read.
Voila! Disneyland e-ticket invitation booklet!