I probably should have saved this post for Sunday, because this project comes with some confessions.
I confess I’ve been wanting to do a DIY Mickey string art tutorial for a very long time. Like, over a year. And I just never had the time to do it. I thought about doing it as a Christmas DIY but I felt it didn’t quite fit. I think Valentine’s Day is the perfect time for a little homemade gift like this one.
I also confess that my first incarnation of this project was a huge fail. Like, massive. MASSIVE. I had to scramble to come up with some new ideas. It was frustrating, but at the end, rewarding.
But because of the kink in my best laid DIY plans, some of my pictures do not make sense. See, I started this project with a square piece of wood. And I ultimately didn’t like the way it turned out.
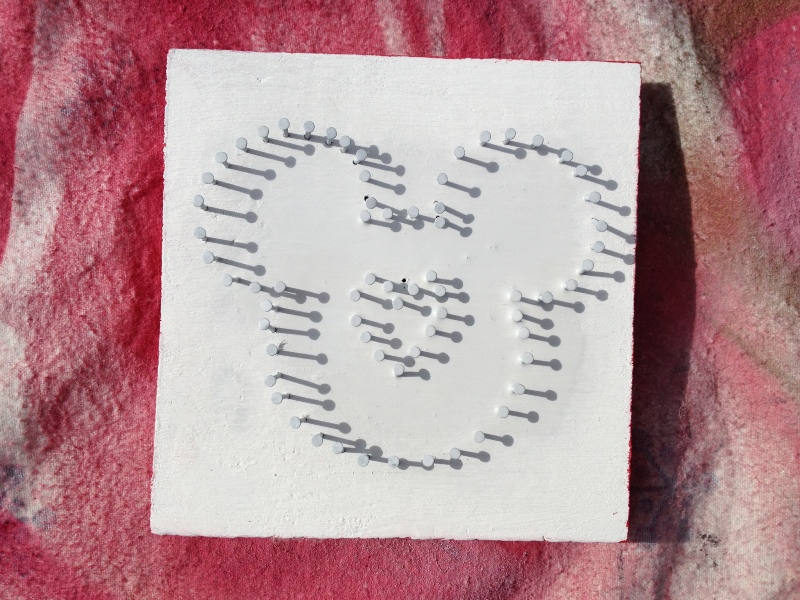
I brainstormed and came up with the idea to spray the nails with primer so they blend in a bit more. So I experimented with the round piece of wood (which was supposed to be for a different project!) and I liked the way it looked.
Then I had a new idea for the square piece and had to start all over. Do you see now how my life is so complicated? Okay, that was a joke … but as a Type-A perfectionist, I’m frustrated my pictures have no continuity. But luckily, I think this DIY project has a happy ending. I hope you like it!
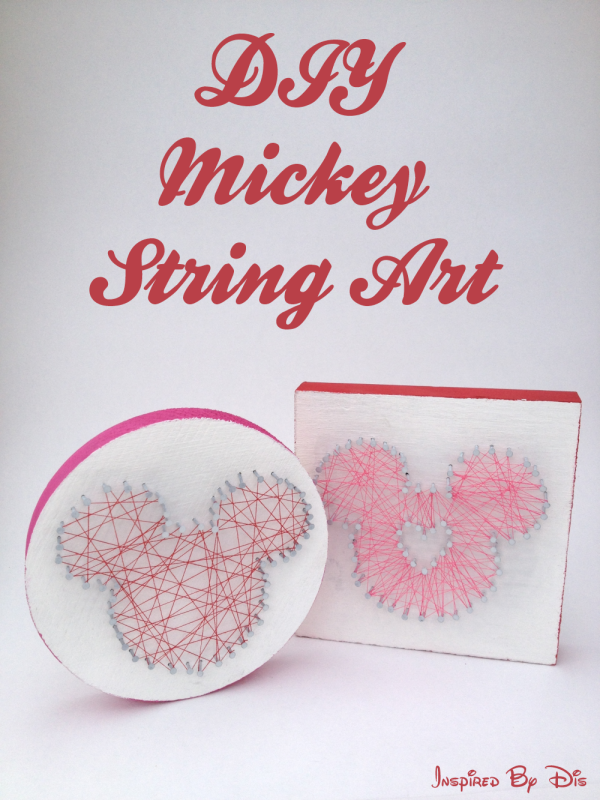
DIY Mickey String Art
(This article contains affiliate links, which means I may earn commission if you shop through my links)
Supplies:
Block of wood
Small nails – I used size 5/8
Red sewing thread
Pink sewing thread
White spray primer
White acrylic craft paint
Pink acrylic craft paint
Red acrylic craft paint
Paint brush
Scissors
Mickey head template
Heart template
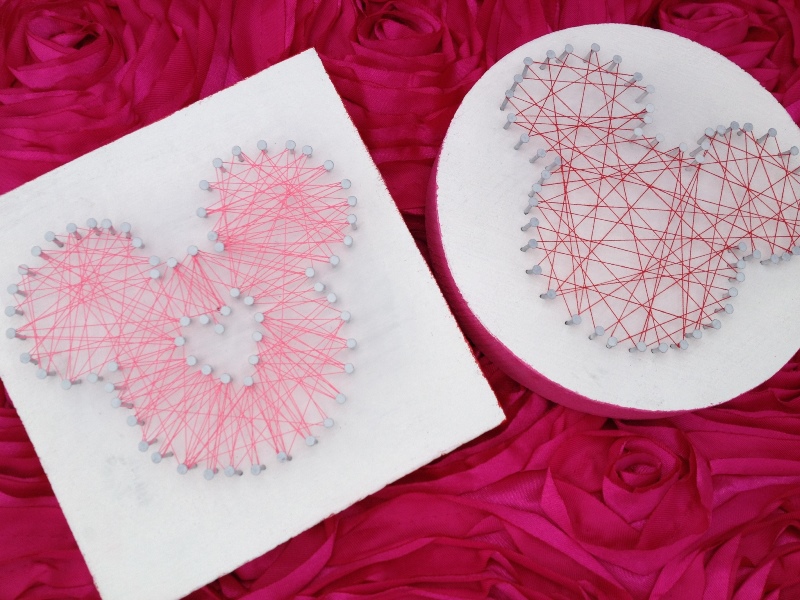
I made this string art two different ways. One is just a Mickey silhouette, and the other is a Mickey silhouette with a heart in the middle. The general idea is the same for both, but when we get to Steps that are different, I will make a note of it.
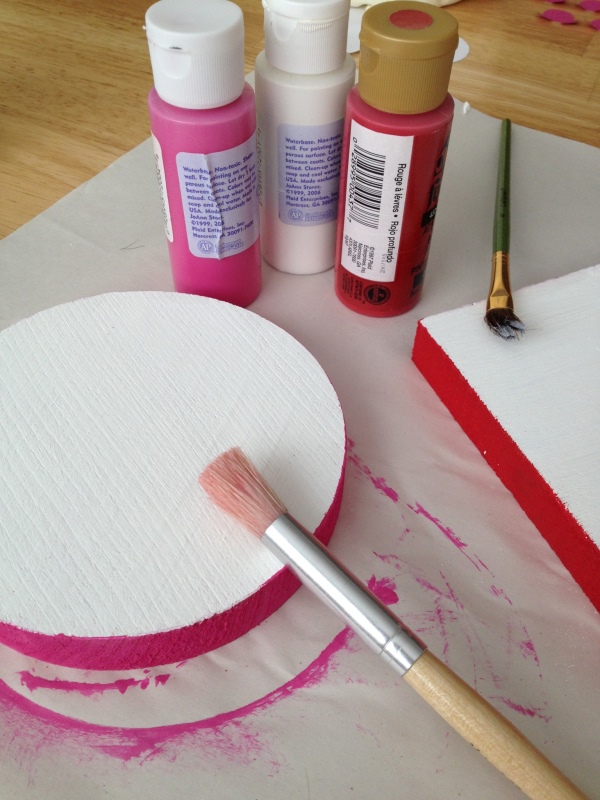
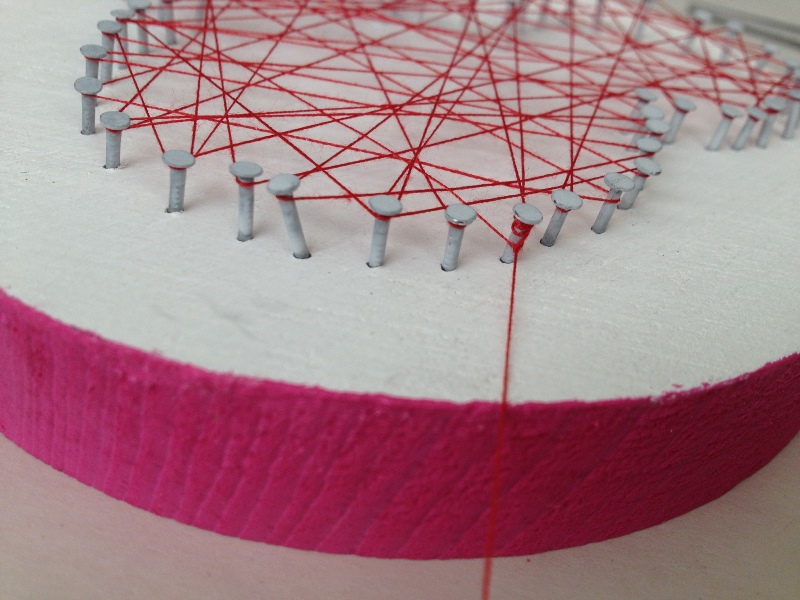
Step 1 – Paint the edge of the wood block with the pink and red acrylic paint. I chose pink and red for Valentine’s Day, but it can be any color you like!
Step 2 – Pain the surface of the wood block white. You can use a different color; however, if you want to spray the nails so they are white (Step 4), your surface will need to be white.
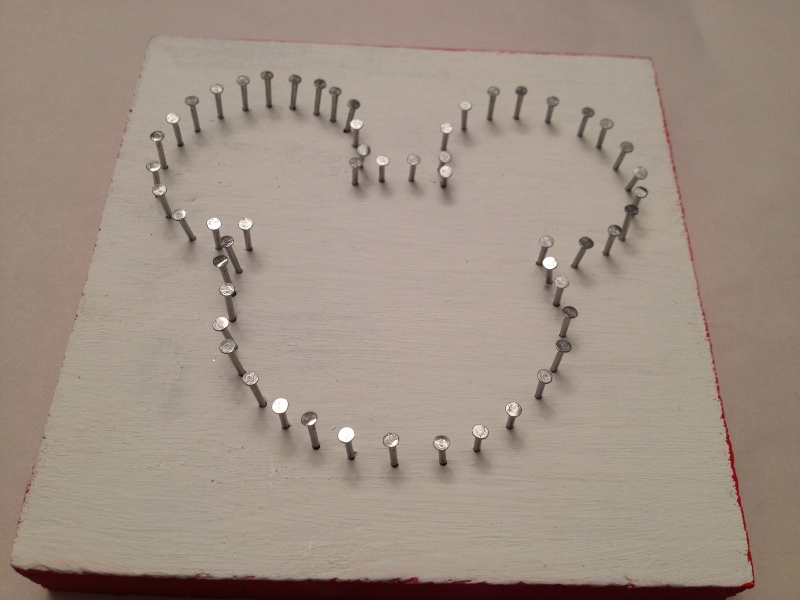
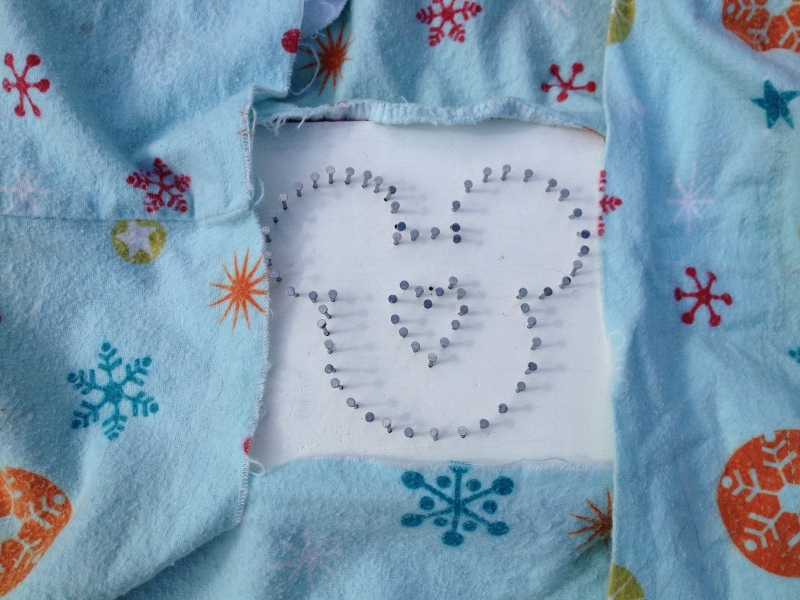
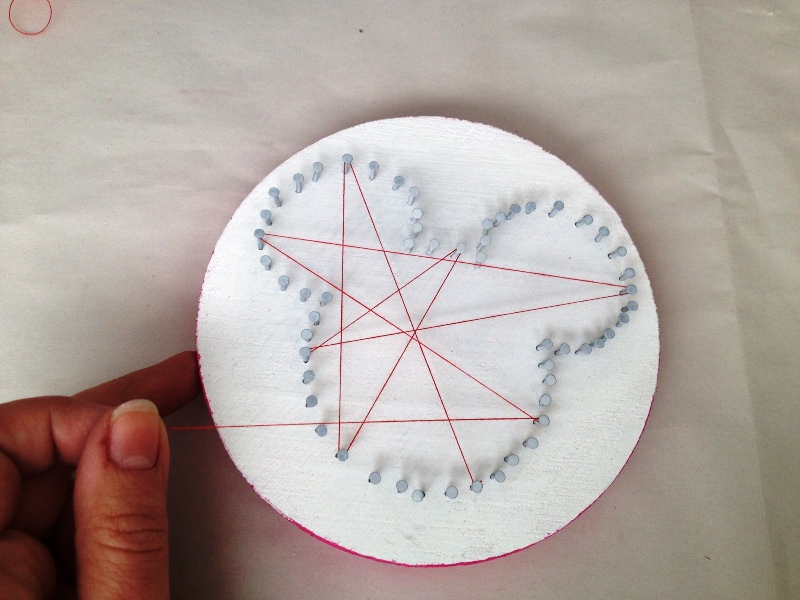
Step 3 – Using your Mickey head template as a guide, carefully hammer in the nails around the template. I didn’t measure it exact, but as you can see in the picture the nails are fairly close together. Don’t worry if some of your nails are crooked or angled! It won’t be too noticeable. Once all the nails are in, carefully pull out the Mickey template.
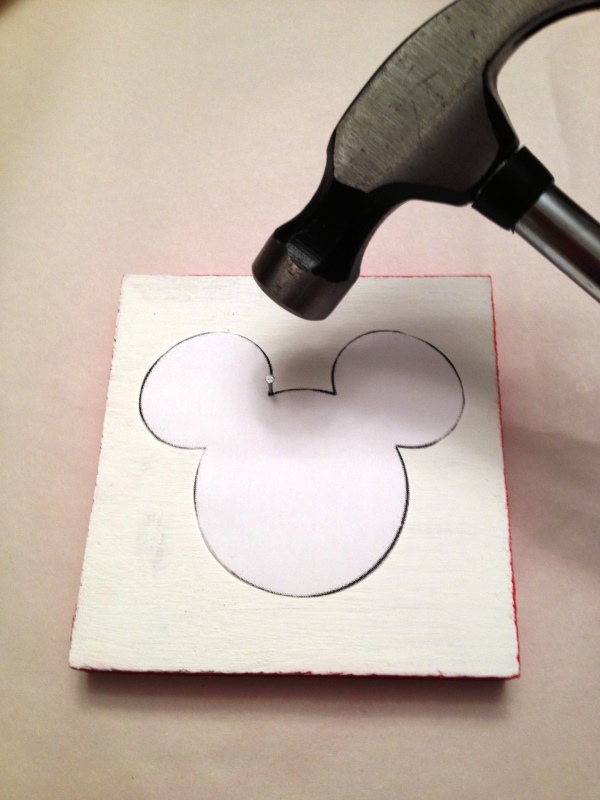
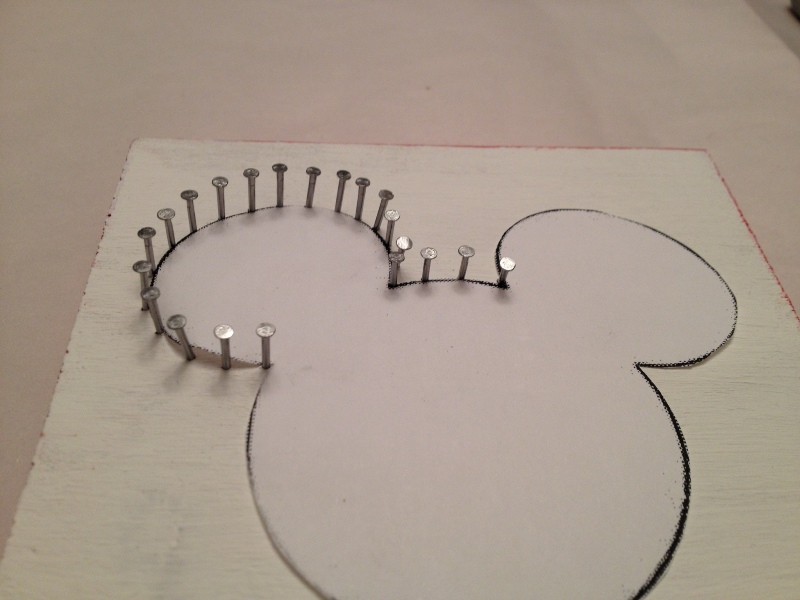
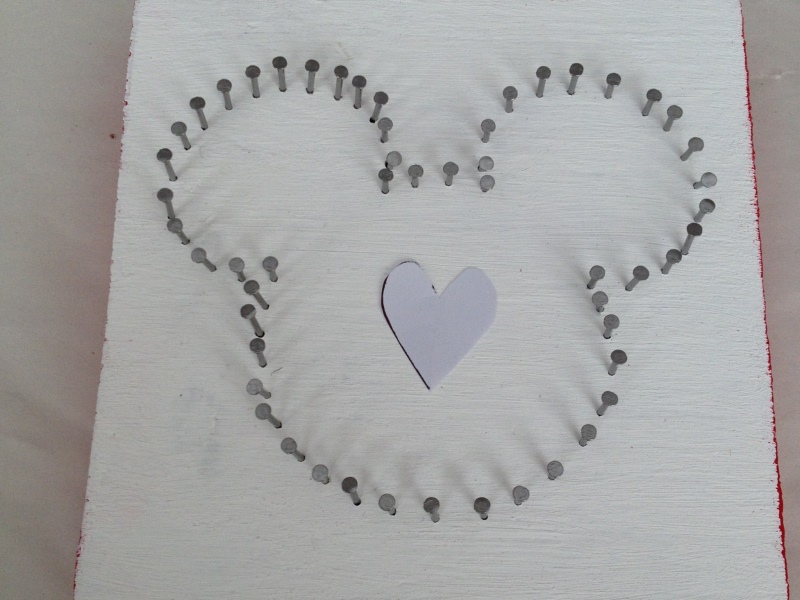
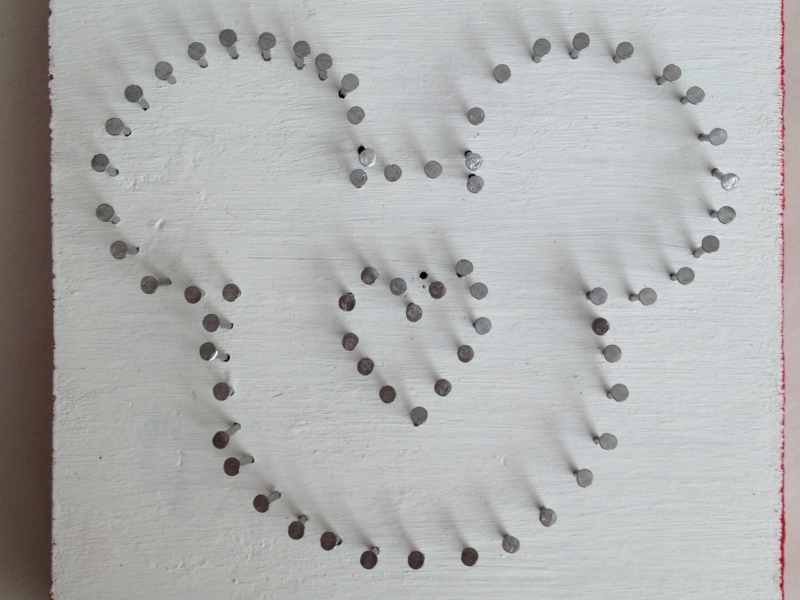
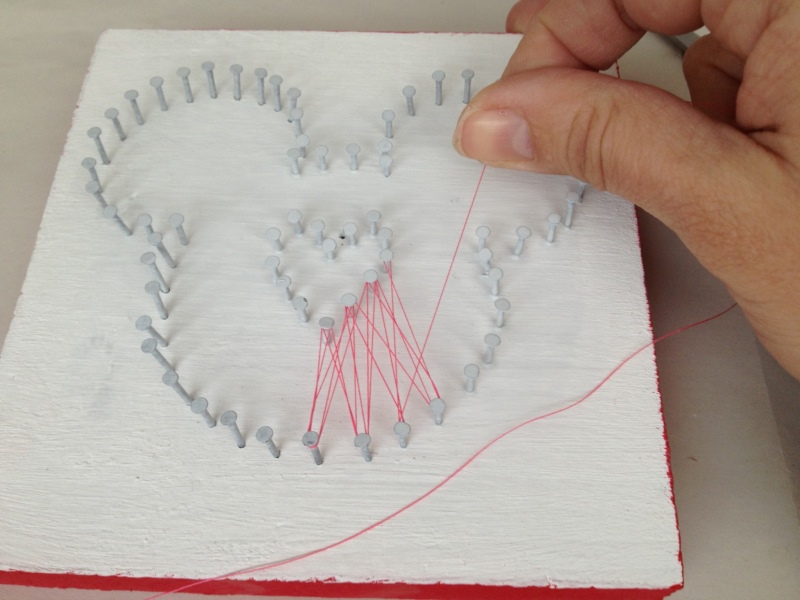
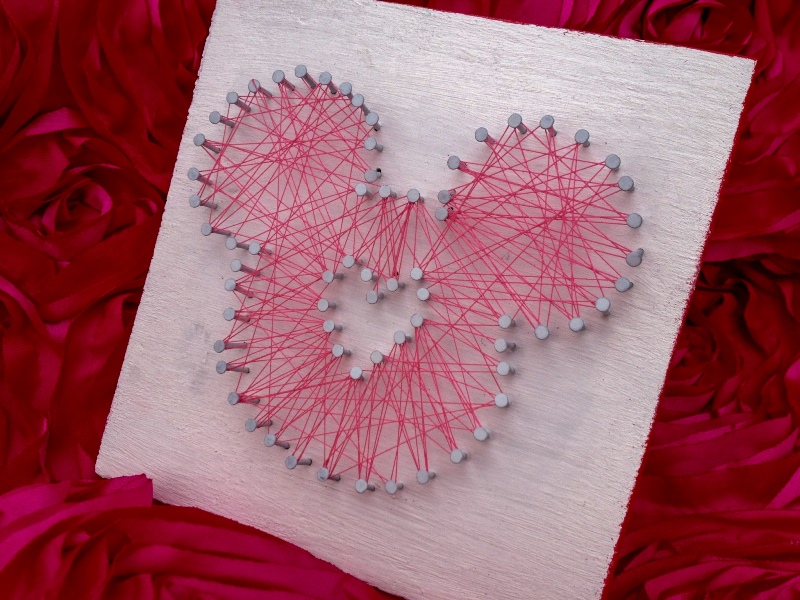
For the Mickey heart – I drew a small heart template by hand and hammered in the nails around that as well. You may see from the image I had a wayward nail – oops. If that happens to you, don’t worry. The string will cover it up.
Step 4 – Move your art piece to a well ventilated and protected area. Make sure you cover the edging of the wood block so it doesn’t get primer on it. Now spray the nails with the primer until they are fully coated. Let dry 30 minutes or per the instructions on your spray primer.
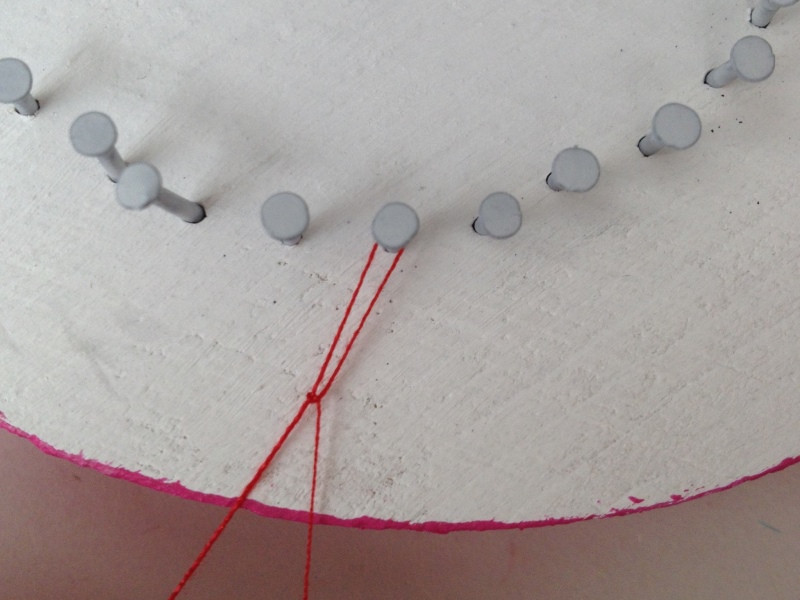
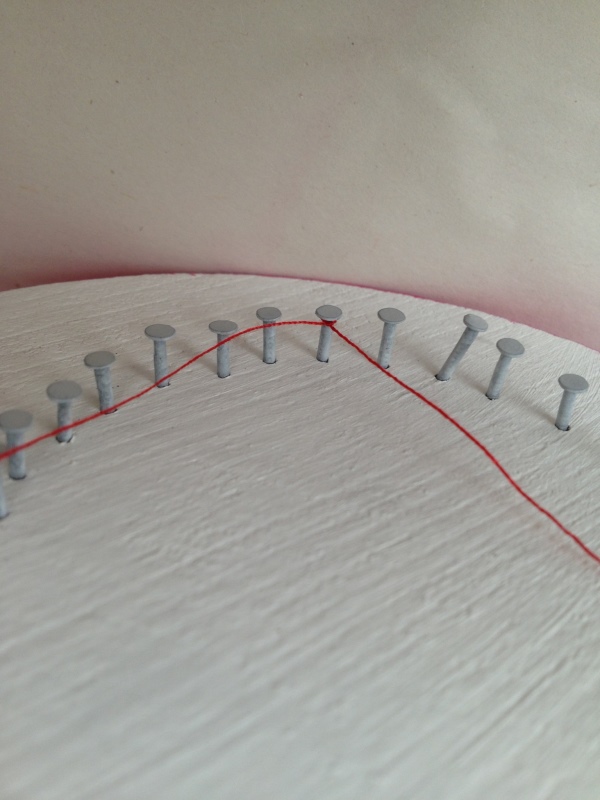
Step 5 – When the art piece is dry, it’s time to start stringing! This is the fun part. First tie your thread to a bottom nail, tie in a knot, and cut the edge as close as you can. Then start stringing the thread across the nails in sort of a zig-zag fashion. There’s really no right or wrong here! Just make sure your threads stay within the Mickey shape. Make sure you wrap the string around each nail at least once. If you’re not liking the way it looks, it’s easy to unwrap and start over! Have fun with it.
For the Mickey Heart – Follow the instructions above but string between the Mickey shape and the heart shape. The middle of the heart should be empty.
Step 6 – When you’re happy with your string art, wrap the thread around one of the nails several times to reinforce it, then tie it in a knot and snip the thread as close as you can.
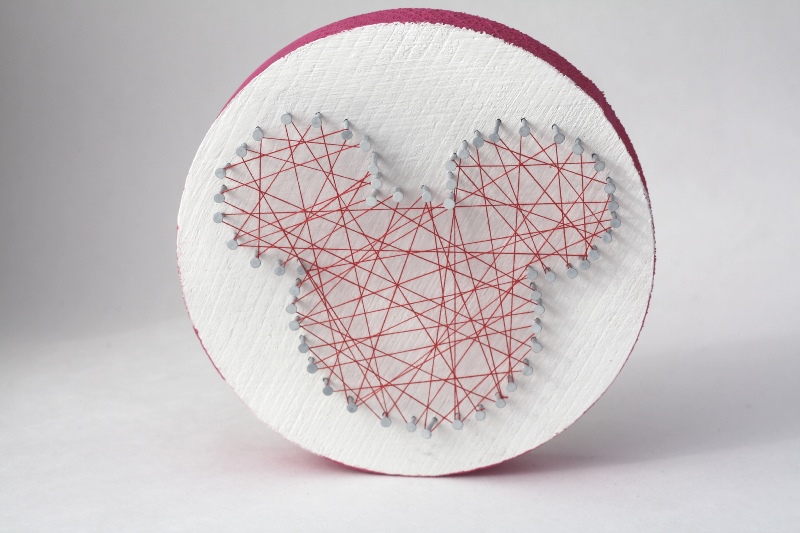
That’s it! You’re done! A perfect little piece of art to give your Valentine.