This post contains affiliate links.
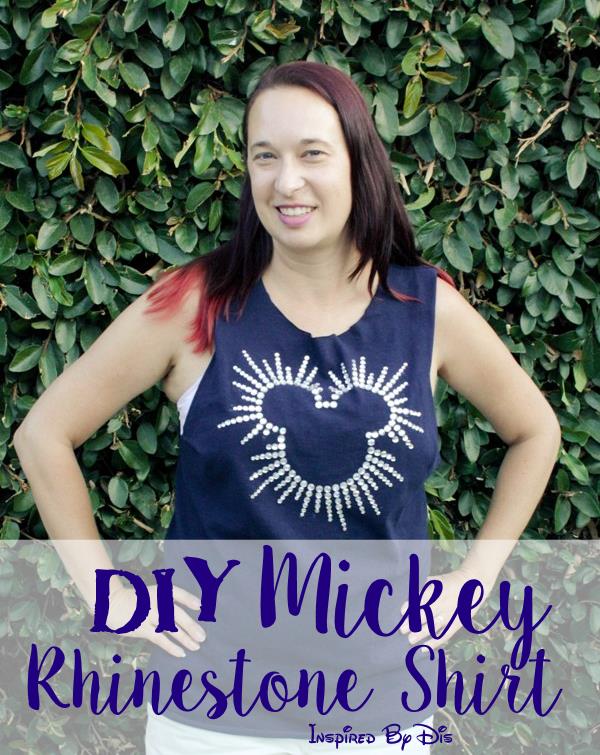
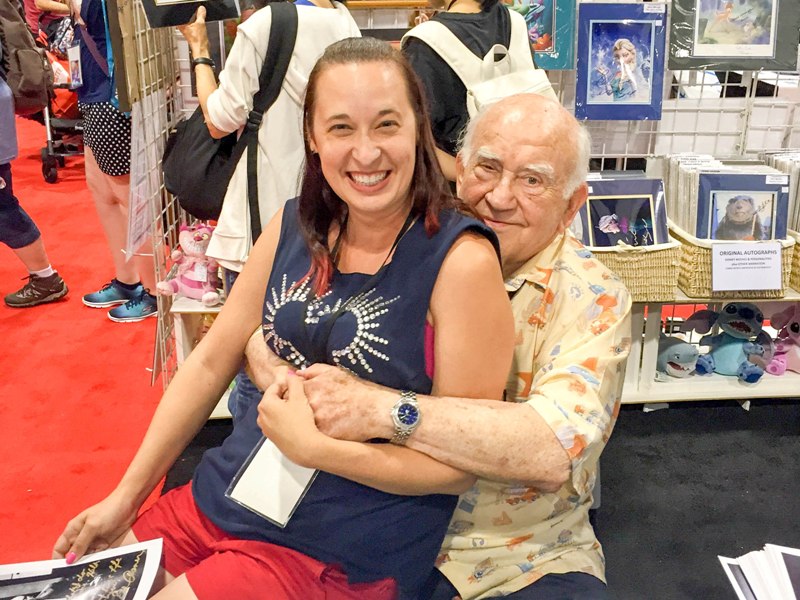
For the D23 Expo this year I wanted to make a special shirt that also fit with the Disneyland 60 Diamond Celebration theme. The official park merchandise is so expensive but I wanted to wear something blingy! I made this with a dark blue t-shirt and a box of crystal jewels, both from Michael’s. The total cost was under $20 with coupons! It took me a whole afternoon because I was very particular about my rhinestone placement, but I love how it turned out and I got so many compliments when I wore it at the Expo. Even Ed Asner approves!
This top actually started as a short sleeve shirt, but as the Expo approached and temps were slated to be in the high 90s, I cut off the sleeves and widened the neck! The shirt is a men’s shirt, so I had to sew simple darts in the chest area to make it fit a little better. In hindsight, I wish I had simply bought a tank top in the first place! So think about the weather and your comfort when designing your shirt. I also think this design would also look super cute on a tote bag! One thing to keep in mind: The rhinestones may come loose and/or fall off over time, so this shirt is not intended for young kids.
Here are the directions if you want to make your own!

DIY Mickey Rhinestone Shirt
Supplies
- Clear “crystal” acrylic gems
- E6000 glue
- Plain navy shirt (similar)
- Mickey silhouette template
- Painter’s tape
- Cardboard, Pencil, and Scissors
Steps
Step 1: Wash and iron your shirt.
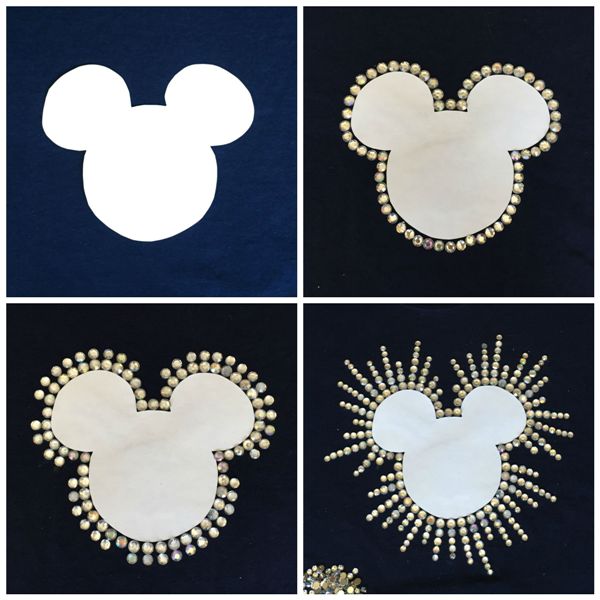
Step 2: Re-size and print out the Mickey template and cut out. To find the desired size for your top, you may need to re-size, print, and hold up to your shirt a few times to get it right. Once the right size, using painters tape, tape the template to the middle of your shirt to keep it in place.
Step 3: Separate the rhinestones by size. If you’re using the exact same box of crystals I linked to above, I found the two largest sizes in the box were TOO big. So I set those aside and used the third biggest crystal in the box as my “biggest” size. Clear as mud? My point is, you may have to play with the different sizes before you start gluing, so see what works for your design. Once you’ve selected your crystal sizes, the biggest size should go along the immediate perimeter of the Mickey template. Glue down the rhinestones using the E-6000 glue.
Step 4: Keep layering the rhinestones around the perimeter of the Mickey shape, using smaller and smaller rhinestones. Add interest to the shape by making each layer a little uneven. Some layers may only have two rhinestones, some may have seven or eight! You can also put two rhinestones of the same size next to each other. Crazy, I know!! Do what looks right to you!
Step 5: When you’re completely done, carefully pull away the paper Mickey template and allow the glue to dry overnight. Hand wash before wearing.

Can’t wait to wear this one to Disneyland … maybe when the weather is a bit cooler!
Let me know if you decide to make your own by tagging me on Instagram with @mindyjoym. I love to see your creations!