This post contains affiliate links.
I think I might have a slight addition to making Mickey & Minnie ears. This idea came to me when I was at Disneyland a couple months ago, looking at their silver Minnie ears headband and wishing they came in gold. So, I decided to make my own! I made this special pair of ears for Disney’s Social Media Moms conference because I wanted something unique that would stand out and be remembered! I have used this glue-glitter technique before, when I decorated my wedding shoes, but even with no practice it’s really easy to do, I promise! You can make these and be rocking them all over town in just a couple hours. What, you don’t wear your Mickey & Minnie ears all over town? You should!
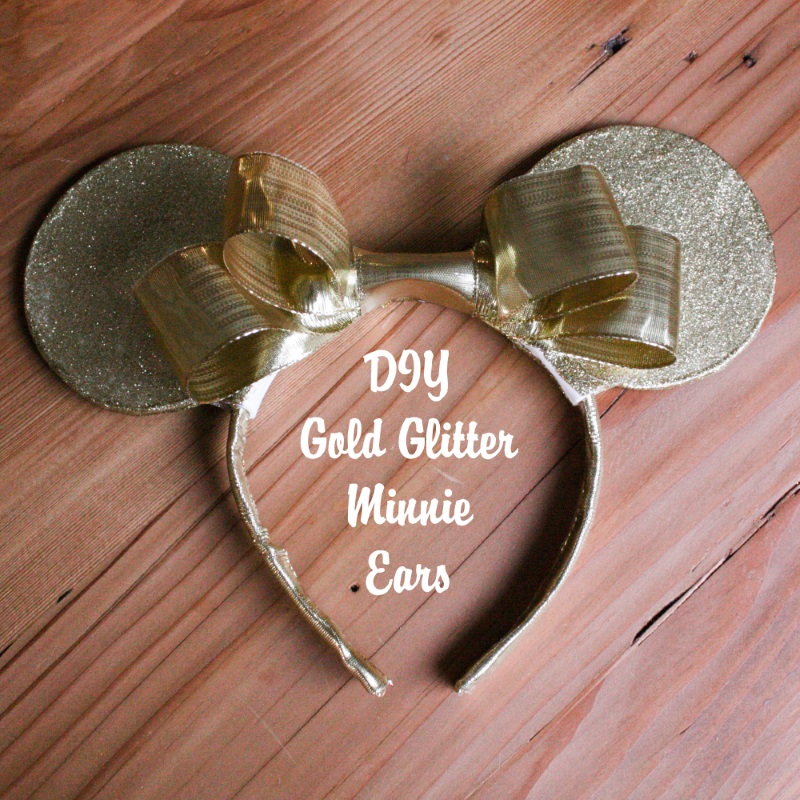
DIY Gold Minnie Ears
Supplies
- Mickey ears template
- White foam board
- White plastic headband
- Gold glitter
- Mod Podge
- Wired gold ribbon, 1.5 inch wide
- Small bowl or container
- Sponge brush
- Scissors & pencil
Steps
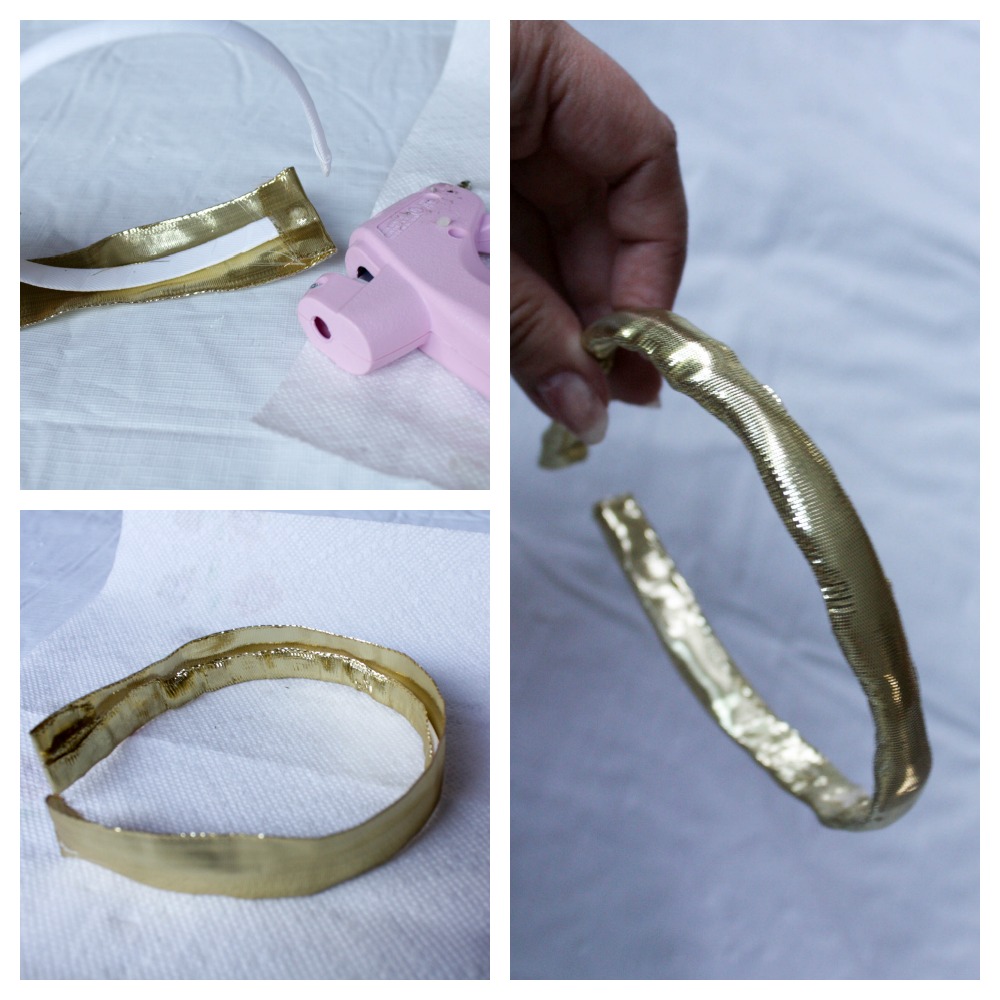
Step 1 – Cover the white headband with a piece of the gold ribbon, securing with the hot glue gun.
Step 2 – Use the template to trace two Mickey ears onto the white foam. Cut out. Glue the foam ears to the headband using the hot glue gun. Make sure they are evenly spaced!
Step 3 – Mix Mod Podge and glitter together in a small bowl. Make sure it’s a bowl you’re not super attached to, and it shouldn’t be a bowl you ever eat from! However, you should be able to clean it right up when you’re done. I don’t really have a set measurement, but it’s a LOT of glitter in a small amount of glue. When you mix it you should have a sort of “glitter paste.”
Step 4 – Use the sponge brush to apply the glitter paste to one side of the ears. Make sure you apply evenly so you have a smooth finish. Your glitter may look sparse and that’s okay. You can apply several coats. I did three coats total for my ears. Once you’ve coated both sides and the edges, prop your ears up to dry, so the wet glitter is not touching anything. I rested my ears on the Mod Podge bottle. Allow to dry at least 30 minutes. Then repeat this step as many times as needed.

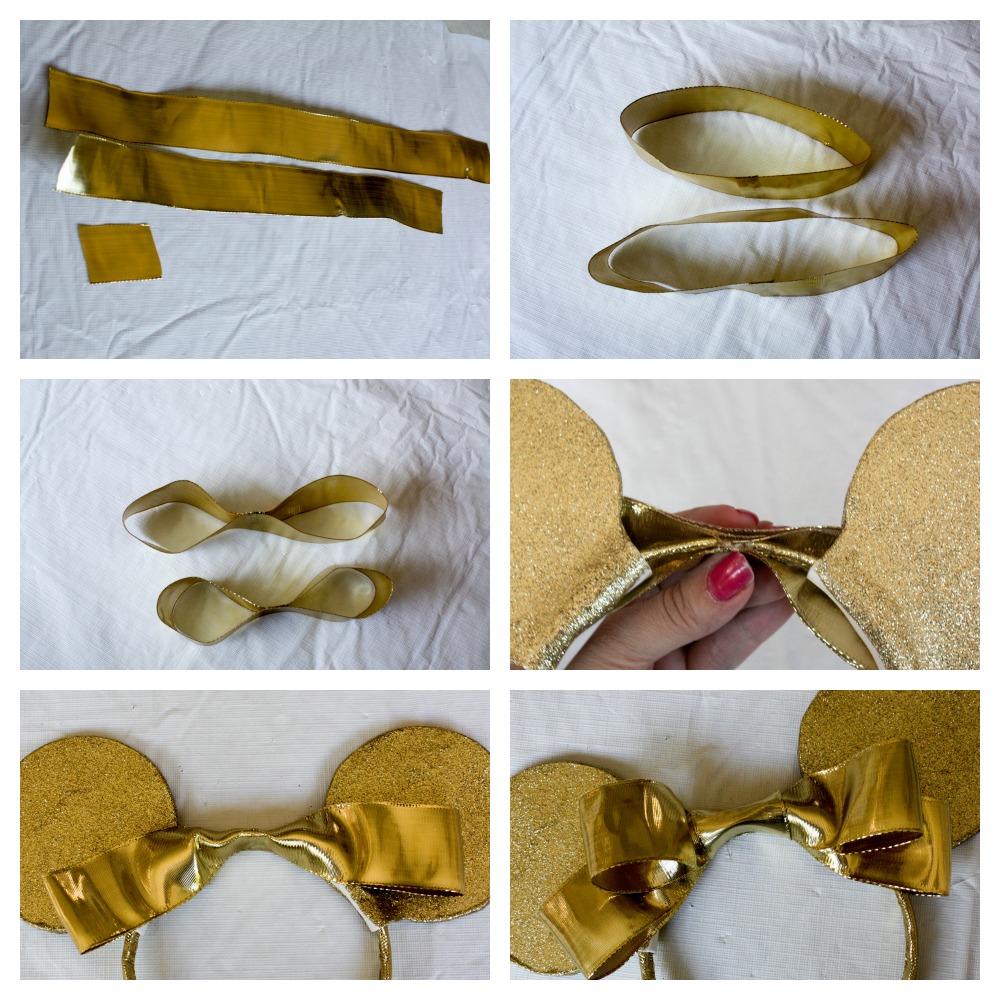
Step 5 – Once your ears are fully dry, it’s time to attach a Minnie bow! I used three pieces of wired gold ribbon, one 14 inches, one 12 inches, and one just two inches or so. Loop the two bigger ribbons together and glue, so they form an oval. Then glue two sides together in the middle, so they form a figure 8. Take the larger piece and lay it flat side up, seam side down, against the headband in between the ears, and glue to the headband. Repeat for the smaller ribbon figure 8 piece. When those are secure, take the smallest piece of ribbon and wrap it around the middle of the headband, on top of the larger pieces of ribbon, and glue underneath the headband so the seam can’t be seen.
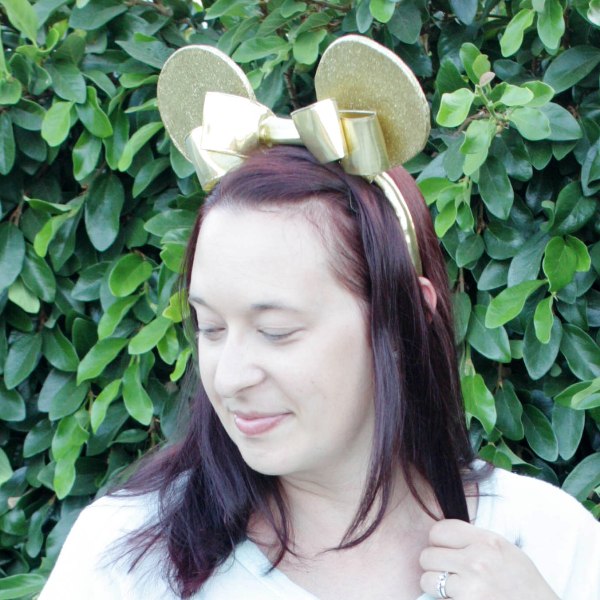

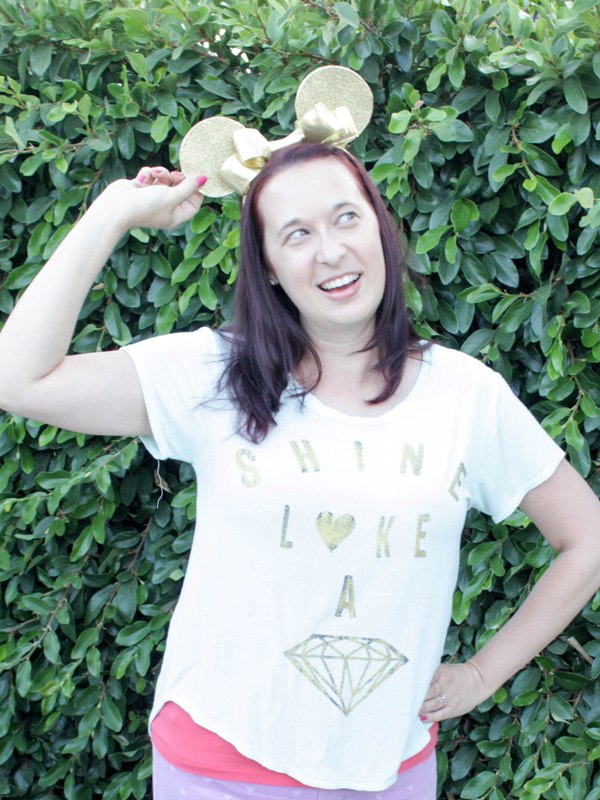
What do you think? I’ve worn these several times and they are for sure my new favorite mouse ears. I’ll definitely be trying out different colors and maybe patterns. Let me know if you make some!