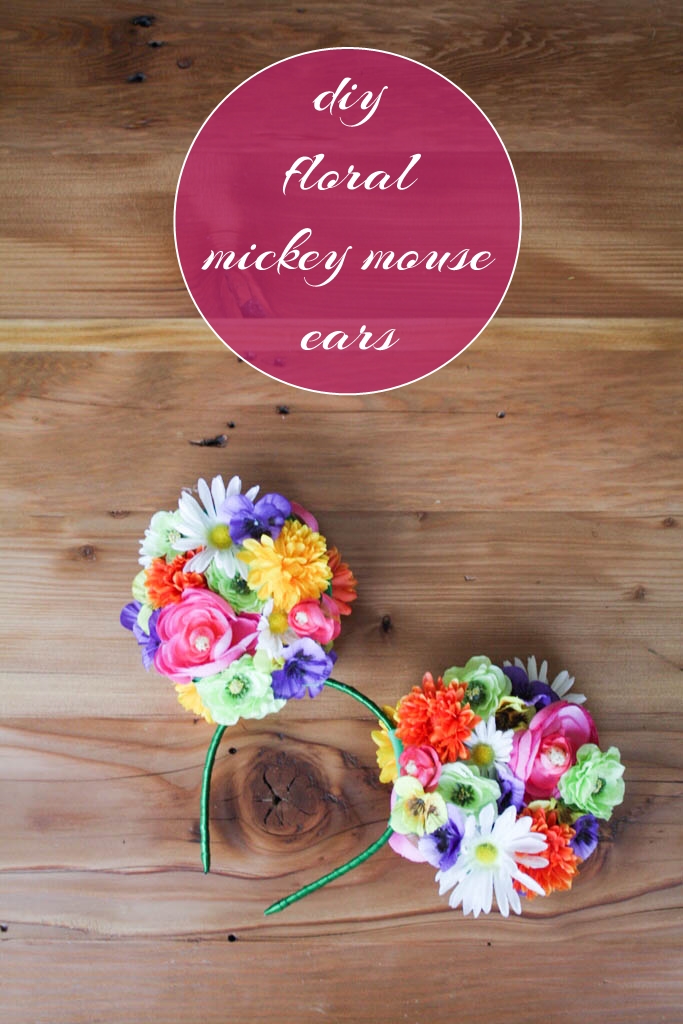
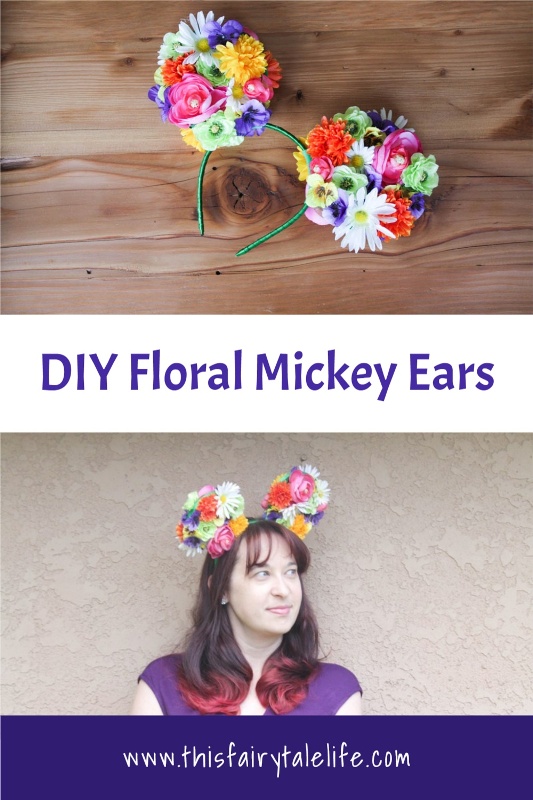
Perfect for spring! If you can’t make it to the Disney Parks this year, you can go ahead and make these DIY Floral Mickey Ears at home. The best thing about this project is you can use any color flowers you want, truly making them your own unique style!
I had been racking my brain all week about what kind of post I could do for Mother’s Day, and in pure Mindy fashion, this idea for floral Mickey ears came to me at midnight while I was trying to fall asleep. So I had to get up and write down the idea and then I was up for another two hours thinking about execution.
Does the life of a DIY blogger sound glamorous to you yet?
Needless-to-day, this project went from conception to completion in less than 24 hours, which has to be some kind of record for me!
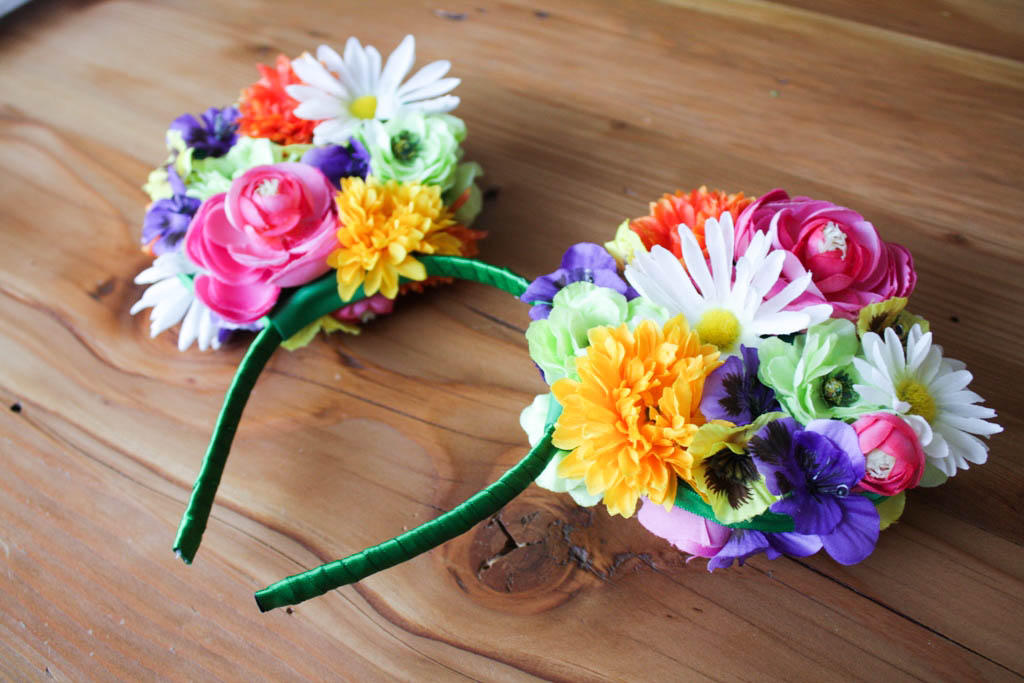
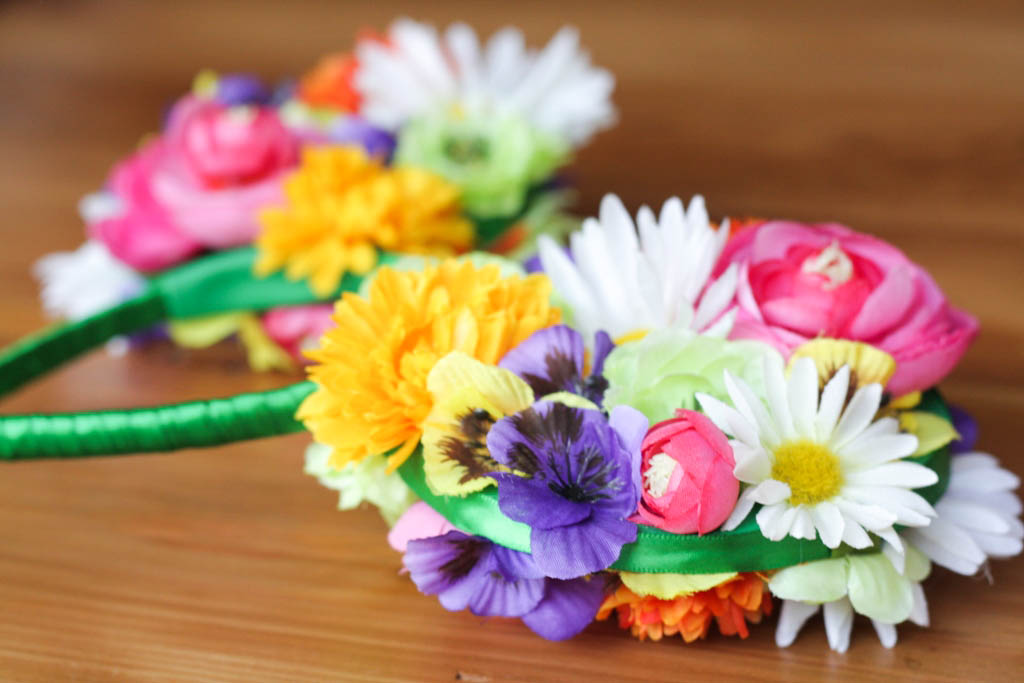
You may notice these ears are a little, er, oversize. I was inspired to make larger Mickey ears by the Vogue Japan photo shoot I featured here a couple months back, plus I wanted maximum room for floral intensity.
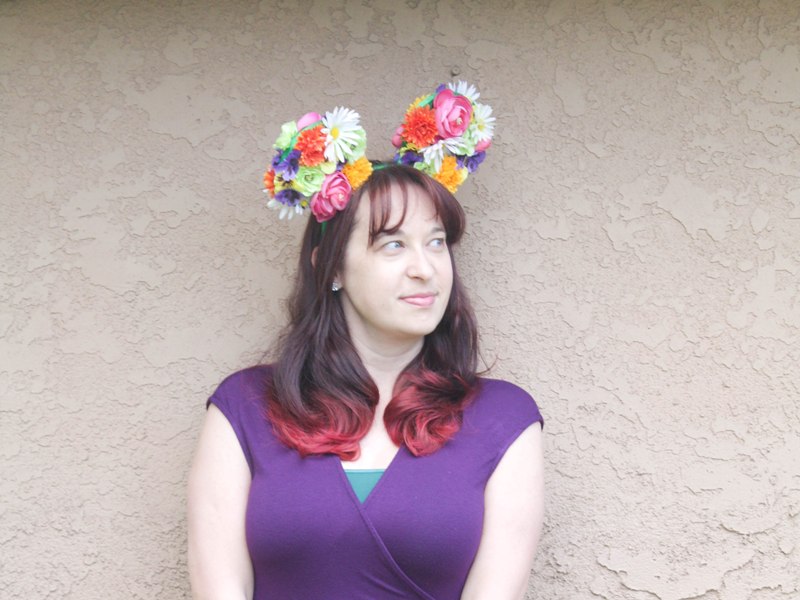
I really like how they came out and I feel kind of “high fashion” model when I wear them. Okay, maybe not that far but I do think they ended up being very fun.
These homemade ears would be great for a Mother’s Day gift in lieu of the usual bouquet of flowers, or just great to wear around the Parks or the grocery store for Spring and Summer.
Floral Mickey Ears Headband
This article contains affiliate links, which means I may earn commission if you make a purchase.
Supplies:
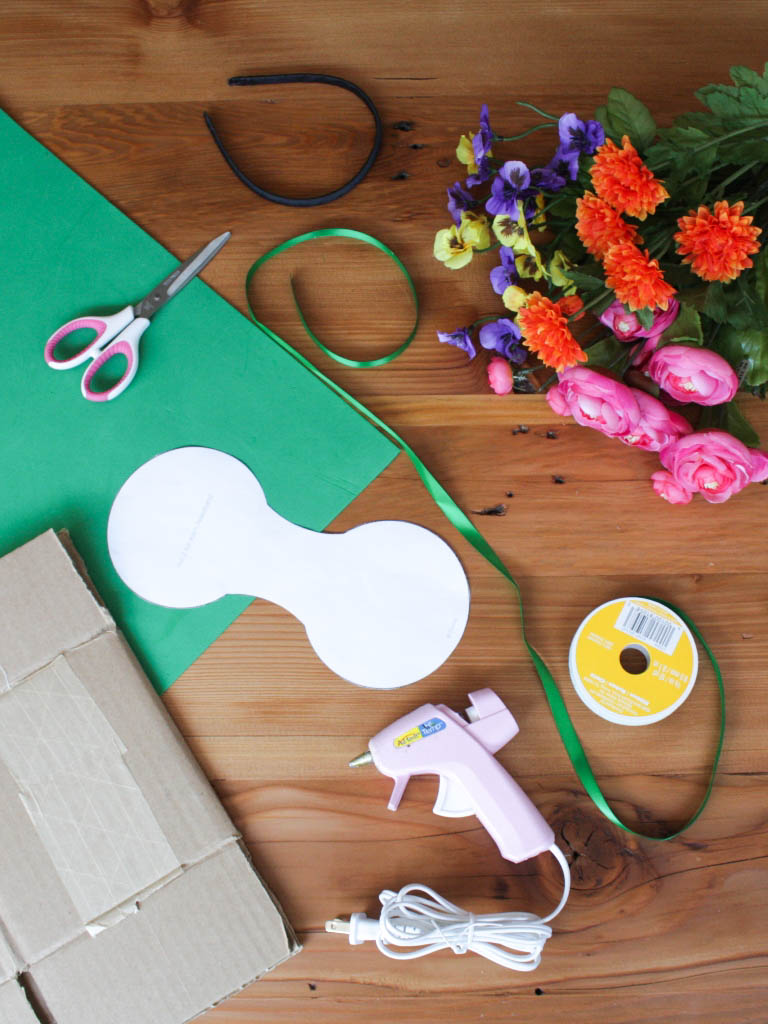
- Headband (similar)
- Green ribbon (3/8″ thick)
- Green foam sheet
- Scissors
- Hot glue gun
- Assorted fake flowers
- Cardboard
- Mickey Ears template (see below)
Steps:
Step 1 – Unless your headband is already green, cover it with the green ribbon. Glue the end of the ribbon to the inside end of the headband and start wrapping, adding dots of glue to the underside of the headband as you go. Seal with glue once you reach the end of the headband.
Step 2 – Trace your Mickey ears template onto the green foam sheet, two times. I used this ears template from Disney Junior and resized it. You can print the actual size I used here. If you want smaller ears, around the actual size of standard issue Mickey headbands, you can print this template here. Cut them out.

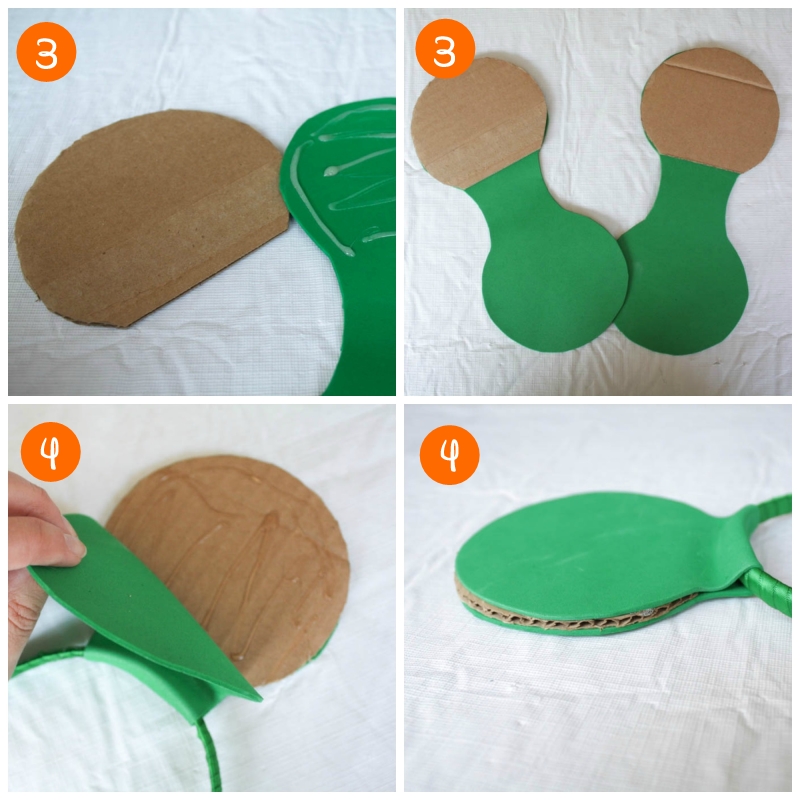
Step 3 – The foam is a little flimsy considering the weight of the flowers, so I traced and cut out a piece of cardboard to put between the foam for each ear. Glue the cardboard to one side of the foam ears (the “inside” of the ear).
Step 4 – Now you are going to attach the ears to the headband. Line them up so they are even on both side, but don’t worry if they are a little uneven or crooked – there will be so much going on here that no one will notice. I recommend completing one ear all the way before moving on to the next. Once the ears are lined up, add some glue to the part of the foam ears that will go underneath the headband and press firmly so it adheres. Then add glue to the foam just above the headband and press the other side of the foam down so they attach. Then add glue to the cardboard part of the ear and press the other side of the foam so it lines up evenly with the other side. I realize this is difficult to explain, so hopefully the pictures help! Repeat with the second ear.
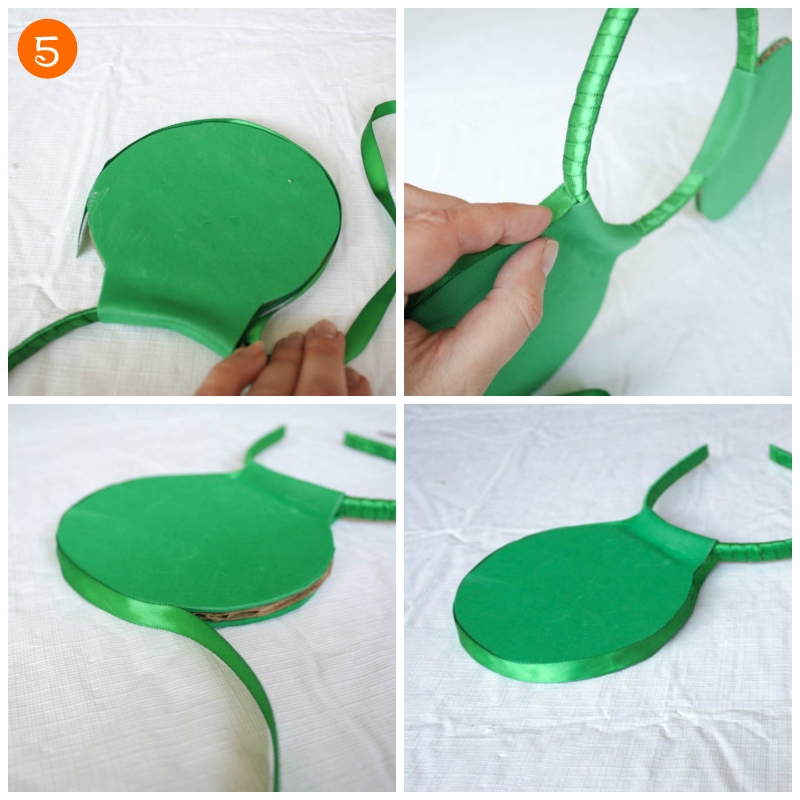
Step 5 – Now you’ll see your ears are in place but the cardboard is showing through between the two sides of the green foam sheet. We’ll just add a piece of green ribbon along the edge of each ear to conceal that. (Conceal, don’t feel!) Measure a piece of green ribbon around the edge of each ear and cut the length you’ll need. Glue down at the base of the ear, and wrap around the edge of the ear, adding small amounts of glue along the way. Repeat for the second ear.
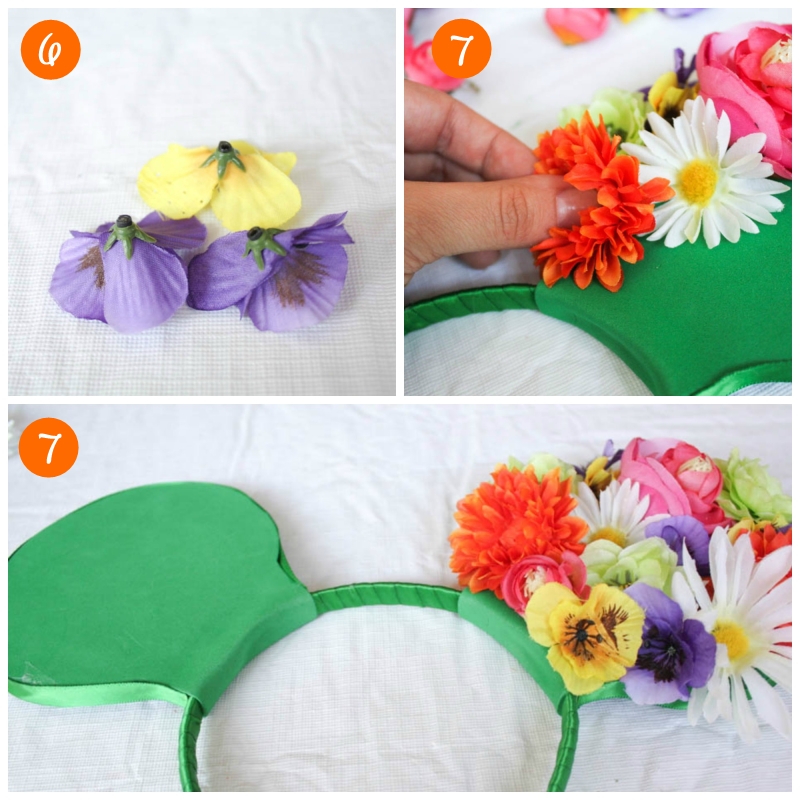
Step 6 – Remove the fake flowers from the stems and snip the ends down, so they lay flatter against the foam.
Step 7 – Without gluing them down, start arranging the flowers on one ear until you find a configuration you like, and covers up all the green. Once you’re happy, start gluing the flowers to the foam ear one by one. Repeat for both ears, then flip over and repeat for the other side!
Optional – Depending on the size and floral density, they may be a little heavy. You might want to add a comb to the top or sides of your headband to keep it in place while you wear it.

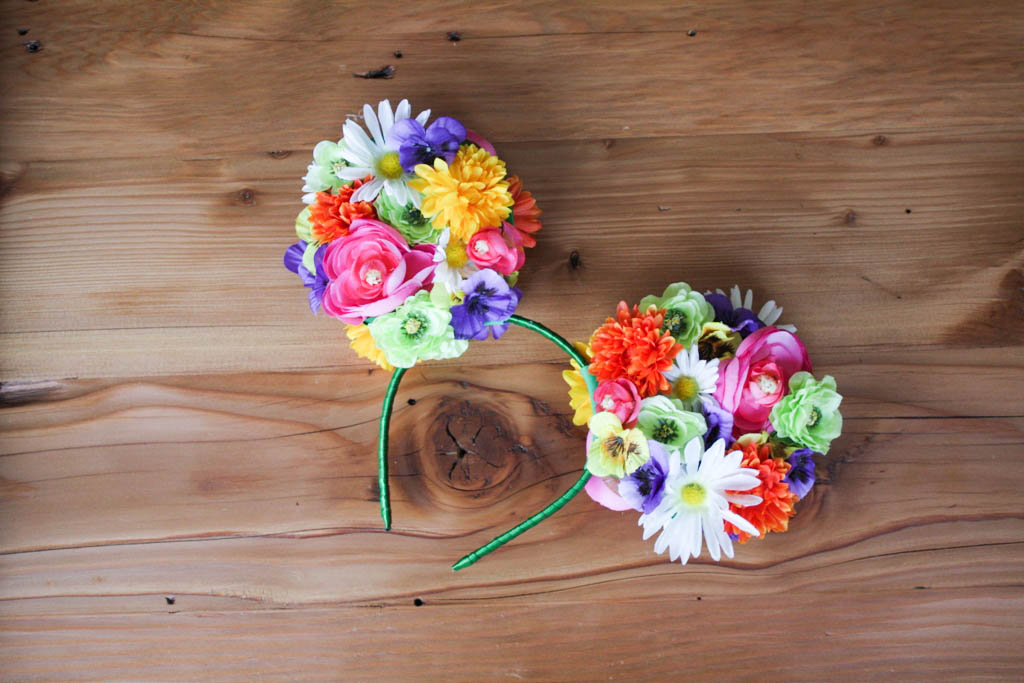
Congrats on your new DIY Floral Mickey Ears! I’ll let you decide if you want to gift them to mom or keep them for yourself. I won’t judge if you keep them, they are awfully cute ….
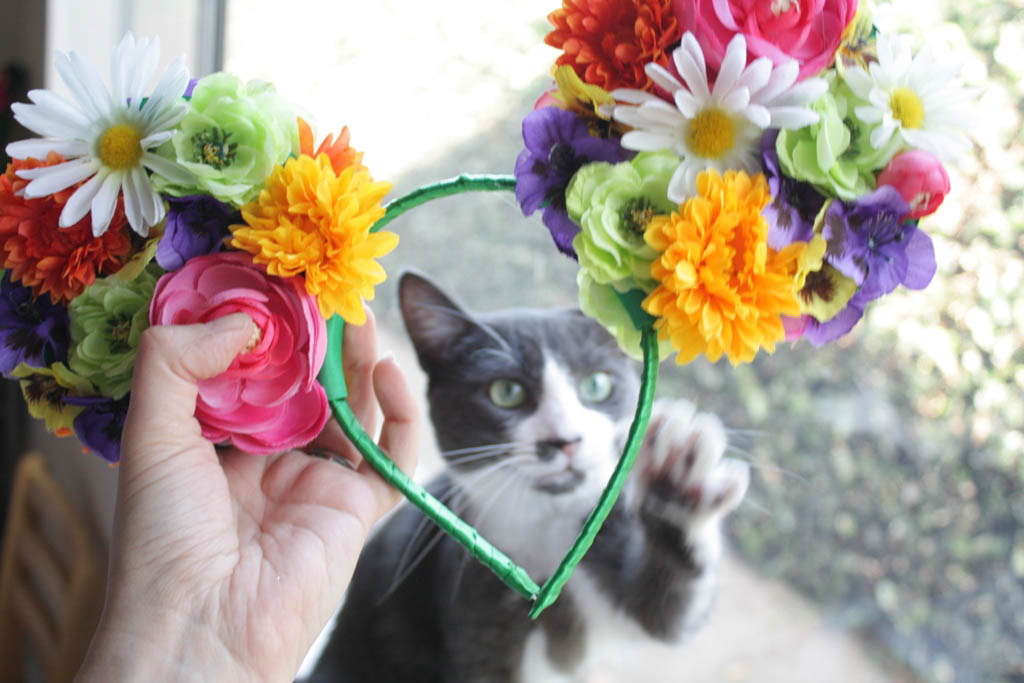
Vela approved!
This article was originally published in May 2014 and has been updated.