This post contains affiliate links.
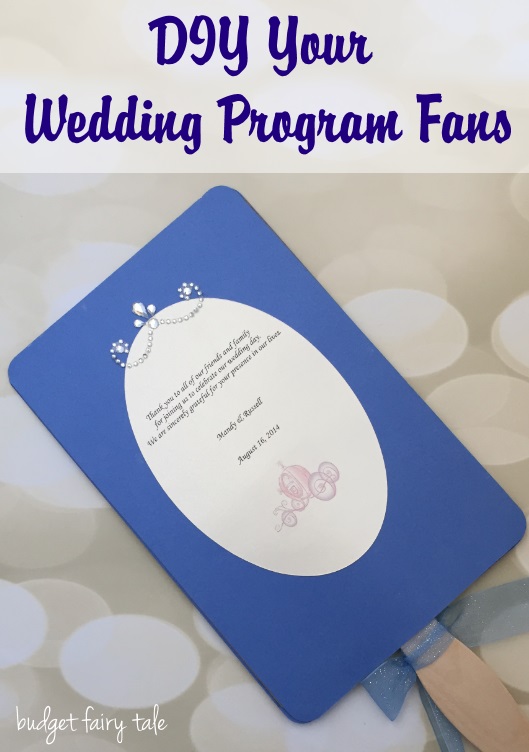
When I went to Mandy and Russell’s Disneyland wedding last month, I was really impressed with their cute program fans. And I was super surprised Mandy told me they made them! (Well, not THAT surprised, considering Mandy and her mom DIY’d most of their wedding decor and it was all beautiful!) I think these program fans are the perfect representation of how to organize and display the necessary information for your wedding program, with the perfect amount of decoration for a Disney wedding. I broke it all down to help you make your own Disneyland wedding program fans!
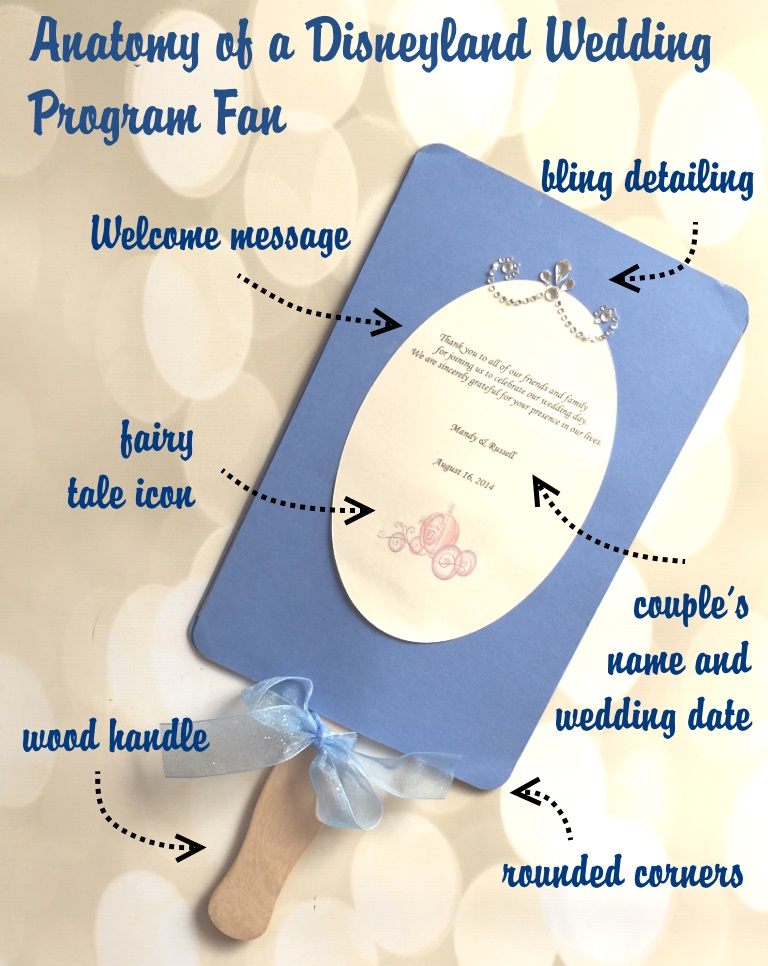
Front:
- Flat wood handles (found at craft stores) are pretty much essential for program fans.
- Using a rounded corner punch will make your programs a bit more elegant and soft (and also help reduce accidental poking of eyes).
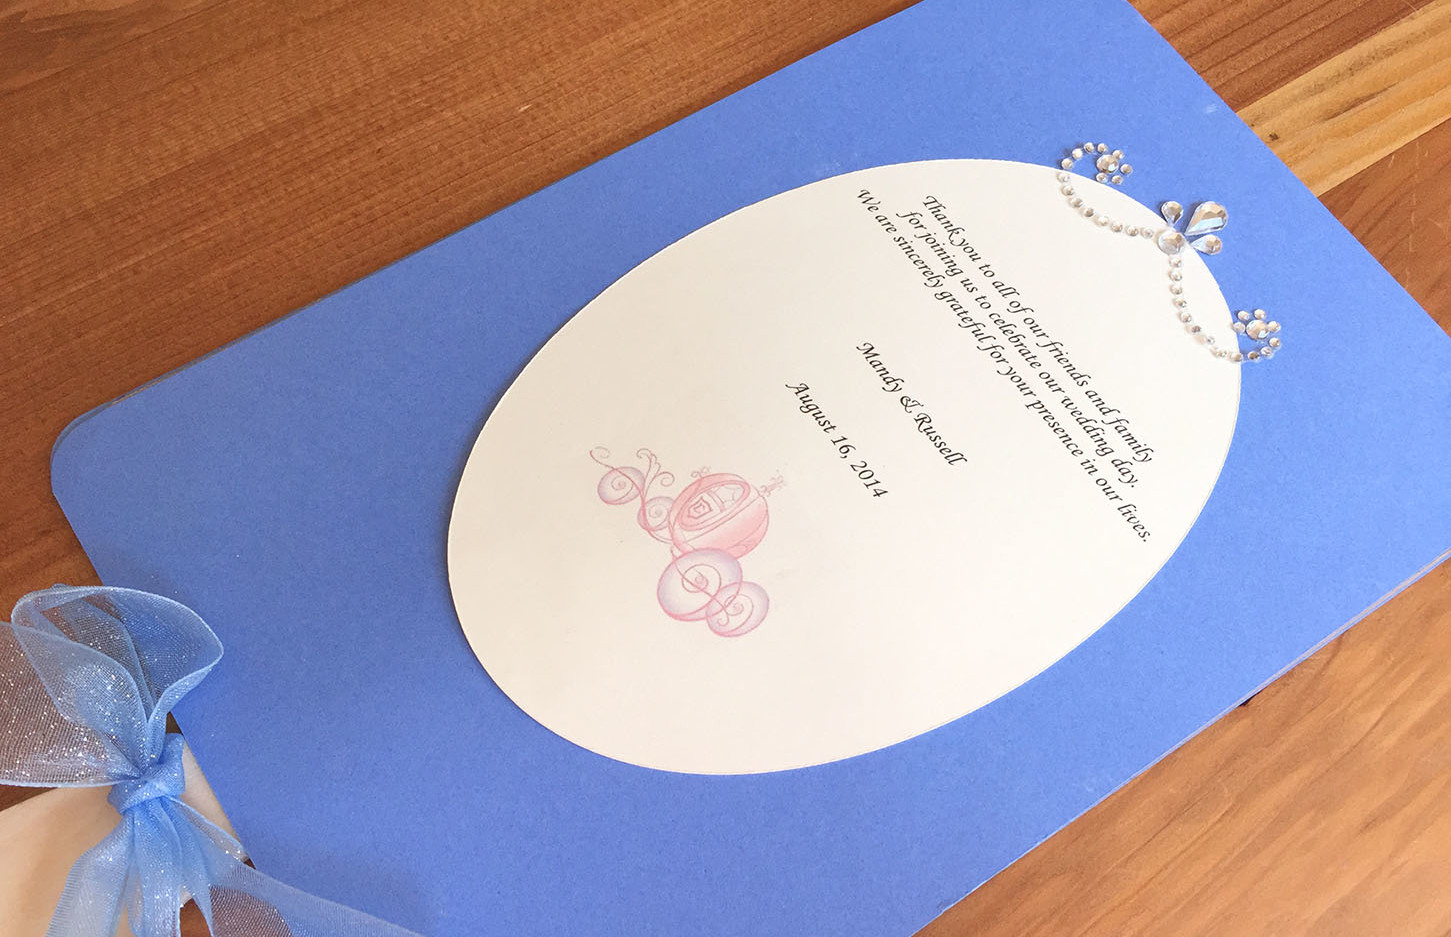
- The oval shape of the center overlay forces your eyes to focus on the text. You can’t see it in the pictures, but Mandy used a very pretty irridescent ivory cardstock.
- The program starts with a Welcome & Thank You message to the guests:
“Thank you to all of our friends and family for joining us to celebrate our wedding day. We are sincerely grateful for your presence in our lives.”
- Below the thank you message is the couple’s name & wedding date – kind of important info.
- The front also features a clip art image of a pumpkin carriage, the perfect icon to represent a fairy tale wedding.
- The finishing touch on the program is a flourish of blingy rhinestones.
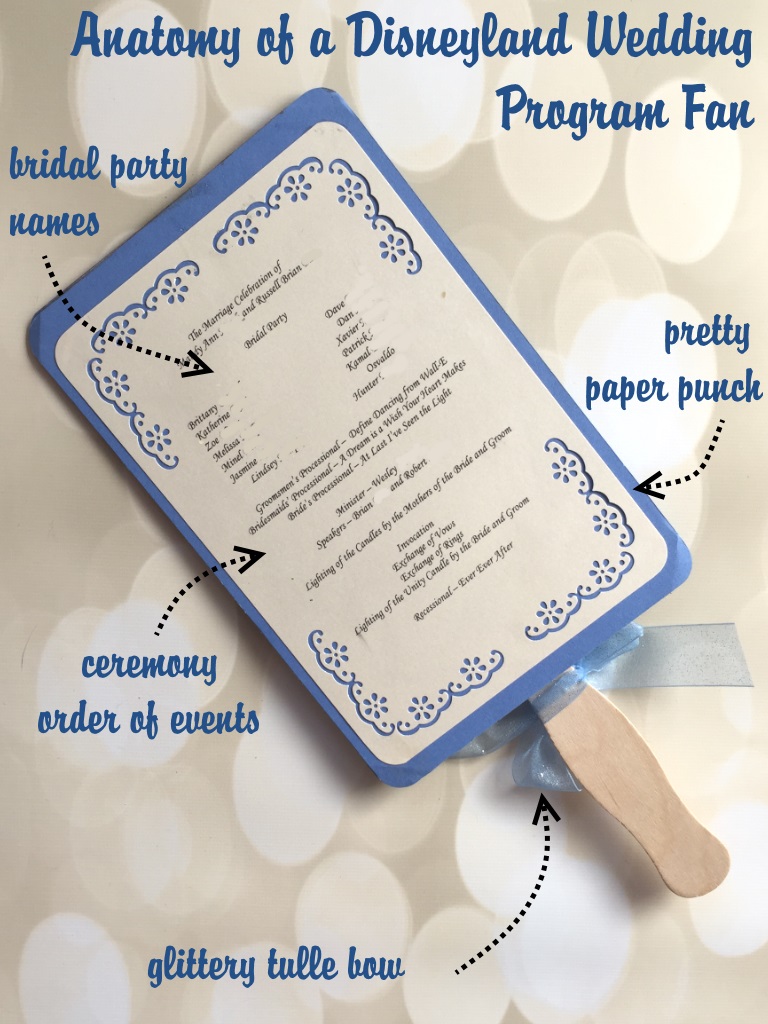
Back:
- The back of the program fan lists the order of events for the ceremony, as well as all the important participants such as the bridal party and the officiant. The program also lists the names of the songs played during the ceremony.
- The ivory overlay cardstock is decorated in the corners with a pretty floral punch.
- The handle is decorated with a bow tied from glittery blue tulle ribbon.
Supplies:
- Cardstock (I like Cards and Pockets)
- Thin cardboard (helpful but optional)
- Wooden handles (think wide popsicle sticks)
- Double-sided tape
- Glue stick or glue spray
- Computer & printer
- Corner paper punch
- Decorative edge paper punch (there are many designs out there)
- Ribbon
- Sticky-back rhinestone stickers (check the wedding and scrapbook section of your local craft stores)
- Scissors
Construction:
This fan is made using two pieces of blue cardstock, 8.5 inches tall by 5.5 inches wide. The corners are rounded using a corner paper punch. The two pieces of blue cardstock are taped together with a piece of thin cardboard in between to make the program fan sturdier. The wooden handle is also taped in between the two pieces of cardstock.
Using a computer word processing or image program, create your text for the front and back of the programs and add any clipart images you desire. Size to fit on a piece of light-colored cardstock that’s slightly smaller than the base of the program fan. You may have to print and cut a few times to get it sized correctly. When it’s correct, print, trim, punch, and glue to the base of the program fan.
Add your final touches such as rhinestone stickers or ribbon.
There you have it! DIY wedding program fans perfect for a Disneyland wedding. Thanks to Mandy and Russell for giving me permission to use their program as a guide!
Let me know if you plan to make, or you did make, your own DIY wedding program fans!